





Square Handrail Tube | 1-9/16" | 12-Gauge 316/304 SS or Black Aluminum
TBE.SQU.157.3.26M.ALU
Regular price $37.86 Sale price $26.50 Save 30%Alternative: Keep all pieces under 7'10" and use a joiner to connect two shorter lengths instead of ordering one long piece.
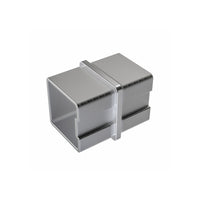
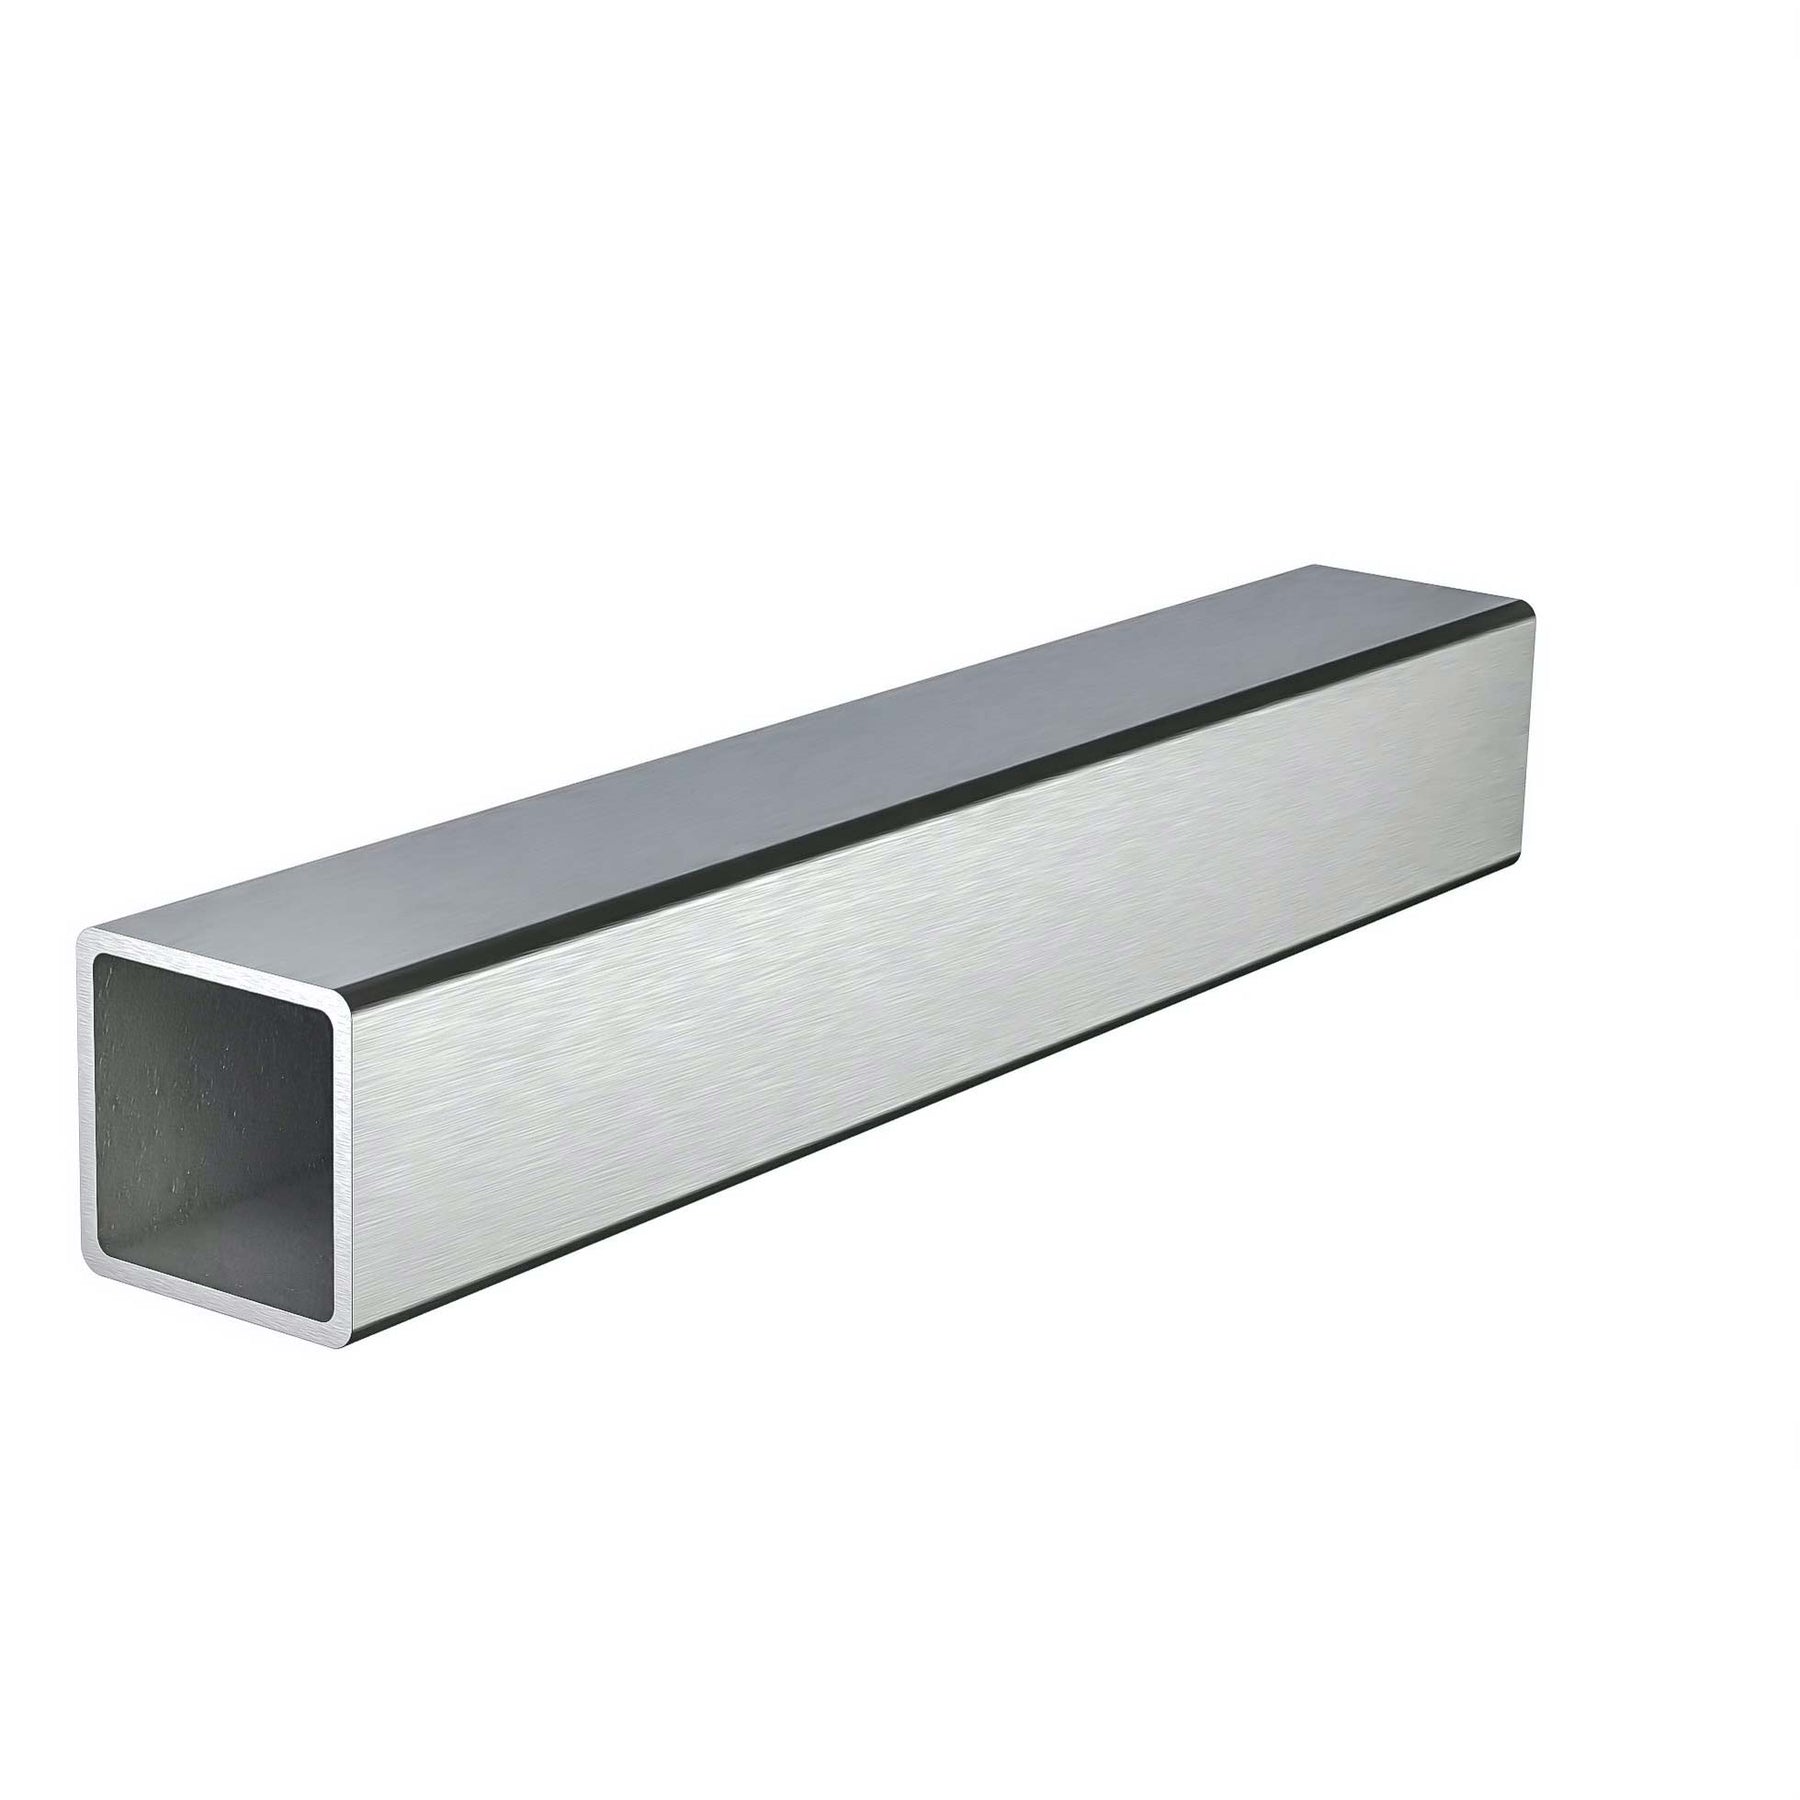
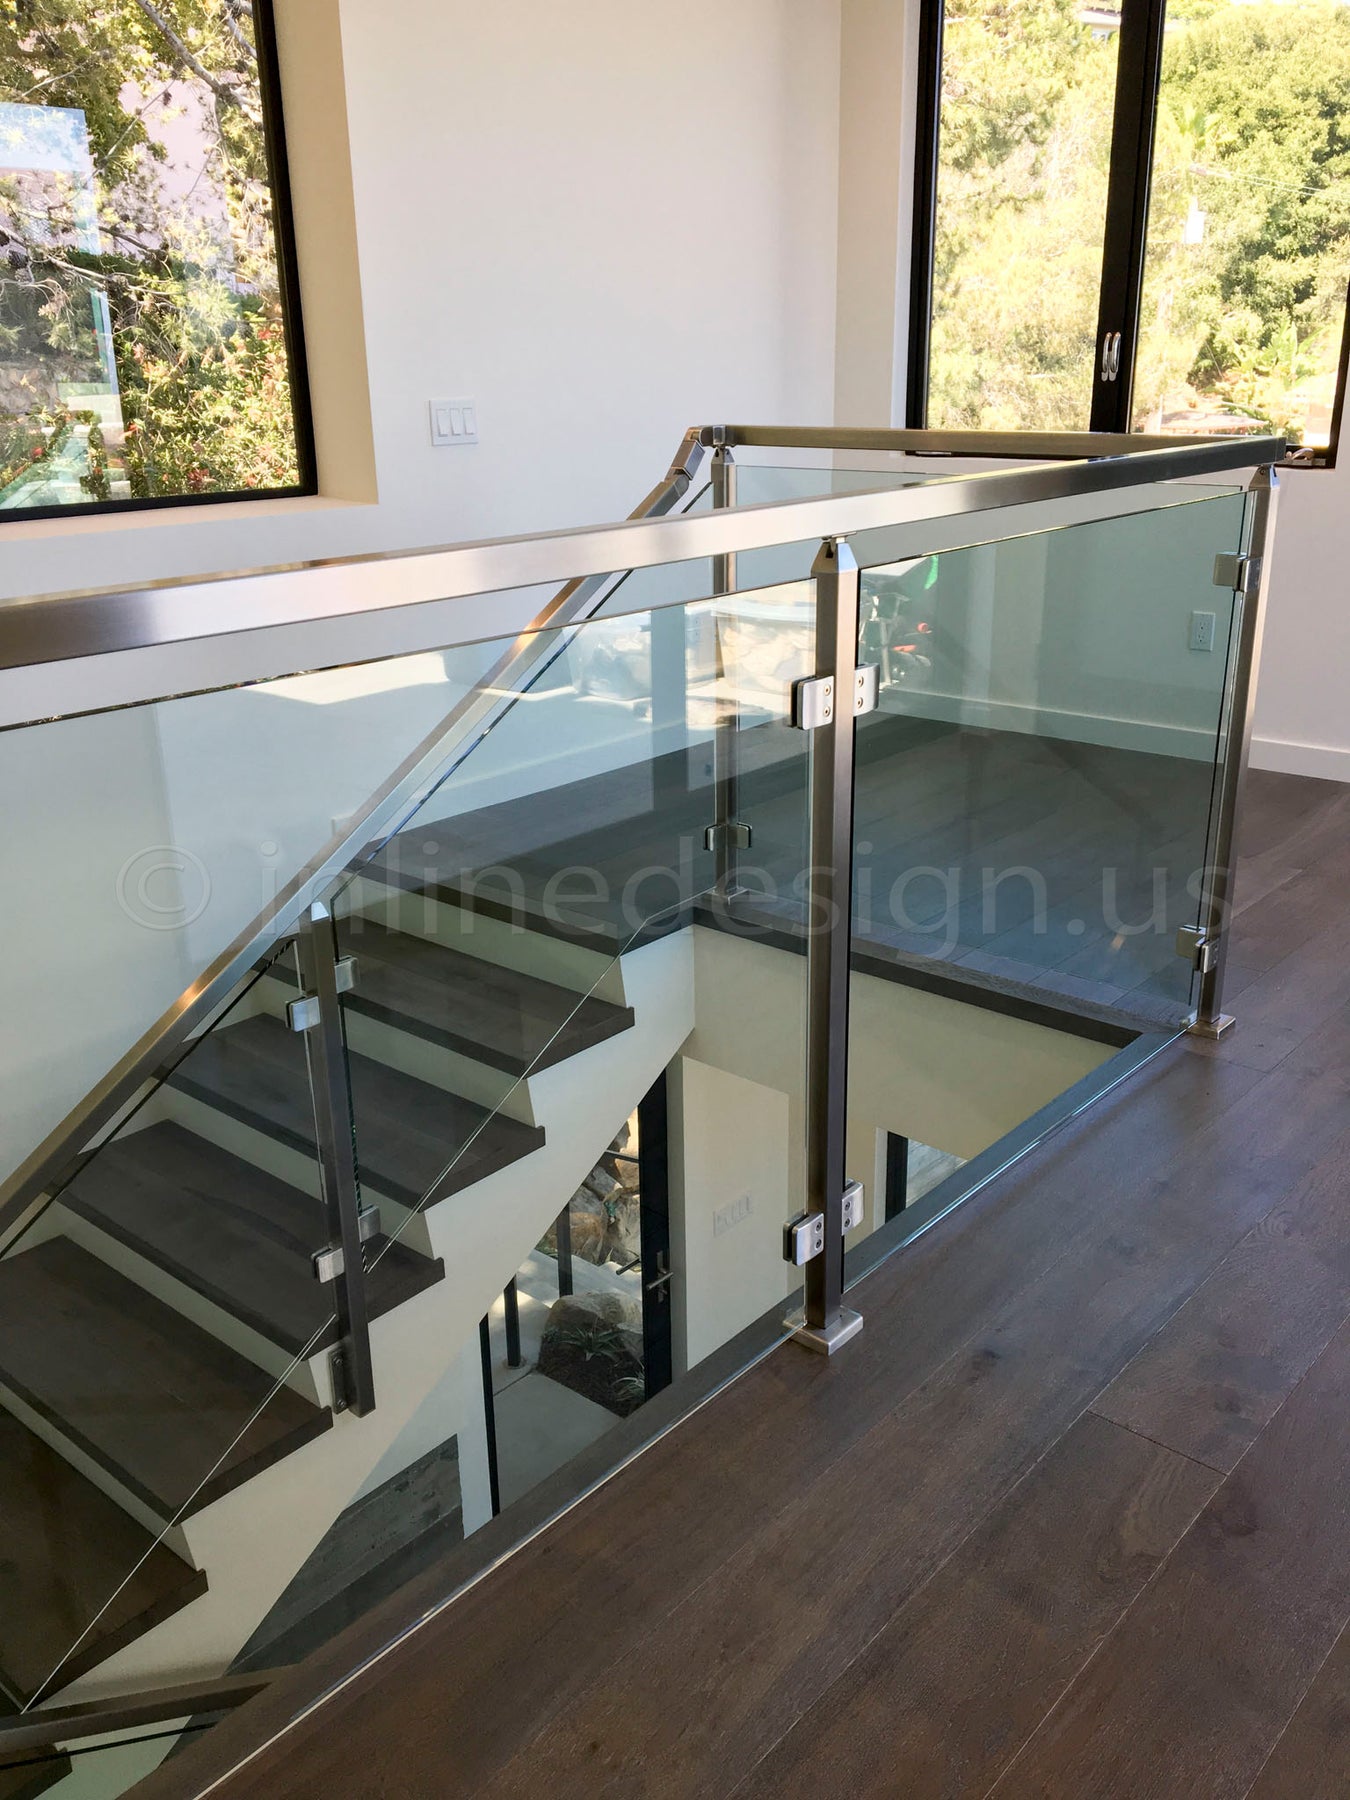
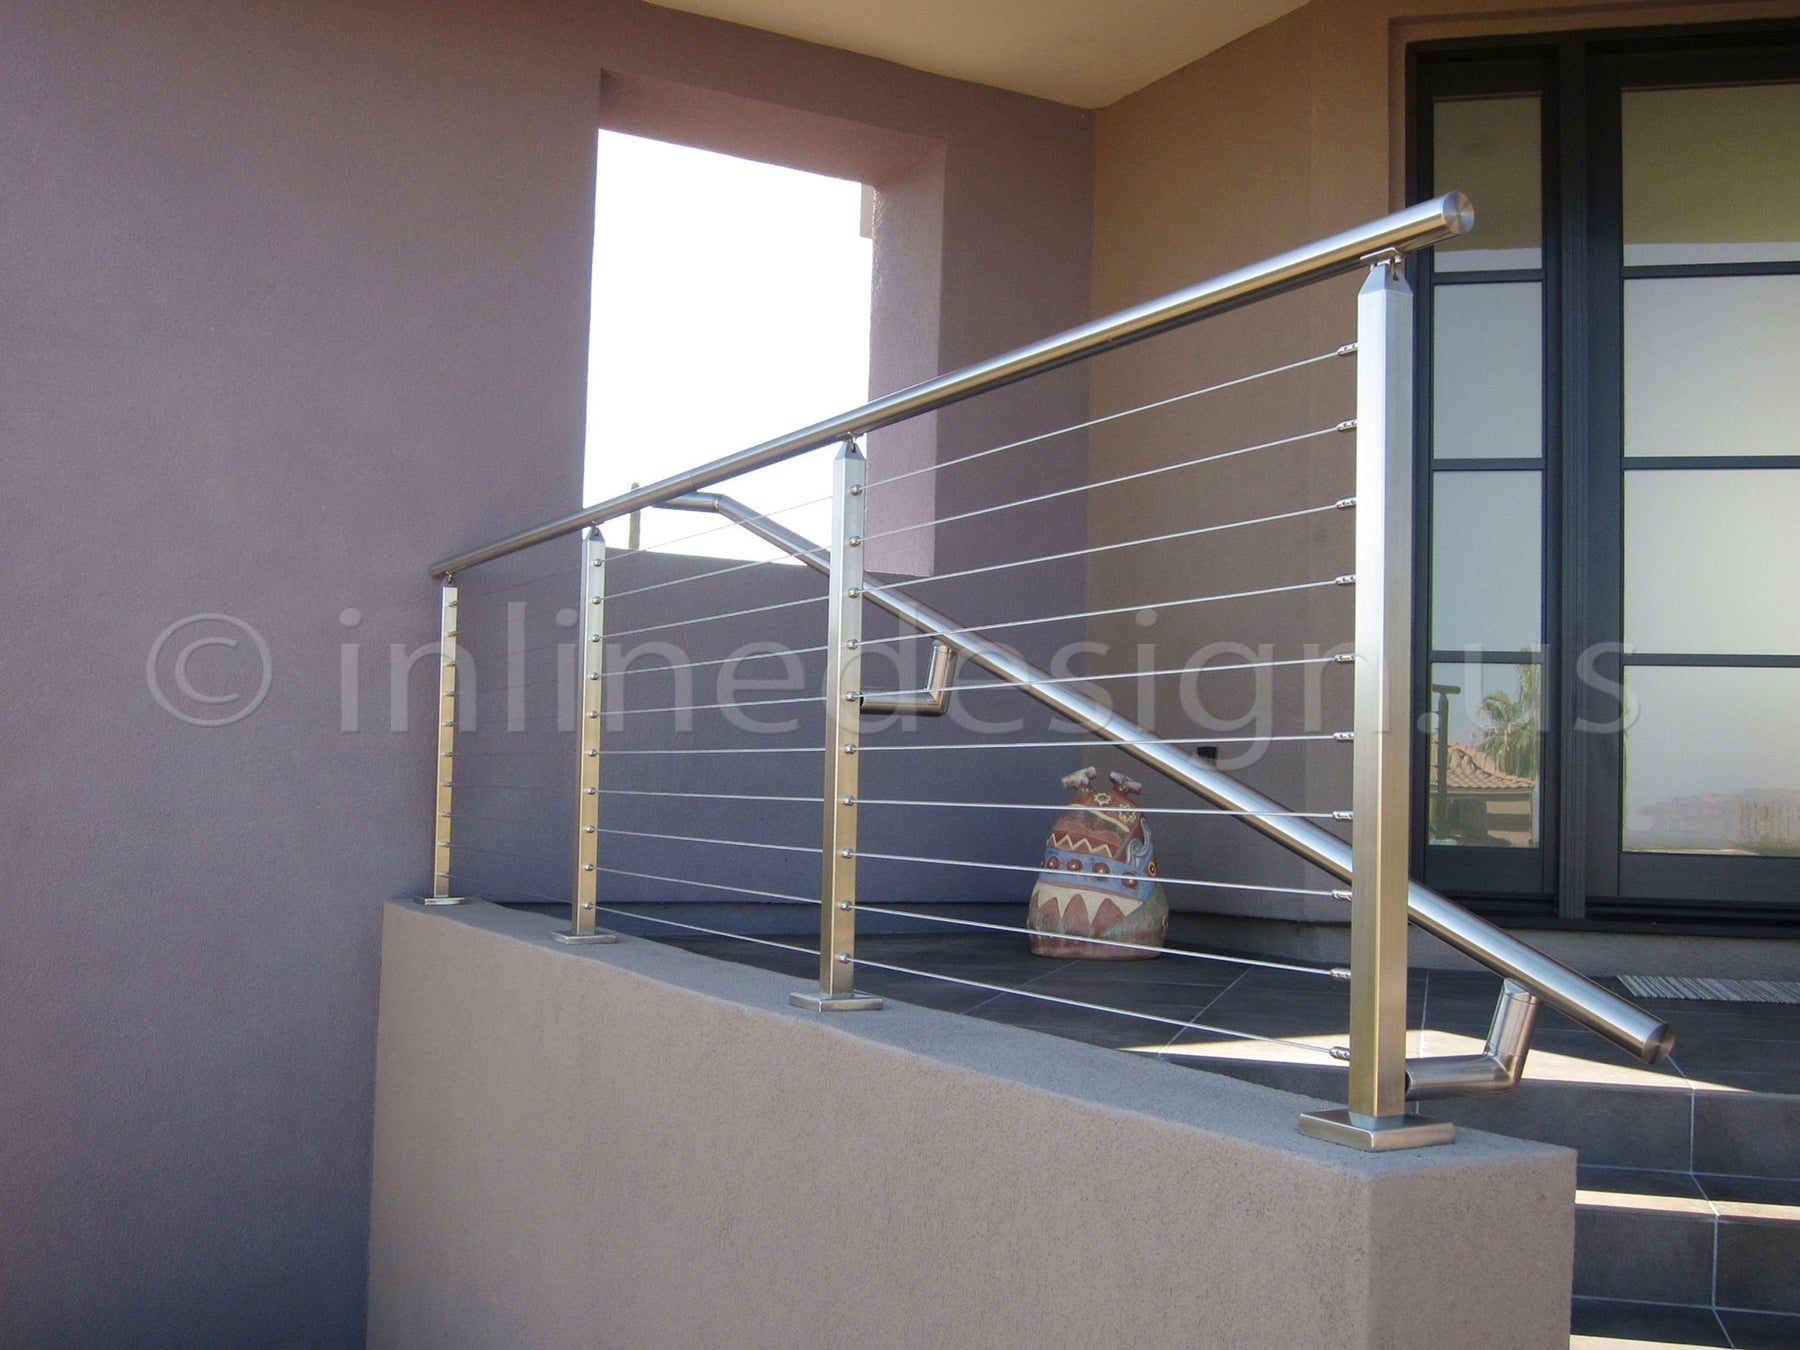
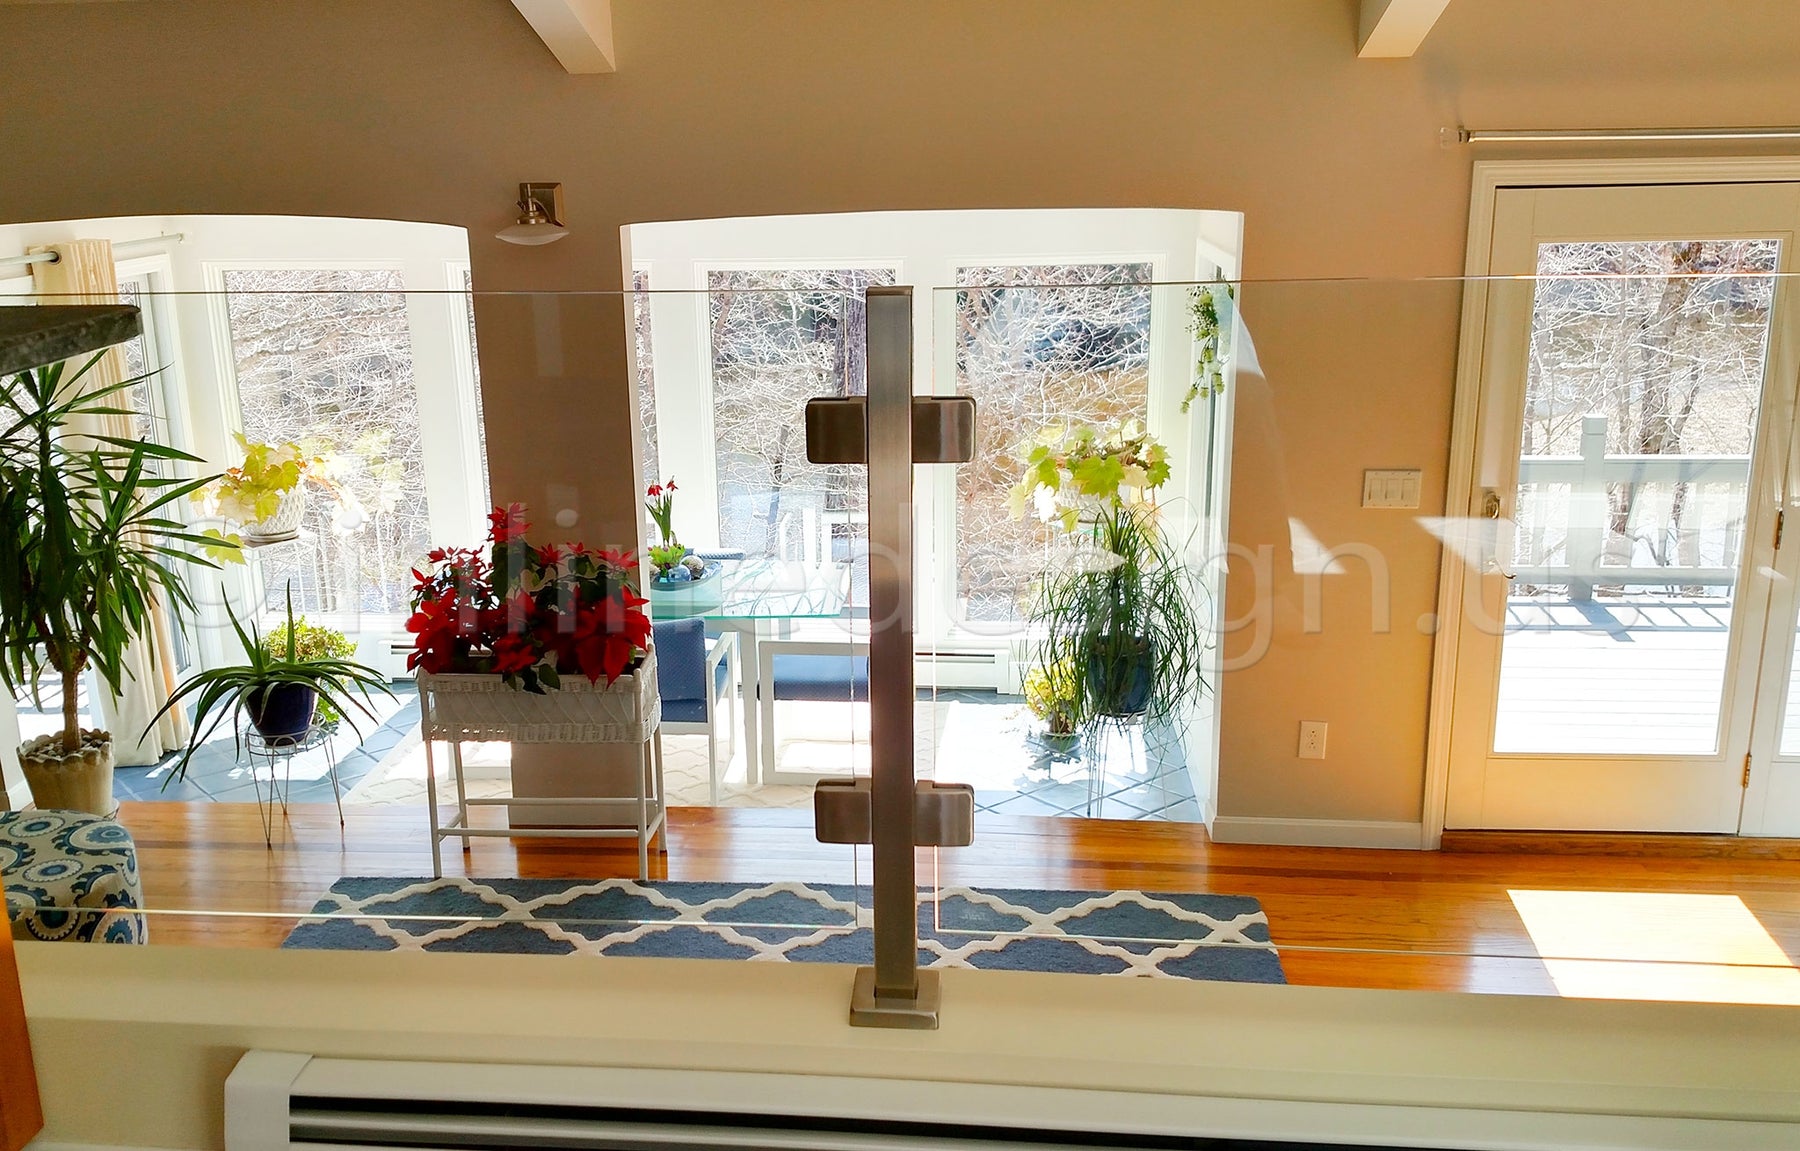
Heavy-wall 12 gauge (2.6mm) stainless steel and lightweight aluminum square tube with a 1-9/16" x 1-9/16" profile (40mm x 40mm), available in pre-cut lengths from 3' to 19'-8" for handrail, top rail, bar rail, foot rail, queue rail, pony rail, shelving, and custom fabrication. Choose from Satin 316 Stainless Steel, Black Powder-Coated 304 Stainless Steel, or Black Matte Aluminum to match your project's strength, weight, and finish requirements.
Quick Product Highlights
| Product | 12 Gauge Stainless Steel Square Tube |
| Category | Handrail Parts |
| Finish Options | Satin 316 Stainless Steel, Black Powder-Coated 304 Stainless Steel, and Black Matte Aluminum |
| Available Lengths | 3' to 19'-8" pre-cut |
Details
| Outside Profile | 1-9/16" x 1-9/16" (40mm x 40mm) — same for all finishes |
| Compatible Connector | Square Flush Angle 180° Connector |
12 Gauge Satin Stainless Steel SS 316
The Satin 316 Stainless Steel version is built for customers who want a heavy-duty square tube with the strength, feel, and long-term durability of stainless steel. The tube uses a 12 gauge / 0.102" / 2.6mm wall thickness, making it substantially heavier and more robust than thin-wall decorative tubing.
SS 316 stainless steel is the preferred stainless option for demanding railing environments because it provides excellent corrosion resistance, strong mechanical performance, and a premium satin brushed appearance. It is especially well suited for exterior railings, coastal projects, pool areas, commercial railings, and high-end residential installations when cleaned and maintained regularly.
Black Powder-Coated 304 Stainless Steel
The Black Powder-Coated 304 Stainless Steel version uses the same heavy-duty 12 gauge / 0.102" / 2.6mm wall square tube, built on 304 stainless steel and finished with a durable black matte powder coat. This option gives a clean, non-metallic black look and suits interior applications and standard non-coastal exterior applications.
Black Matte Aluminum 6005A-T61
The Black Matte Aluminum version uses a premium 6005A-T61 architectural aluminum extrusion instead of stainless steel, with a 0.083" / 2.1mm wall thickness and the same 1-9/16" x 1-9/16" (40mm x 40mm) outside profile. 6005A-T61 is a heat-treated 6000-series aluminum alloy selected for railing profiles because it offers an excellent combination of strength, lower weight, corrosion resistance, and clean extrusion quality.
Compared with stainless steel, aluminum provides a major weight advantage, making long tube sections easier to handle, cut, transport, and install. This is especially useful for long handrail and top rail runs where reduced weight improves jobsite handling without giving up a clean architectural look. The Black Matte finish is a high-end painted aluminum finish selected for exterior UV exposure, color stability, corrosion resistance, and long-term outdoor performance.

Material & Finish Details
| Satin Stainless Steel | SS 316 stainless steel with satin brushed finish, 12 gauge / 0.102" / 2.6mm wall thickness, approx. 2.09 lb/ft. |
| Black Powder-Coated 304 Stainless Steel | 304 stainless steel with black matte powder coat finish, 12 gauge / 0.102" / 2.6mm wall thickness, approx. 2.09 lb/ft. |
| Black Matte Aluminum | 6005A-T61 architectural aluminum extrusion with black matte painted finish, 0.083" / 2.1mm wall thickness, approx. 0.58 lb/ft. |
| Weight Advantage | Black Matte Aluminum is approximately 70% lighter than the 12 gauge stainless steel versions, making long runs easier to handle and install. |
| Important Finish Note | Black Matte Aluminum is painted aluminum, not powder-coated stainless steel and not SS 304. Weight values are approximate and may vary slightly by production tolerance and cut length. |
Installation / Ordering Notes
| Finish Guidance | Satin 316 Stainless Steel is recommended for exterior, coastal, pool, and high-corrosion environments; Black Powder-Coated 304 Stainless Steel suits interior and standard non-coastal exterior applications; Black Matte Aluminum is ideal where reduced weight is a priority, such as long handrail runs or DIY installations |
| Shipping | Lengths of 9 ft or longer ship by LTL freight in a wood crate. Keep pieces under 7'10" and use a joiner to avoid freight shipping. |
| Custom Cuts | Standard drop-down lengths are pre-cut sizes; exact custom cuts may require a custom setup fee — contact Sales at (425) 405-4405 |
Links & Downloadable Materials
Use this guide to cut Inline Design 304 and 316 stainless-steel round and square handrail tubing cleanly, with minimal burrs, heat tint, and finish damage.
Customer recommendation
For a simple straight cut in round tubing, use a stainless-rated rotary tubing cutter. For square tubing, miters, or repeated cuts, use a saw-based method below.
Choose the right cutting method
| Method | Best for | Result |
|---|---|---|
|
Rotary tubing cutter Round tubing only |
Simple, straight field cuts. | Easy, quiet, no sparks, and minimal finishing when tightened gradually. |
|
Low-RPM metal-cutting saw + steel-cutting blade Non-abrasive option |
Round or square tubing, miters, and repeated accurate cuts. | Cleaner, lower-spark cuts with less burr and heat tint when the saw and blade are compatible. |
| Dedicated 14-inch abrasive cut-off saw | Square tubing, miters, and repeated straight cuts where a quick, store-available option is needed. | Fast and economical, but creates more sparks, burrs, heat tint, and finishing work. |
| Cold saw or band saw | Repeatable, shop-quality cuts and critical finished lengths. | Most accurate result with the least burr and heat tint. |
Before cutting
- Dry-fit the rail, fittings, and end caps; account for the insertion depth of every fitting.
- Measure twice and mark a square cut line around the tube.
- Protect the finish with painter's tape or padding where the tube contacts a vise, fence, or clamp.
- Clamp the tube securely. Never hold it by hand while cutting.
Safety
- Wear ANSI/ISEA Z87.1 safety glasses with side protection; use hearing protection with power tools.
- Keep hands clear of the blade path. Secure loose clothing and long hair; remove jewelry.
- Use cut-resistant gloves only when handling the unpowered tube or sharp offcuts—never near a running saw.
- Let the tube and offcut cool naturally before handling. Do not quench a freshly cut tube in water.
Method 1: Rotary tubing cutter
Use this method for round tubing only. A stainless-rated rotary tubing cutter, such as the RIDGID 65S, is the easiest and least expensive choice for a straight field cut.
- Mark the cut. Dry-fit adjoining parts, then mark the finished cut location squarely around the tube.
- Align the cutter. Set the cutting wheel on the mark and tighten only until it just contacts the tube.
- Rotate and tighten gradually. After each full rotation, tighten the knob only a small amount. Continue until the cut separates.
- Deburr and clean. Remove the sharp inside and outside edges with the cutter's reamer or a fine deburring tool, then wipe away all chips.
Do not use a rotary cutter on square tubing. Over-tightening can deform thin-wall round tubing or leave a rough edge.
Method 2: Low-RPM saw with a steel-cutting blade
This is the non-abrasive saw option for round or square tubing, miters, and repeated cuts. Use a dedicated low-RPM metal-cutting saw only; a normal wood or sliding miter saw is not compatible.
Home Depot package
- Machine: Makita LC1230 12-inch metal-cutting cut-off saw — dedicated 15-amp metal saw with a built-in quick-release vise, 1-inch arbor, and 1,700 RPM no-load speed.
- Blade: Diablo 12-inch Steel Demon Cermet II, model D1260CF — 60-tooth stainless-steel blade for a dedicated 12-inch low-RPM metal-cutting saw.
Harbor Freight blade package
- Machine: Use the same Makita LC1230 12-inch metal-cutting cut-off saw, or an equivalent dedicated 12-inch low-RPM metal saw with a 1-inch arbor and a no-load speed no higher than 2,000 RPM.
- Blade: Hercules 12-inch, 60-tooth metal-cutting blade, SKU 57979 — cermet teeth for stainless and ferrous metal, 1-inch arbor, 2,000 RPM maximum.
Why the same machine for both packages? Harbor Freight sells the compatible blade but not a dedicated low-RPM 12-inch metal-cutting saw. Do not substitute a Harbor Freight or other standard wood miter saw; its speed and intended use are not compatible with these blades.
Method 3: Dedicated abrasive cut-off saw
This is the practical saw option when a standard, economical tool is needed. It is effective, but expect more sparks, burrs, heat tint, and finishing work than with Method 1 or Method 2.
Home Depot / DeWalt setup
- Saw: DeWalt D28730 14-inch chop saw — a dedicated metal cut-off saw with a quick-lock vise and 1-inch arbor.
- Stainless wheel: Diablo 14-inch metal cut-off wheel, model DBD140125A01F — 14-inch × 1/8-inch × 1-inch arbor, for steel and stainless steel. Confirm the wheel's printed maximum RPM is at least the saw's 4,200 RPM.
Harbor Freight setup
- Saw: Hercules 14-inch abrasive cut-off saw, SKU 56790 — a dedicated metal cut-off saw with a built-in vise, fence, and 1-inch arbor.
- Stainless wheel: Hercules 14-inch × 3/32-inch × 1-inch Type 01/41 wheel, SKU 57269 — rated for stainless steel and a 4,365 RPM maximum speed; compatible with the 4,100 RPM Hercules saw.
Saw cutting steps
- Confirm the final length. Dry-fit the components and mark the cut line squarely around the tube.
- Support and clamp the tube. Pad the vise or fence and secure the tube near the cut without crushing it.
- Check the setup. Confirm the blade or wheel is approved for stainless steel, has the correct diameter and arbor, and is rated at or above the saw's speed.
- Make a controlled cut. Keep the tube supported and use a steady feed. Do not force the saw or allow it to bind.
- Deburr and finish. After the blade stops and the tube cools, remove sharp edges with a fine deburring tool or stainless-only abrasive. Wipe the tube clean before assembly.
Protect the stainless finish
- Keep ordinary carbon-steel grinding dust, steel wool, and used carbon-steel abrasives away from the tubing.
- Use clean, dedicated abrasives and brushes for stainless steel whenever possible.
- For heat tint, deep scratches, or visible contamination, clean and refinish the surface before installation. See the stainless-steel passivation guidance where applicable.
When to get help
For a critical architectural length, custom miter, or finish that cannot be touched up, use a local metal shop. A precise cold-saw or band-saw cut is safer than risking a finished rail.
Technical note: Always follow the saw and blade or wheel manufacturer's instructions; they take precedence over this guide.
Use this guide to drill and tap threaded holes in Inline Design 304 or 316 stainless-steel round and square handrail tubing. It covers attaching handrail saddles and brackets with the supplied machine screws.
Before you begin
For cable railing systems, install and secure the handrail before installing or tensioning the cable. The handrail helps keep the posts aligned and supported during cable installation.
Safety
- Wear safety glasses with side protection that meet ANSI/ISEA Z87.1. Use hearing protection when required.
- Clamp the tubing securely in padded V-blocks or a self-centering fixture. Never hold the tubing by hand while drilling or tapping.
- Keep hands, gloves, jewelry, loose clothing, and long hair away from rotating tools. Do not wear gloves while operating a drill press or other rotating machinery.
- Turn the tool off and wait for it to stop before clearing chips, adjusting the setup, or applying additional cutting fluid.
- Follow the instructions supplied with the drill, tap, cutting fluid, and personal protective equipment.
Tools and materials
- Permanent marker
- Automatic center punch
- Padded V-blocks or a self-centering fixture; a round-tube drill jig is recommended for round tubing
- Drill press preferred, or a variable-speed hand drill where a drill press cannot be used safely
- Sharp 135-degree cobalt or other drill bits rated for stainless steel
- Correct tap and tap wrench; a tap guide is strongly recommended
- Cutting and tapping fluid suitable for stainless steel
- Deburring tool
- Supplied stainless-steel machine screws
Drill and tap selection
The table below provides starting sizes for conventional cut taps in 304 and 316 stainless steel. Confirm the thread printed on the supplied screw before drilling, follow the tap manufacturer's recommendation, and test the complete process on an offcut whenever possible.
| Bracket or screw group | Thread | Recommended drill | Common equivalent |
|---|---|---|---|
| Pyramid, Cone, HBWA.005, HBWA.008, HBWA.010–HBWA.016 | M5 × 0.8 | 4.3 mm | 11/64 in. |
| HBWA.006 and HBWA.009 | M6 × 1.0 | 5.2 mm | 13/64 in. |
| M8 coarse-thread attachment | M8 × 1.25 | 6.9 mm | Letter I (0.272 in.) |
| M8 fine-thread attachment, when specified | M8 × 1.0 | 7.1 mm | 9/32 in. |
Do not substitute a different tap or screw size simply because the original thread is difficult to cut. Stop and identify the cause before continuing.
Installation procedure
- Install the supporting components. Mount the posts or wall brackets according to the applicable Inline Design installation guide.
- Position and mark the handrail. Place the handrail tubing on the saddles or brackets. Confirm alignment, then mark the center of every mounting hole.
- Remove and clamp the tubing. Move the tube to a stable work surface and secure it in padded V-blocks or a self-centering fixture. Protect the finished surface from scratches.
- Center-punch each location. Make a clean, controlled indentation at every mark so the drill bit cannot skate across the stainless steel.
- Select the correct drill. Verify the screw thread and use the corresponding drill size from the table. Use a sharp bit intended for stainless steel.
- Lubricate and drill. Apply cutting fluid. Use the speed recommended by the drill-bit manufacturer for the bit diameter and stainless-steel grade. Maintain firm, controlled feed so the bit continues to produce chips; do not let the bit rub or dwell, because stainless steel can work-harden. Stop the machine before clearing chips or adding fluid.
- Deburr the hole. Remove sharp edges and loose chips without enlarging the pilot hole.
- Start the tap square. Apply tapping fluid and align the tap perpendicular to the tube surface. A tap guide is strongly recommended, especially on round tubing.
- Cut the thread slowly. A hand tap wrench provides the best control. Advance with steady pressure and periodically reverse just enough to break and clear chips. If an experienced installer uses a reversible power tool, use its lowest controllable speed and keep the tap aligned; do not increase speed after the tap engages.
- Back the tap out straight. Stop if resistance rises suddenly. Reverse carefully, clear the chips, reapply fluid, and check alignment before continuing.
- Clean and test. Remove all chips and cutting fluid. Hand-start the supplied screw to confirm clean engagement. Do not force or overtighten the screw in thin-wall tubing.
- Reinstall the handrail. Align the drilled holes with the saddles or brackets and complete the attachment. For a cable system, finish the handrail before installing and tensioning the cable.
Troubleshooting
- The drill squeals or stops producing chips: stop immediately. The bit may be dull, the feed may be too light, or the surface may be work-hardened. Replace or resharpen the bit and correct the setup before continuing.
- The tap becomes difficult to turn: do not force it. Back it out, clear chips, apply fresh tapping fluid, and confirm the pilot-hole size and alignment.
- The tap starts crooked: back it out before more threads are cut and restart with a tap guide.
- The hole or thread is damaged: do not automatically drill and tap the next larger size. Contact Inline Design or a qualified metal fabricator for the appropriate repair.
After drilling
Remove all metal chips and cutting-fluid residue from the tubing, brackets, and surrounding surfaces. Avoid transferring ordinary carbon-steel grinding dust or wire-brush debris onto stainless steel. If the finished surface has been contaminated or the project requires additional corrosion protection, follow the applicable stainless-steel cleaning and passivation procedure.
Video demonstration
Related instructions
Technical basis: Safety and machining recommendations were reviewed against OSHA eye-protection and machine-guarding guidance, stainless-steel machining guidance from the Nickel Institute and Outokumpu, and tap-drill recommendations from Guhring. Tool-manufacturer instructions and project-specific engineering requirements always take precedence.