


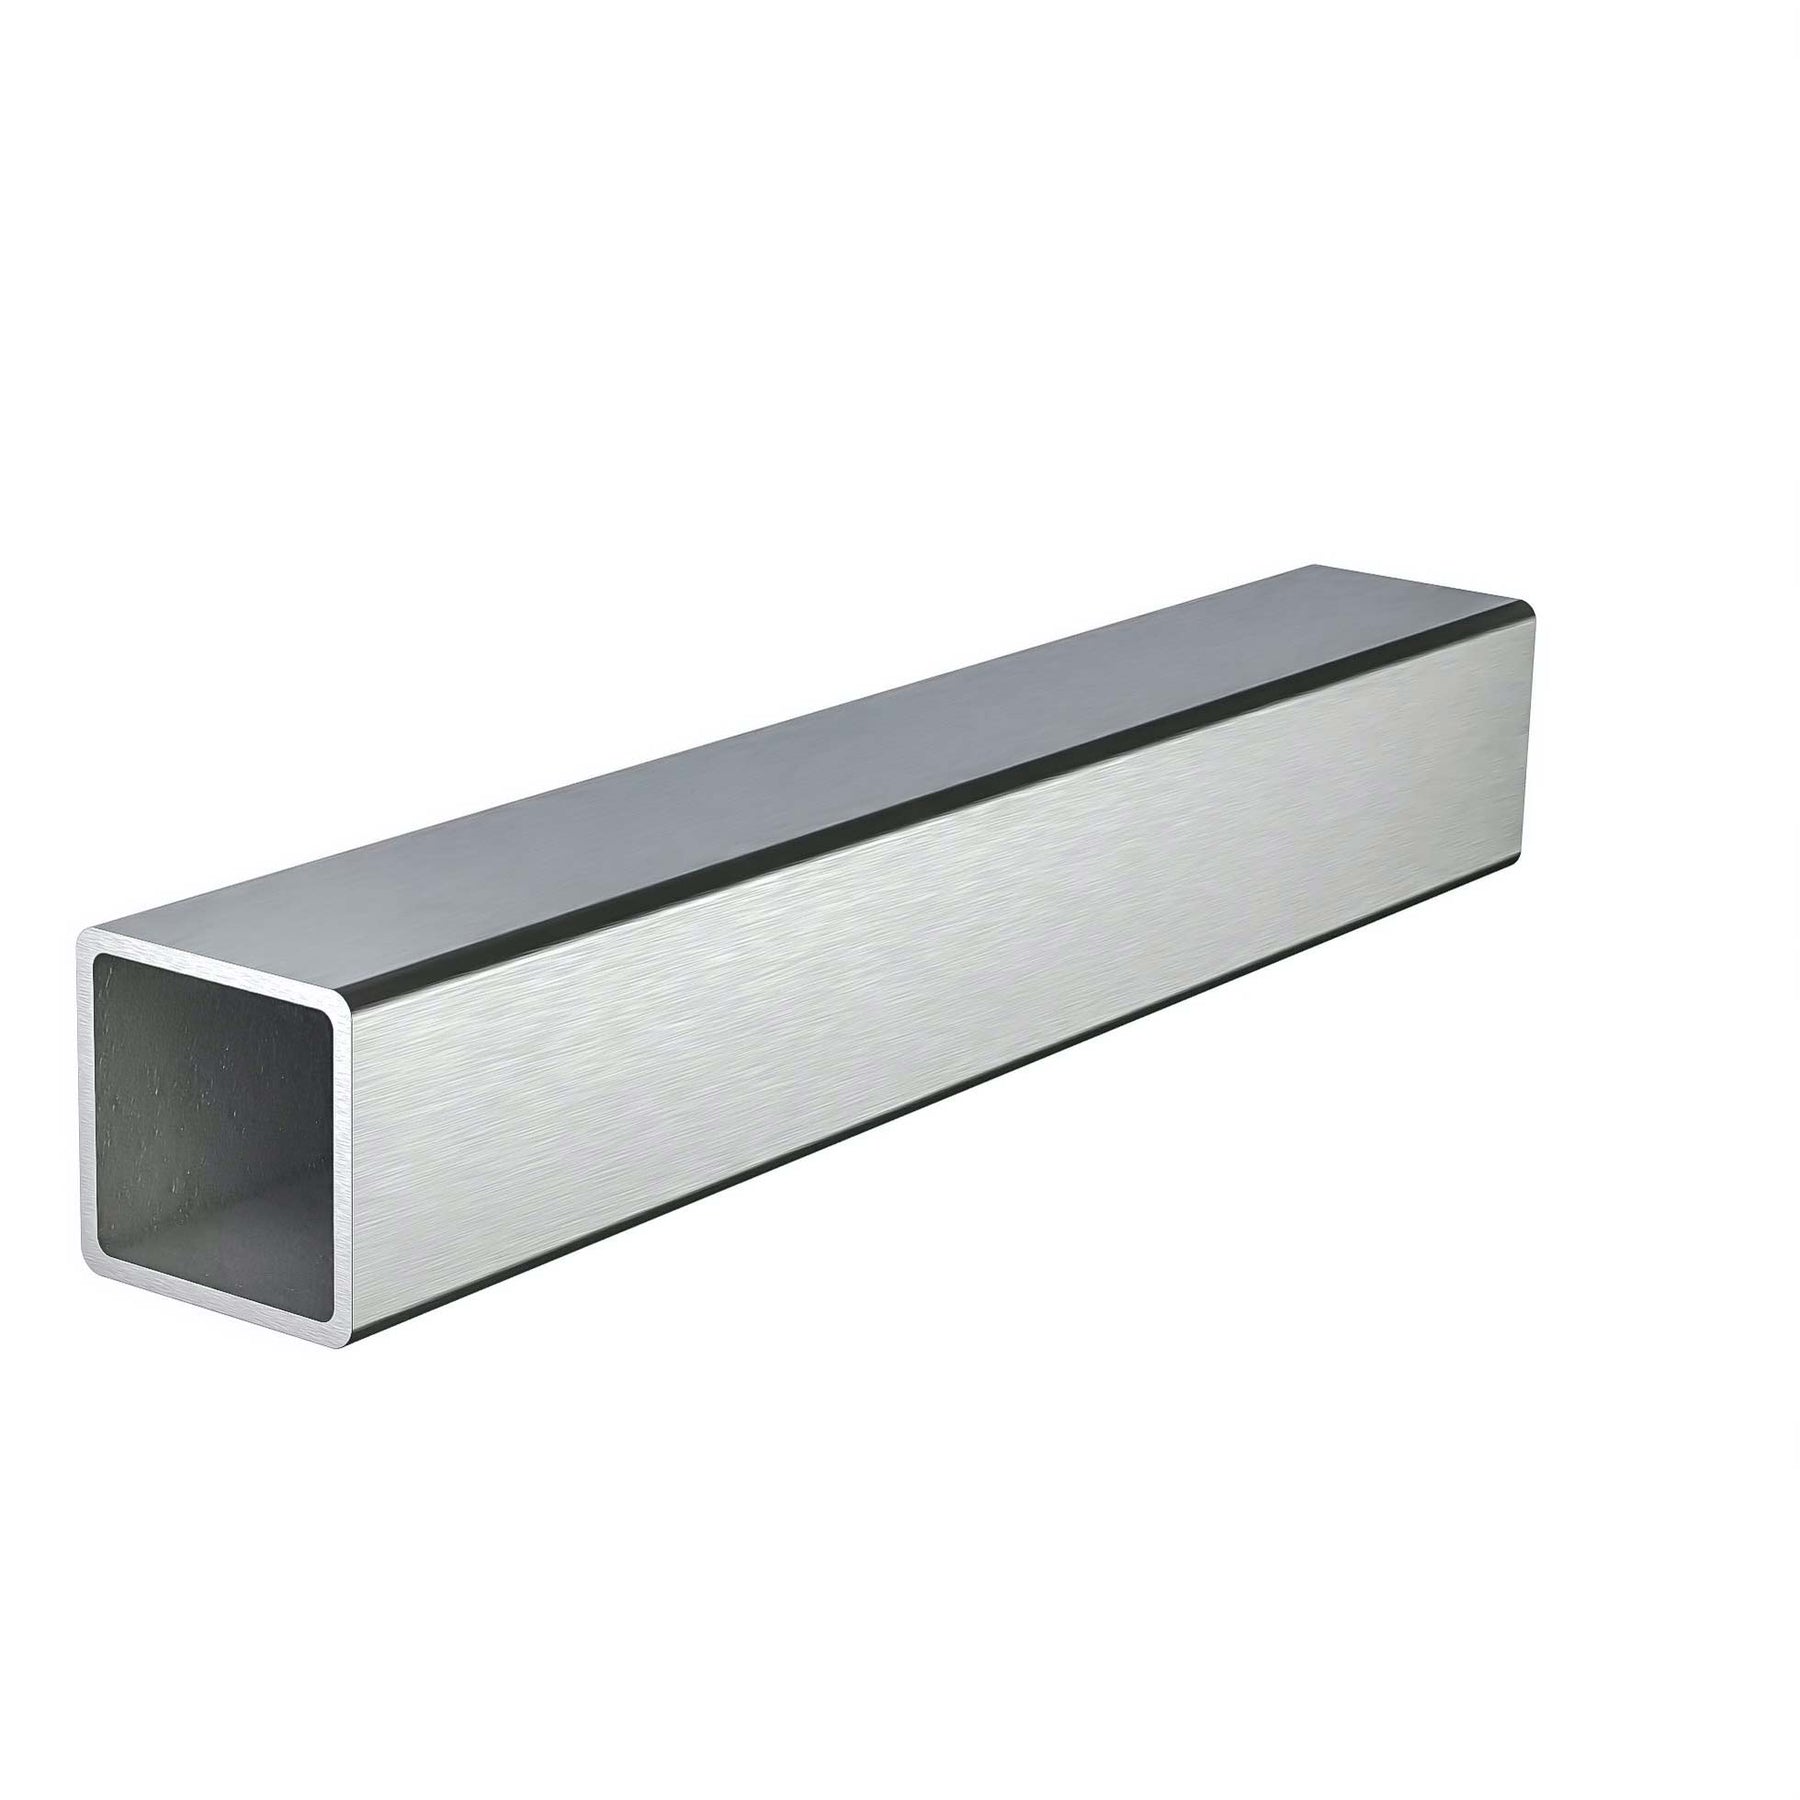


Square Handrail Tube | 1-9/16" | 12-Gauge 316/304 SS or Black Aluminum
TBE.SQU.157.3.26M.ALU
Regular price $37.86 Sale price $26.50 Save 30%Alternative: Keep all pieces under 7'10" and use a joiner to connect two shorter lengths instead of ordering one long piece.
Heavy-wall 12 gauge (2.6mm) stainless steel and lightweight aluminum square tube with a 1-9/16" x 1-9/16" profile (40mm x 40mm), available in pre-cut lengths from 3' to 19'-8" for handrail, top rail, bar rail, foot rail, queue rail, pony rail, shelving, and custom fabrication. Choose from Satin 316 Stainless Steel, Black Powder-Coated 304 Stainless Steel, or Black Matte Aluminum to match your project's strength, weight, and finish requirements.
Quick Product Highlights
| Product | 12 Gauge Stainless Steel Square Tube |
| Category | Handrail Parts |
| Finish Options | Satin 316 Stainless Steel, Black Powder-Coated 304 Stainless Steel, and Black Matte Aluminum |
| Available Lengths | 3' to 19'-8" pre-cut |
Details
| Outside Profile | 1-9/16" x 1-9/16" (40mm x 40mm) — same for all finishes |
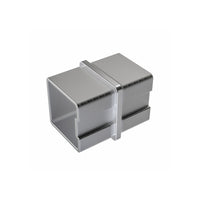
| Compatible Connector | Square Flush Angle 180° Connector |
12 Gauge Satin Stainless Steel SS 316
The Satin 316 Stainless Steel version is built for customers who want a heavy-duty square tube with the strength, feel, and long-term durability of stainless steel. The tube uses a 12 gauge / 0.102" / 2.6mm wall thickness, making it substantially heavier and more robust than thin-wall decorative tubing.
SS 316 stainless steel is the preferred stainless option for demanding railing environments because it provides excellent corrosion resistance, strong mechanical performance, and a premium satin brushed appearance. It is especially well suited for exterior railings, coastal projects, pool areas, commercial railings, and high-end residential installations when cleaned and maintained regularly.
Black Powder-Coated 304 Stainless Steel
The Black Powder-Coated 304 Stainless Steel version uses the same heavy-duty 12 gauge / 0.102" / 2.6mm wall square tube, built on 304 stainless steel and finished with a durable black matte powder coat. This option gives a clean, non-metallic black look and suits interior applications and standard non-coastal exterior applications.
Black Matte Aluminum 6005A-T61
The Black Matte Aluminum version uses a premium 6005A-T61 architectural aluminum extrusion instead of stainless steel, with a 0.083" / 2.1mm wall thickness and the same 1-9/16" x 1-9/16" (40mm x 40mm) outside profile. 6005A-T61 is a heat-treated 6000-series aluminum alloy selected for railing profiles because it offers an excellent combination of strength, lower weight, corrosion resistance, and clean extrusion quality.
Compared with stainless steel, aluminum provides a major weight advantage, making long tube sections easier to handle, cut, transport, and install. This is especially useful for long handrail and top rail runs where reduced weight improves jobsite handling without giving up a clean architectural look. The Black Matte finish is a high-end painted aluminum finish selected for exterior UV exposure, color stability, corrosion resistance, and long-term outdoor performance.
Material & Finish Details
| Satin Stainless Steel | SS 316 stainless steel with satin brushed finish, 12 gauge / 0.102" / 2.6mm wall thickness, approx. 2.09 lb/ft. |
| Black Powder-Coated 304 Stainless Steel | 304 stainless steel with black matte powder coat finish, 12 gauge / 0.102" / 2.6mm wall thickness, approx. 2.09 lb/ft. |
| Black Matte Aluminum | 6005A-T61 architectural aluminum extrusion with black matte painted finish, 0.083" / 2.1mm wall thickness, approx. 0.58 lb/ft. |
| Weight Advantage | Black Matte Aluminum is approximately 70% lighter than the 12 gauge stainless steel versions, making long runs easier to handle and install. |
| Important Finish Note | Black Matte Aluminum is painted aluminum, not powder-coated stainless steel and not SS 304. Weight values are approximate and may vary slightly by production tolerance and cut length. |
Installation / Ordering Notes
| Finish Guidance | Satin 316 Stainless Steel is recommended for exterior, coastal, pool, and high-corrosion environments; Black Powder-Coated 304 Stainless Steel suits interior and standard non-coastal exterior applications; Black Matte Aluminum is ideal where reduced weight is a priority, such as long handrail runs or DIY installations |
| Shipping | Lengths of 9 ft or longer ship by LTL freight in a wood crate. Keep pieces under 7'10" and use a joiner to avoid freight shipping. |
| Custom Cuts | Standard drop-down lengths are pre-cut sizes; exact custom cuts may require a custom setup fee — contact Sales at (425) 405-4405 |
Links & Downloadable Materials
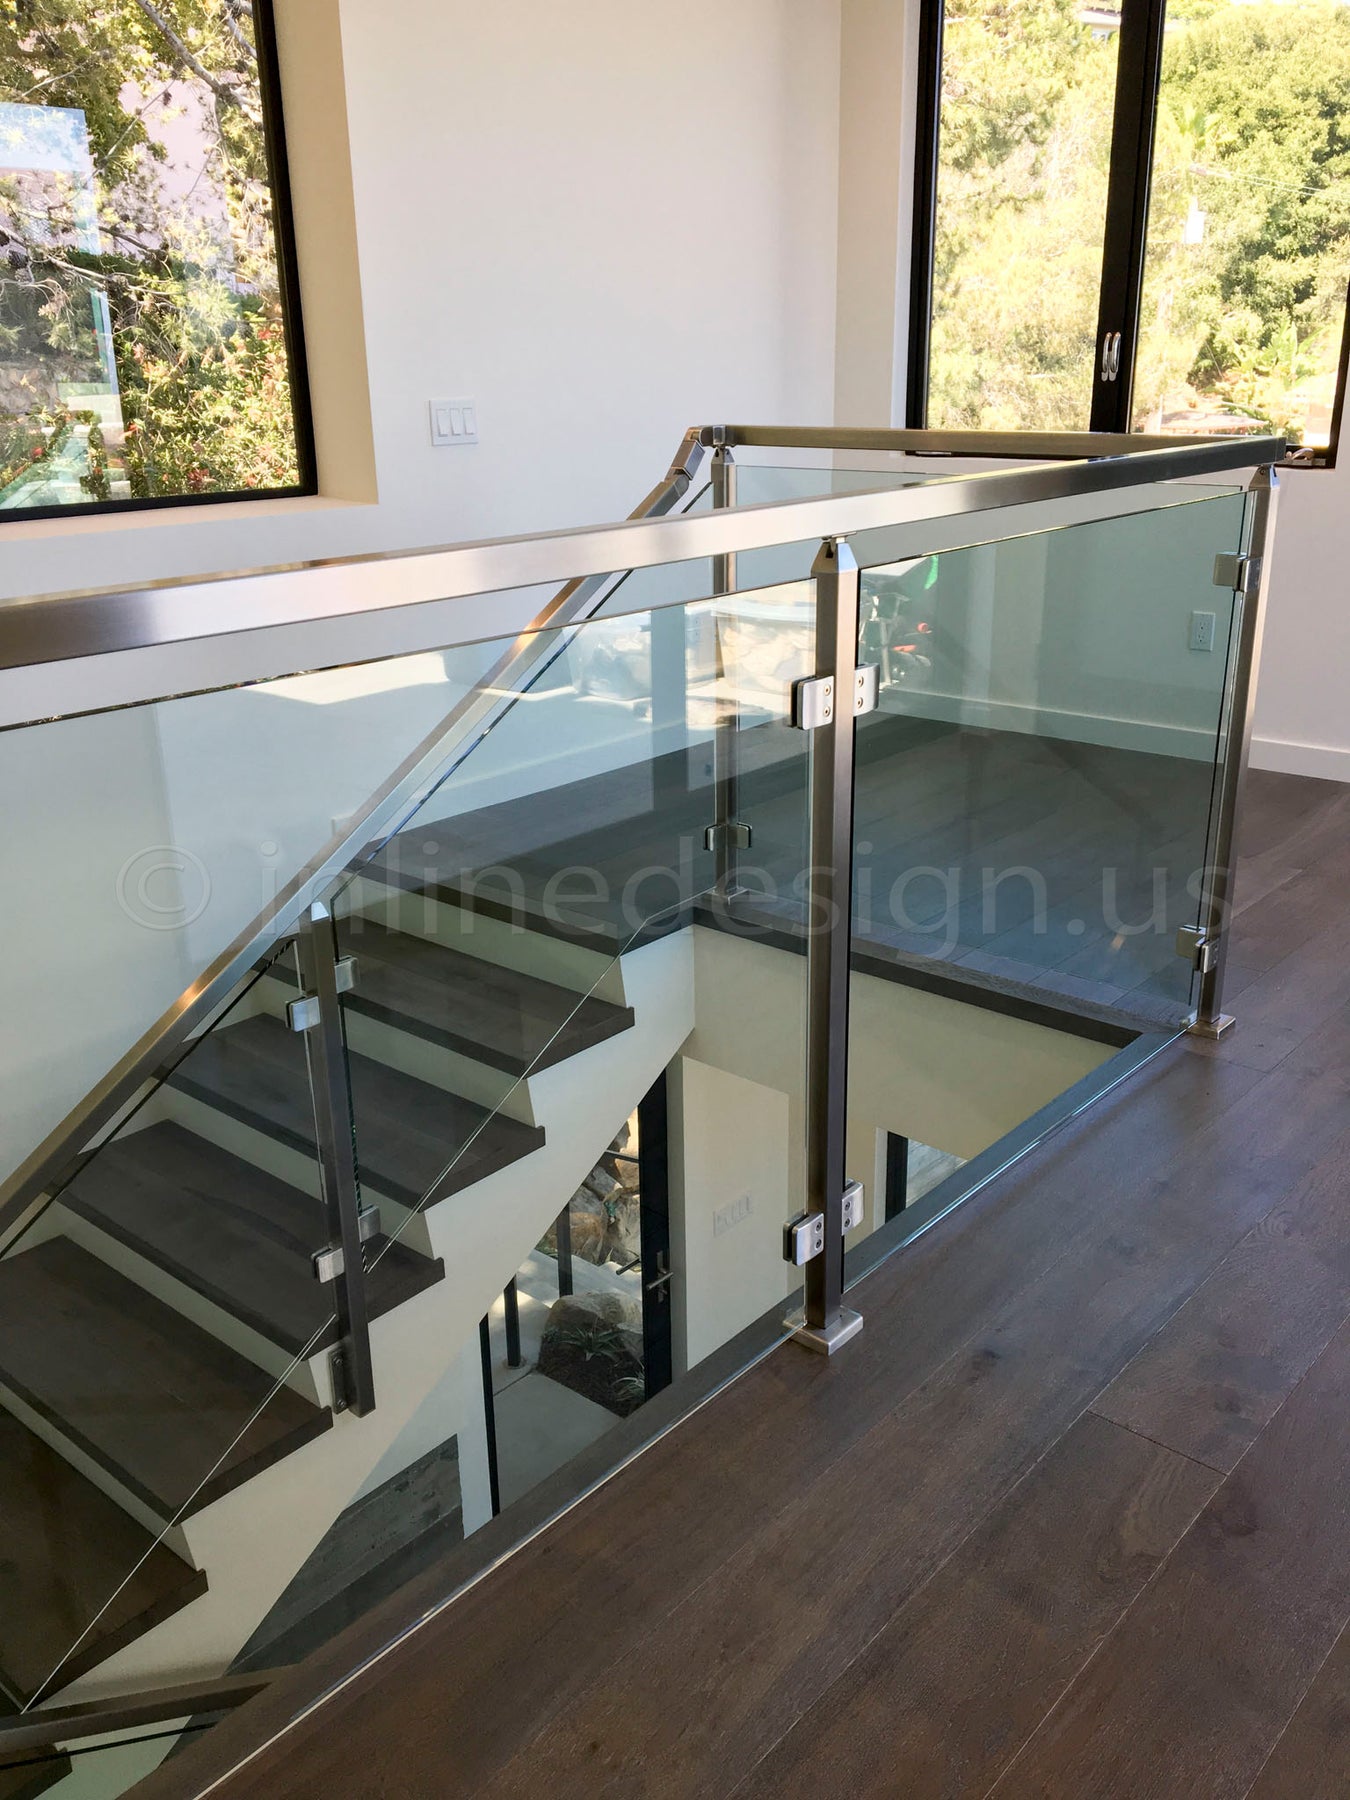
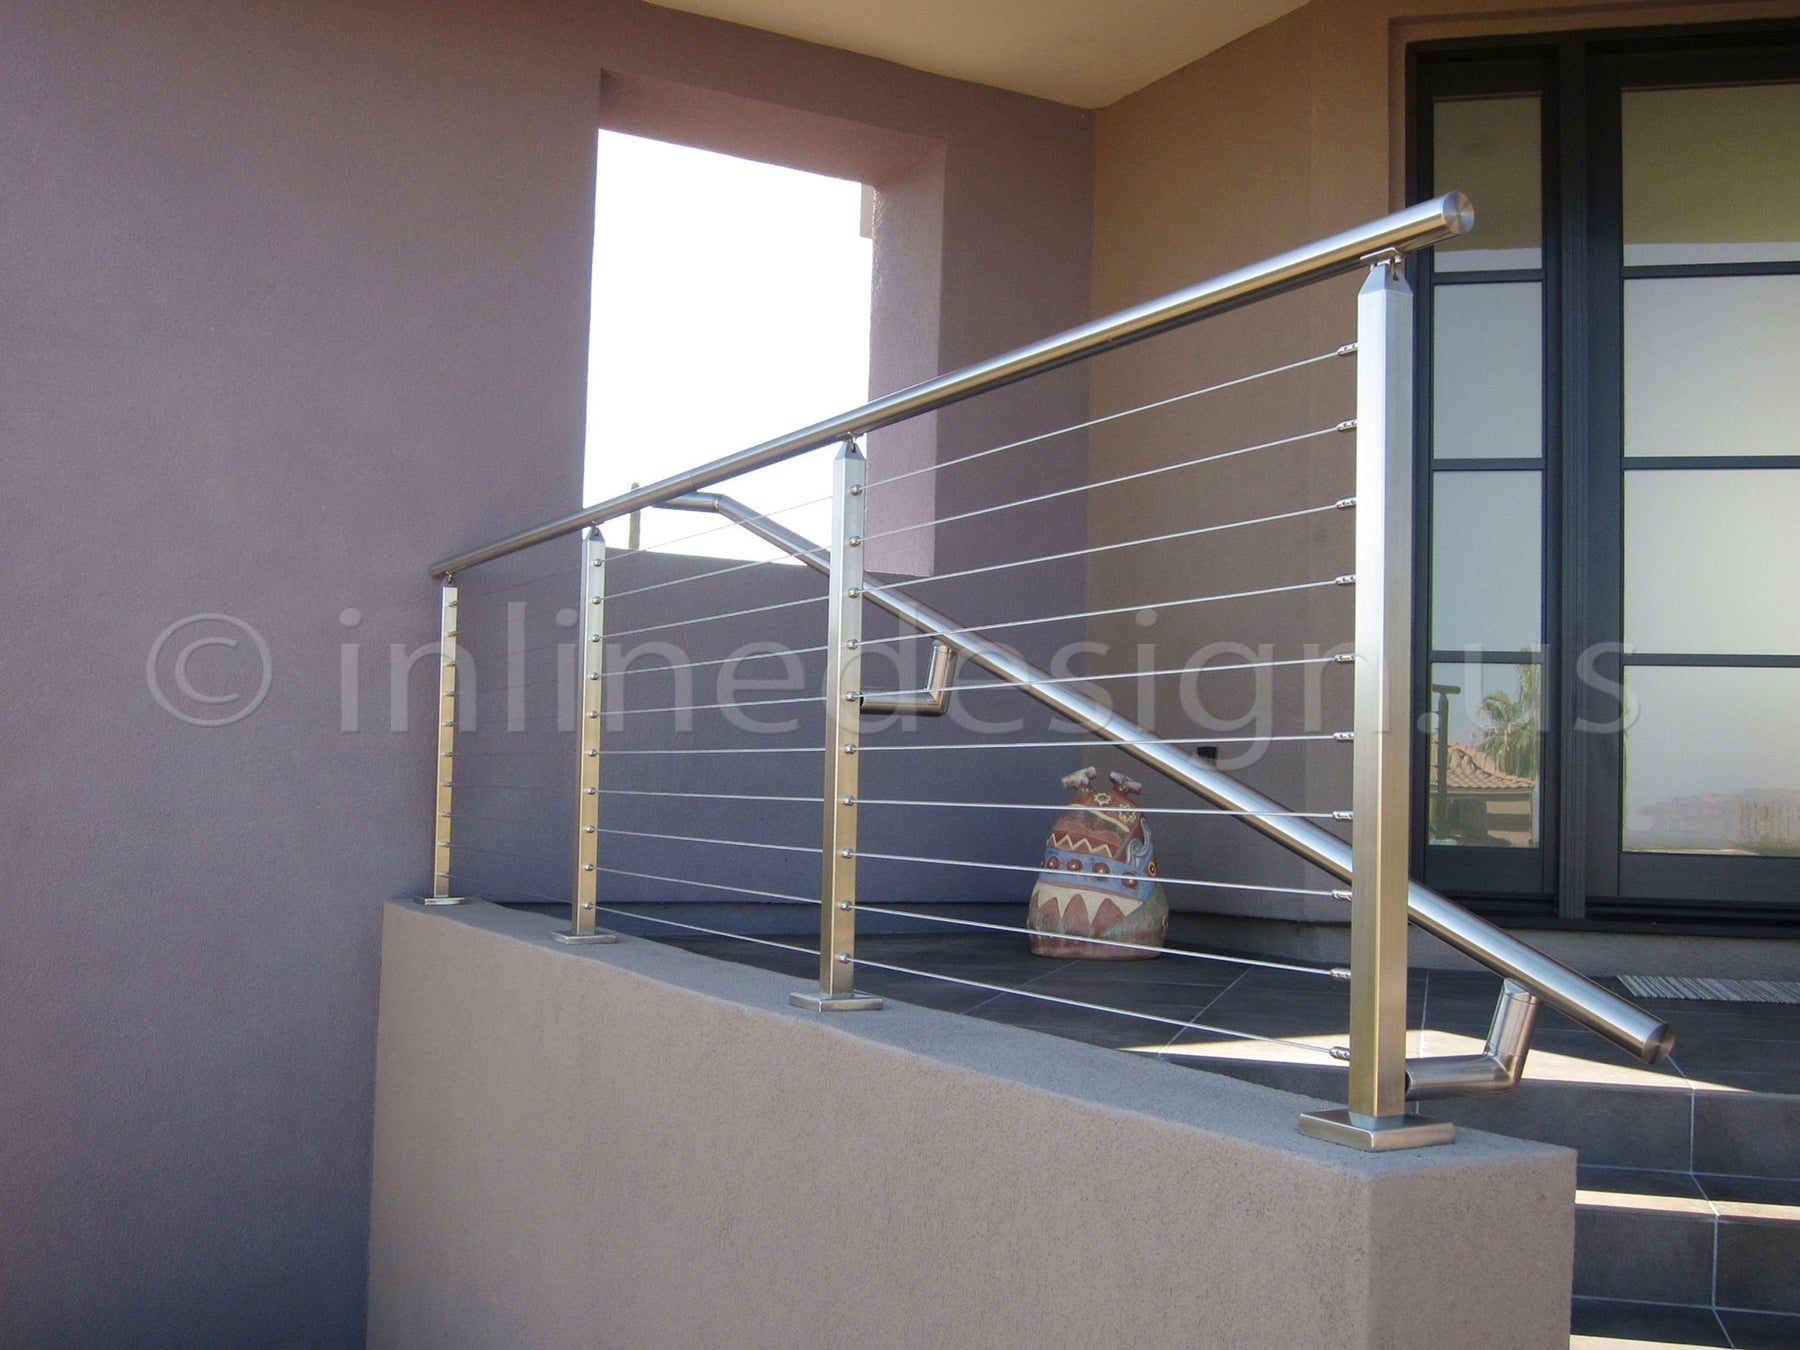
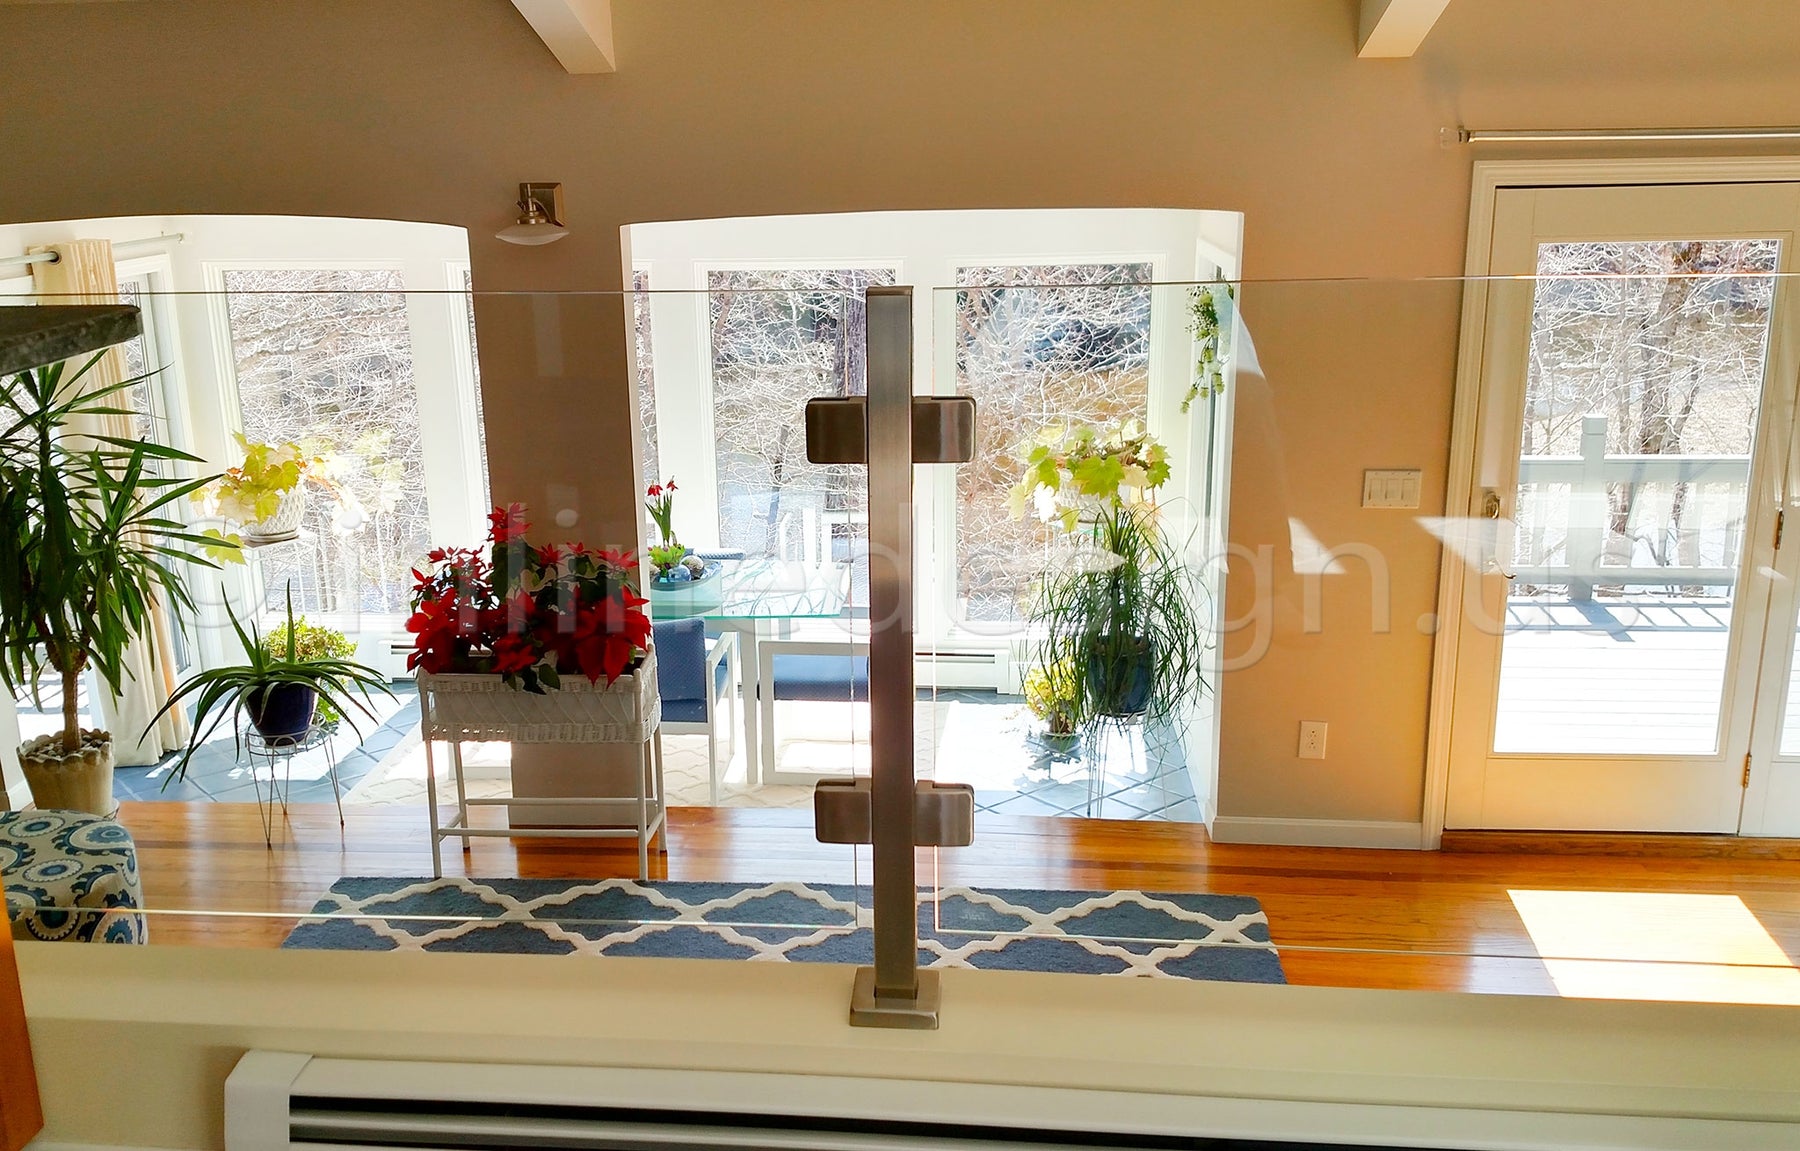
Explore our range of modern railing systems including cable railing systems, glass railing systems, and stainless steel railings — perfect for indoor and outdoor applications.
These directions will assist the user in properly cutting Premium-grade stainless steel tubes.
Inline Design recommends using a cold saw,band saw, preferably oil-fed. These saws will leave minimal burr and no heat marks. For round tubing, use 65S Premium-grade stainless steel Pipe Cutters.
For demonstration purposes, Inline Design is providing directions based on the use of the cut-off saw.
Caution: Wear protective AISI-approved safety glasses, work gloves, and masks all the time.
Tools Required
- Cut-off saw
- Duct tape
- Abrasive disk/blade
- Paper towel
- Disk sander
- Inner/outer reamer tool*
Instructions
- Place duct tape on the clamp of the cut-off saw and to all other areas where the tube will touch the metal to protect the surface from getting scratched while being cut
- Mark cutting point, clamp the tubing in place, and commence the cut
- Immerse the cut end into water to cool the cut tube
- File any sharp edges evenly with a fine metal file
- Clean the tube using a paper towel and some household cleaner
- Note: if necessary, ream/deburr the outside and inside of the tube. Be careful not to scratch the tubing while deburring; keep the deburr tool straight
- To polish the cut, follow instructions formaintaining Premium-grade stainless steel surface
NOTE:A small amount of surface corrosion is not uncommon after exposure to weather or salty conditions. We recommend using ourpassivation solutionto prevent any surface corrosion from happening; more information is available on ourEngineering Specifications Page.
Downloads
Explore our range of modern railing systems including cable railing systems, glass railing systems, and stainless steel railings — perfect for indoor and outdoor applications.
Overview
This document contains the comprehensive information for how to drill and tap holes for brackets use or handrail brackets
Caution:Wear protective AISI approved safety glasses, working gloves and breathing mask at all times • Inspect before installation or use; do not use if parts are loose or damaged
Tools Required
- Center Punch
- Hand drill
- Cobalt Drill bit
- Tap bit
- Cutting oil
- Marker Pen
Guide Bit and Tab Guide
| Bracket/Screw | Drill Size | AISI Size | Tap Size |
| Pyramid | 4mm | 5/32" | M5 x 0.8 |
| Cone | 4mm | 5/32" | M5 x 0.8 |
| HBWA.005 | 4mm | 5/32" | M5 x 0.8 |
| HBWA.006 | 5mm | 3/16" | M6 x 1.0 |
| HBWA.008 | 4mm | 5/32" | M5 x 0.8 |
| HBWA.009 | 5mm | 3/16" | M6x1.0 |
| HBWA.010 | 4mm | 5/32" | M5 x 0.8 |
| HBWA.011 | 4mm | 5/32" | M5 x 0.8 |
| HBWA.012 | 4mm | 5/32" | M5 x 0.8 |
| HBWA.013 | 4mm | 5/32" | M5 x 0.8 |
| HBWA.014 | 4mm | 5/32" | M5 x 0.8 |
| HBWA.015 | 4mm | 5/32" | M5 x 0.8 |
| HBWA.016 | 4mm | 5/32" | M5 x 0.8 |
| M8 | 6.9mm | 17/64" | M8 x 1.25 |
Instructions
- Mount the posts to the floor or the brackets to the wall before installing the handrail tube. Please referto other instructions document found on our website for help in that operation
- Place the handrail tubing on the saddles. Mark the drilling points using a marker
- It’s very important not to skip this point otherwise the drill bit will skid. Remove the handrail then place it on a working table. Mark the drilling points with acenter punch tool. Repeat this several times in the same locationto give a good guide for the drill bit.
- Use the corresponding drill bit size shown in table above.
- Apply cutting fluid on the drill bit.
- Hold firm but without pressing too hard the hand-drill then gradually apply pressure to drill through the top rail with stopping a couple of times to reapply the cutting fluid. Complete all marked location.
- Replace the drill bit with the corresponding tap bit shown in table.
- Apply cutting fluid on the tap. Tapping is to be done at a slower speed then drilling. Start at a slow speed then increase the speed once the tap catches a couple of threads.
- Reverse the direction of the drill to remove the tap remembering to carefully keep the tap bit straight.