

DIY Cable Railing Installation: Stainless Steel Deck Railing in Pensacola, FL
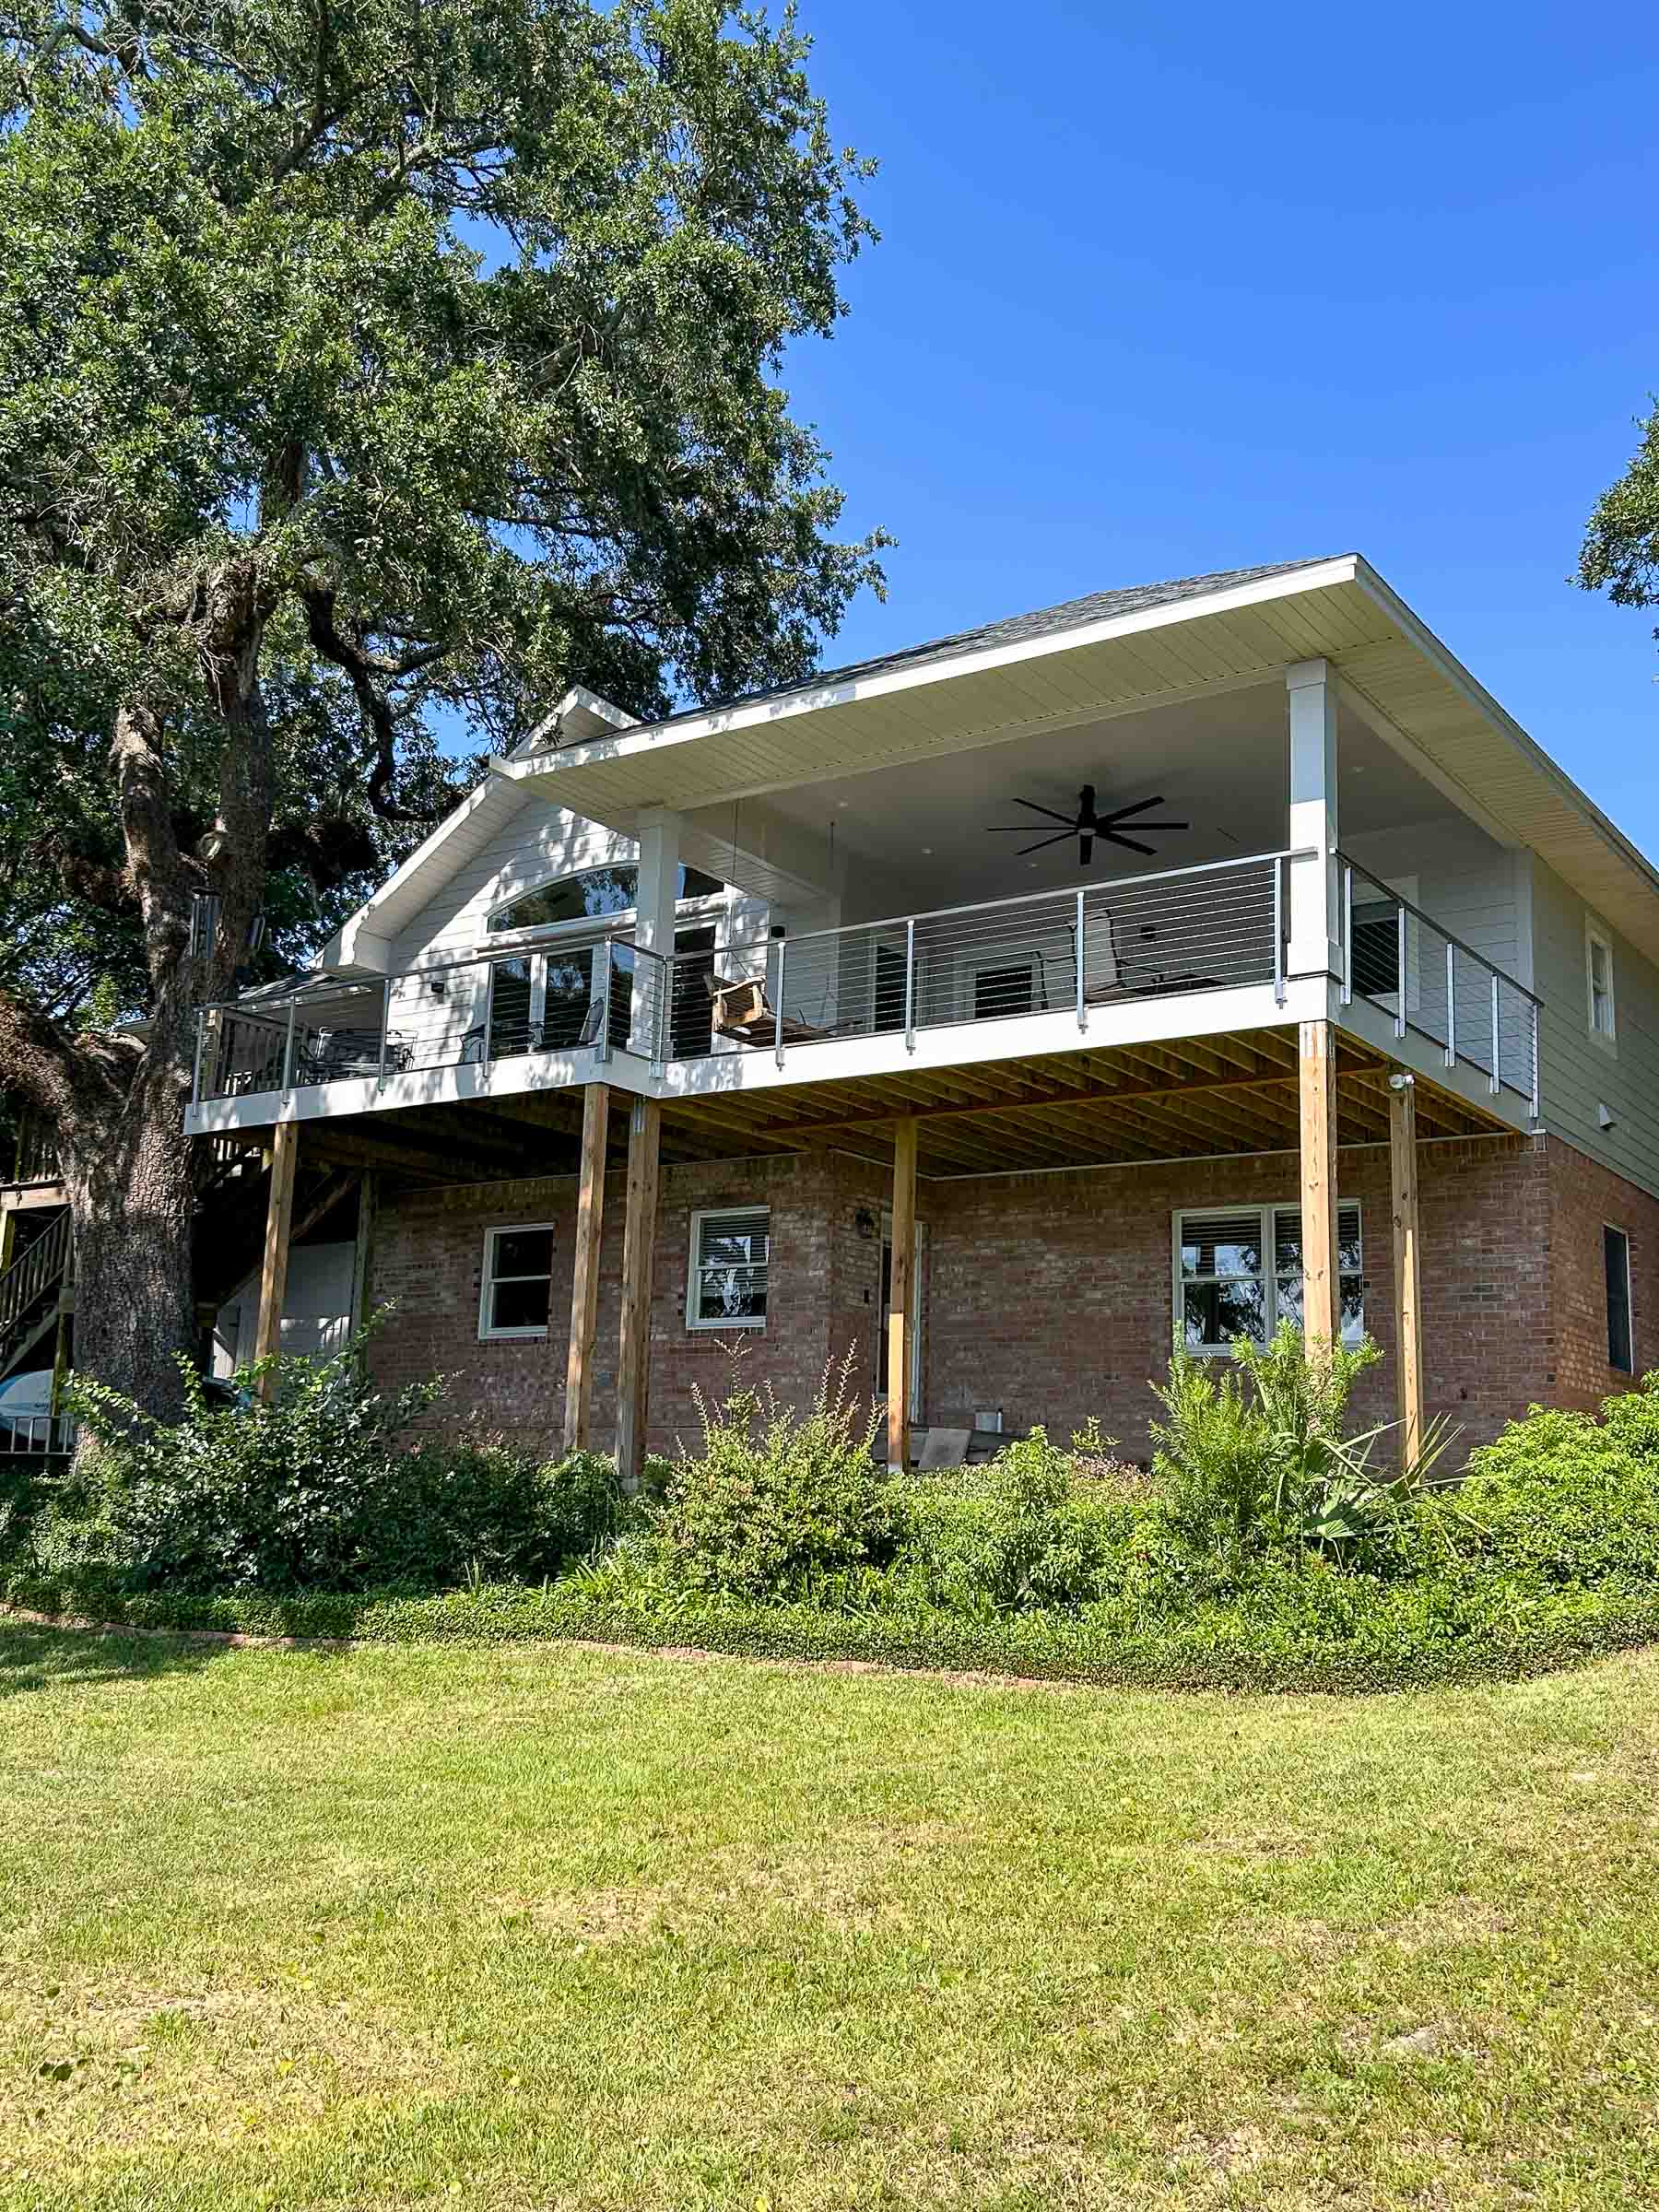
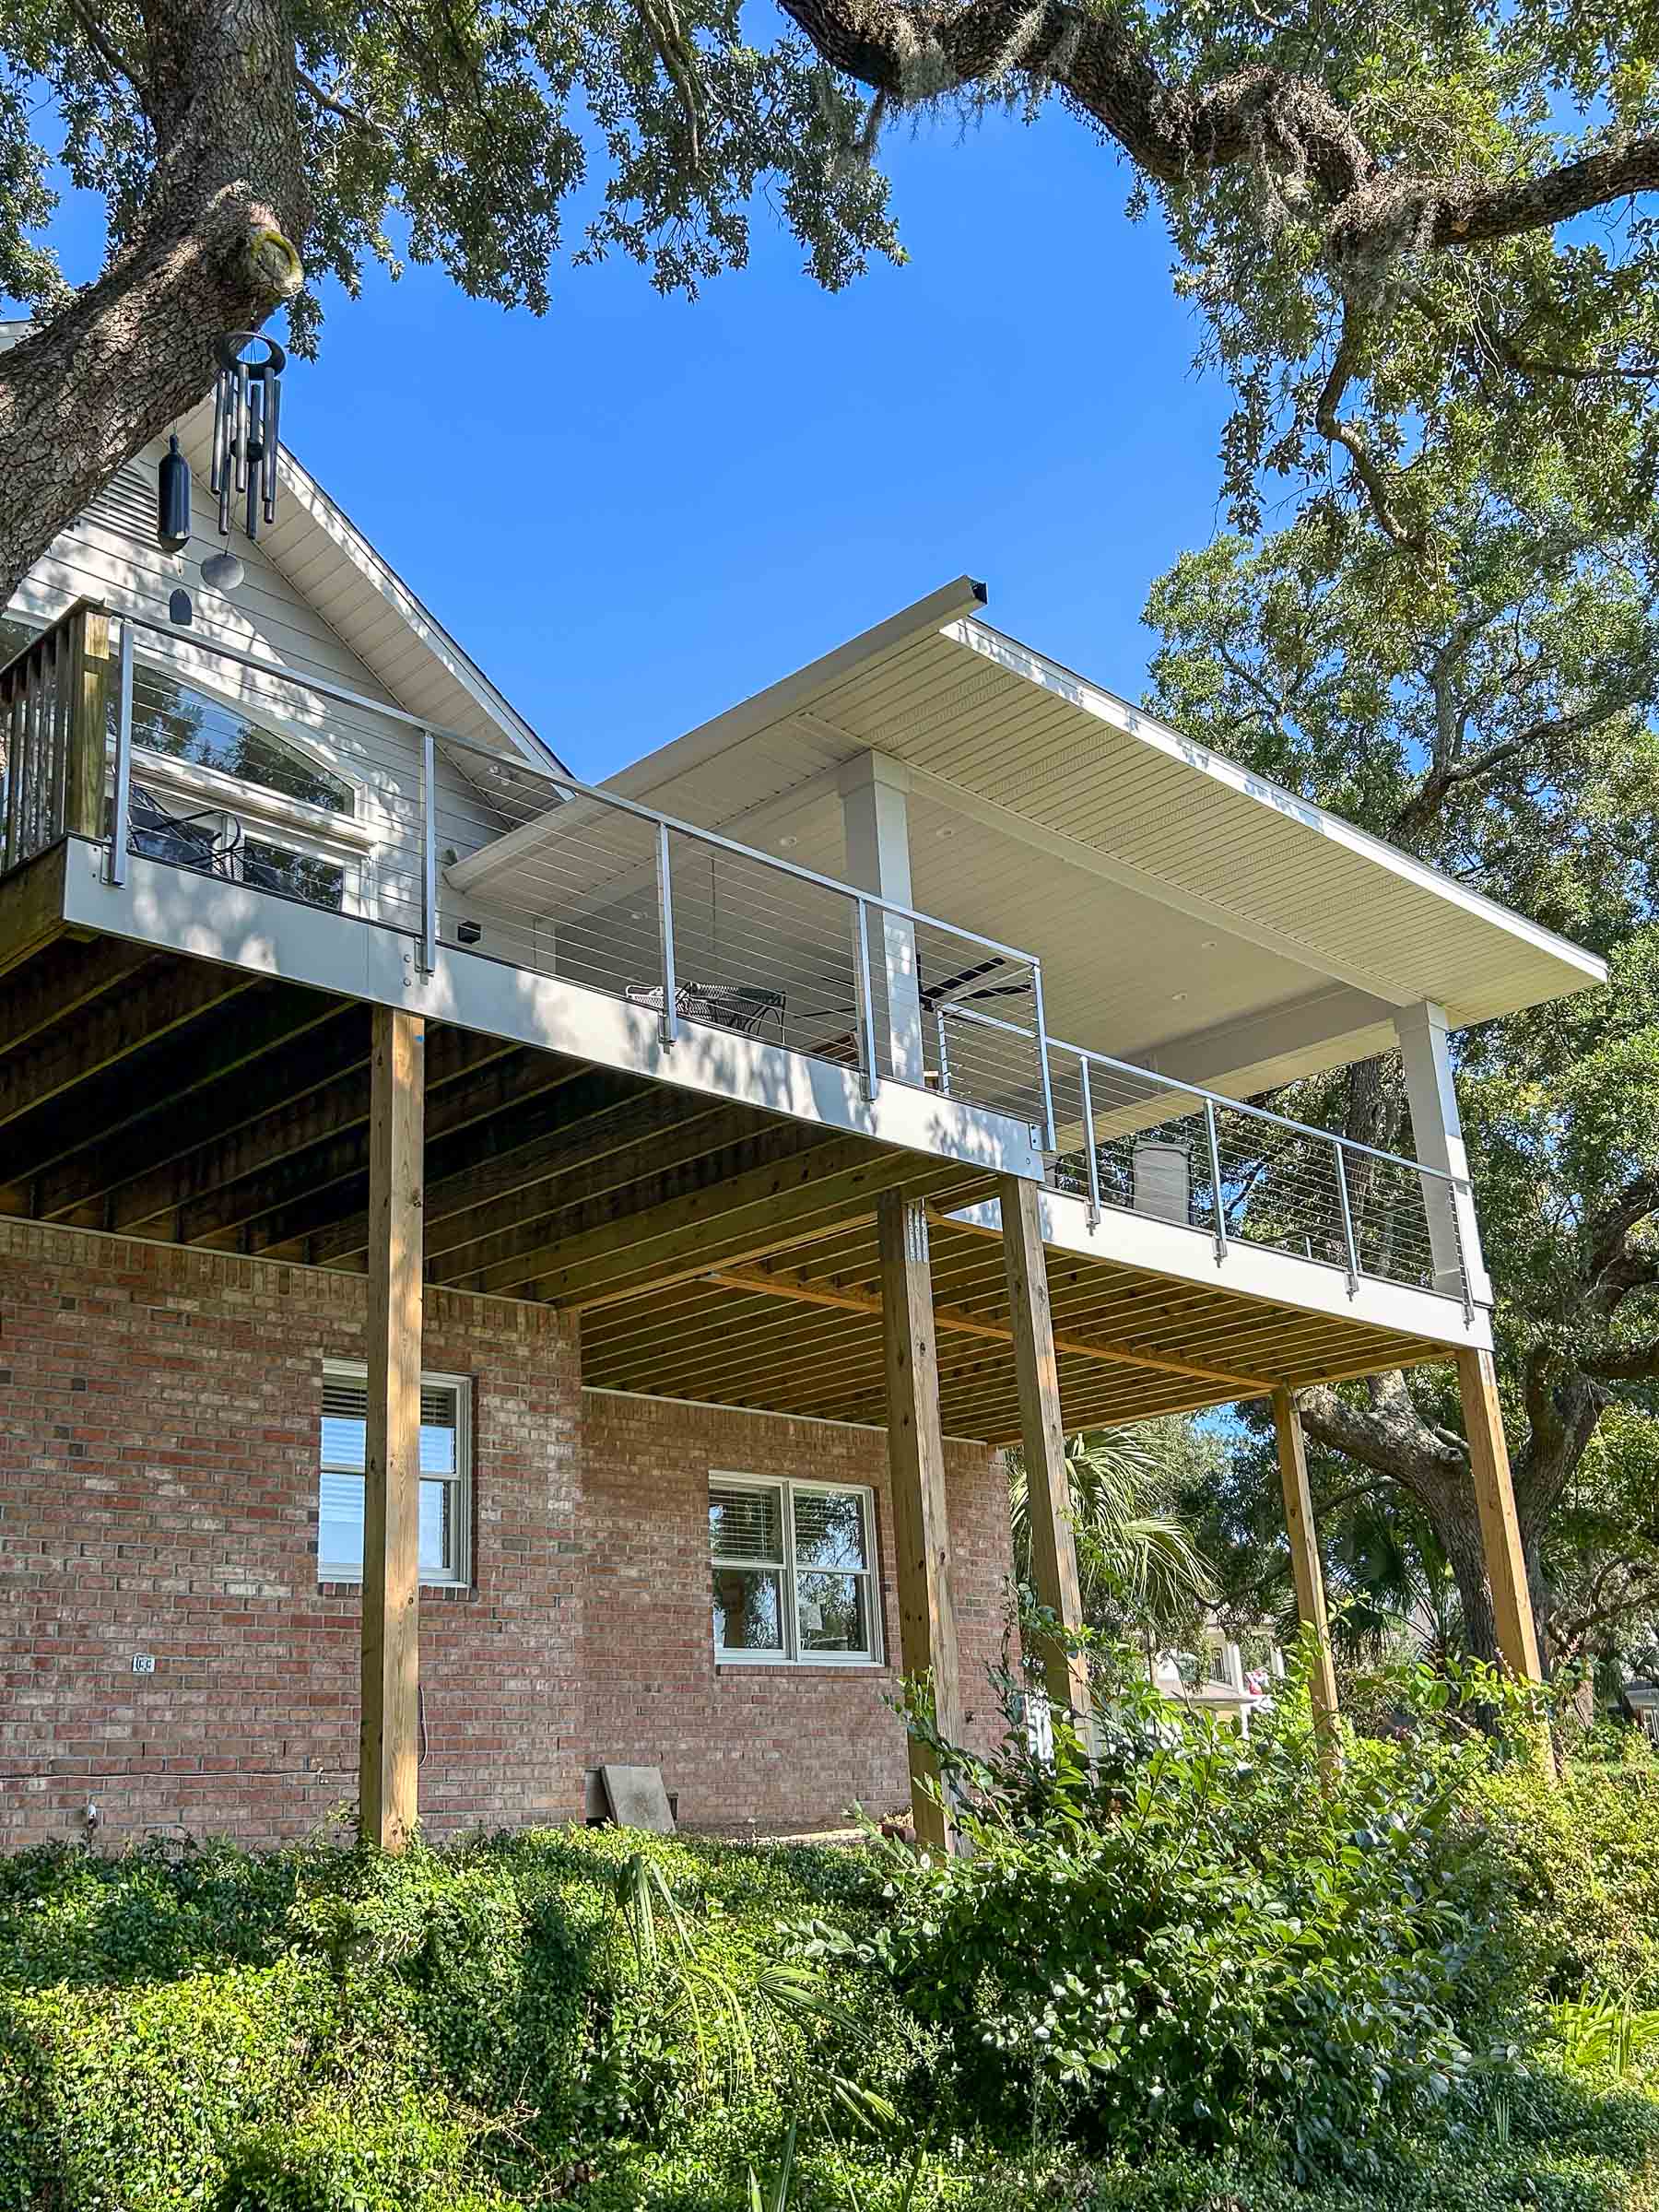
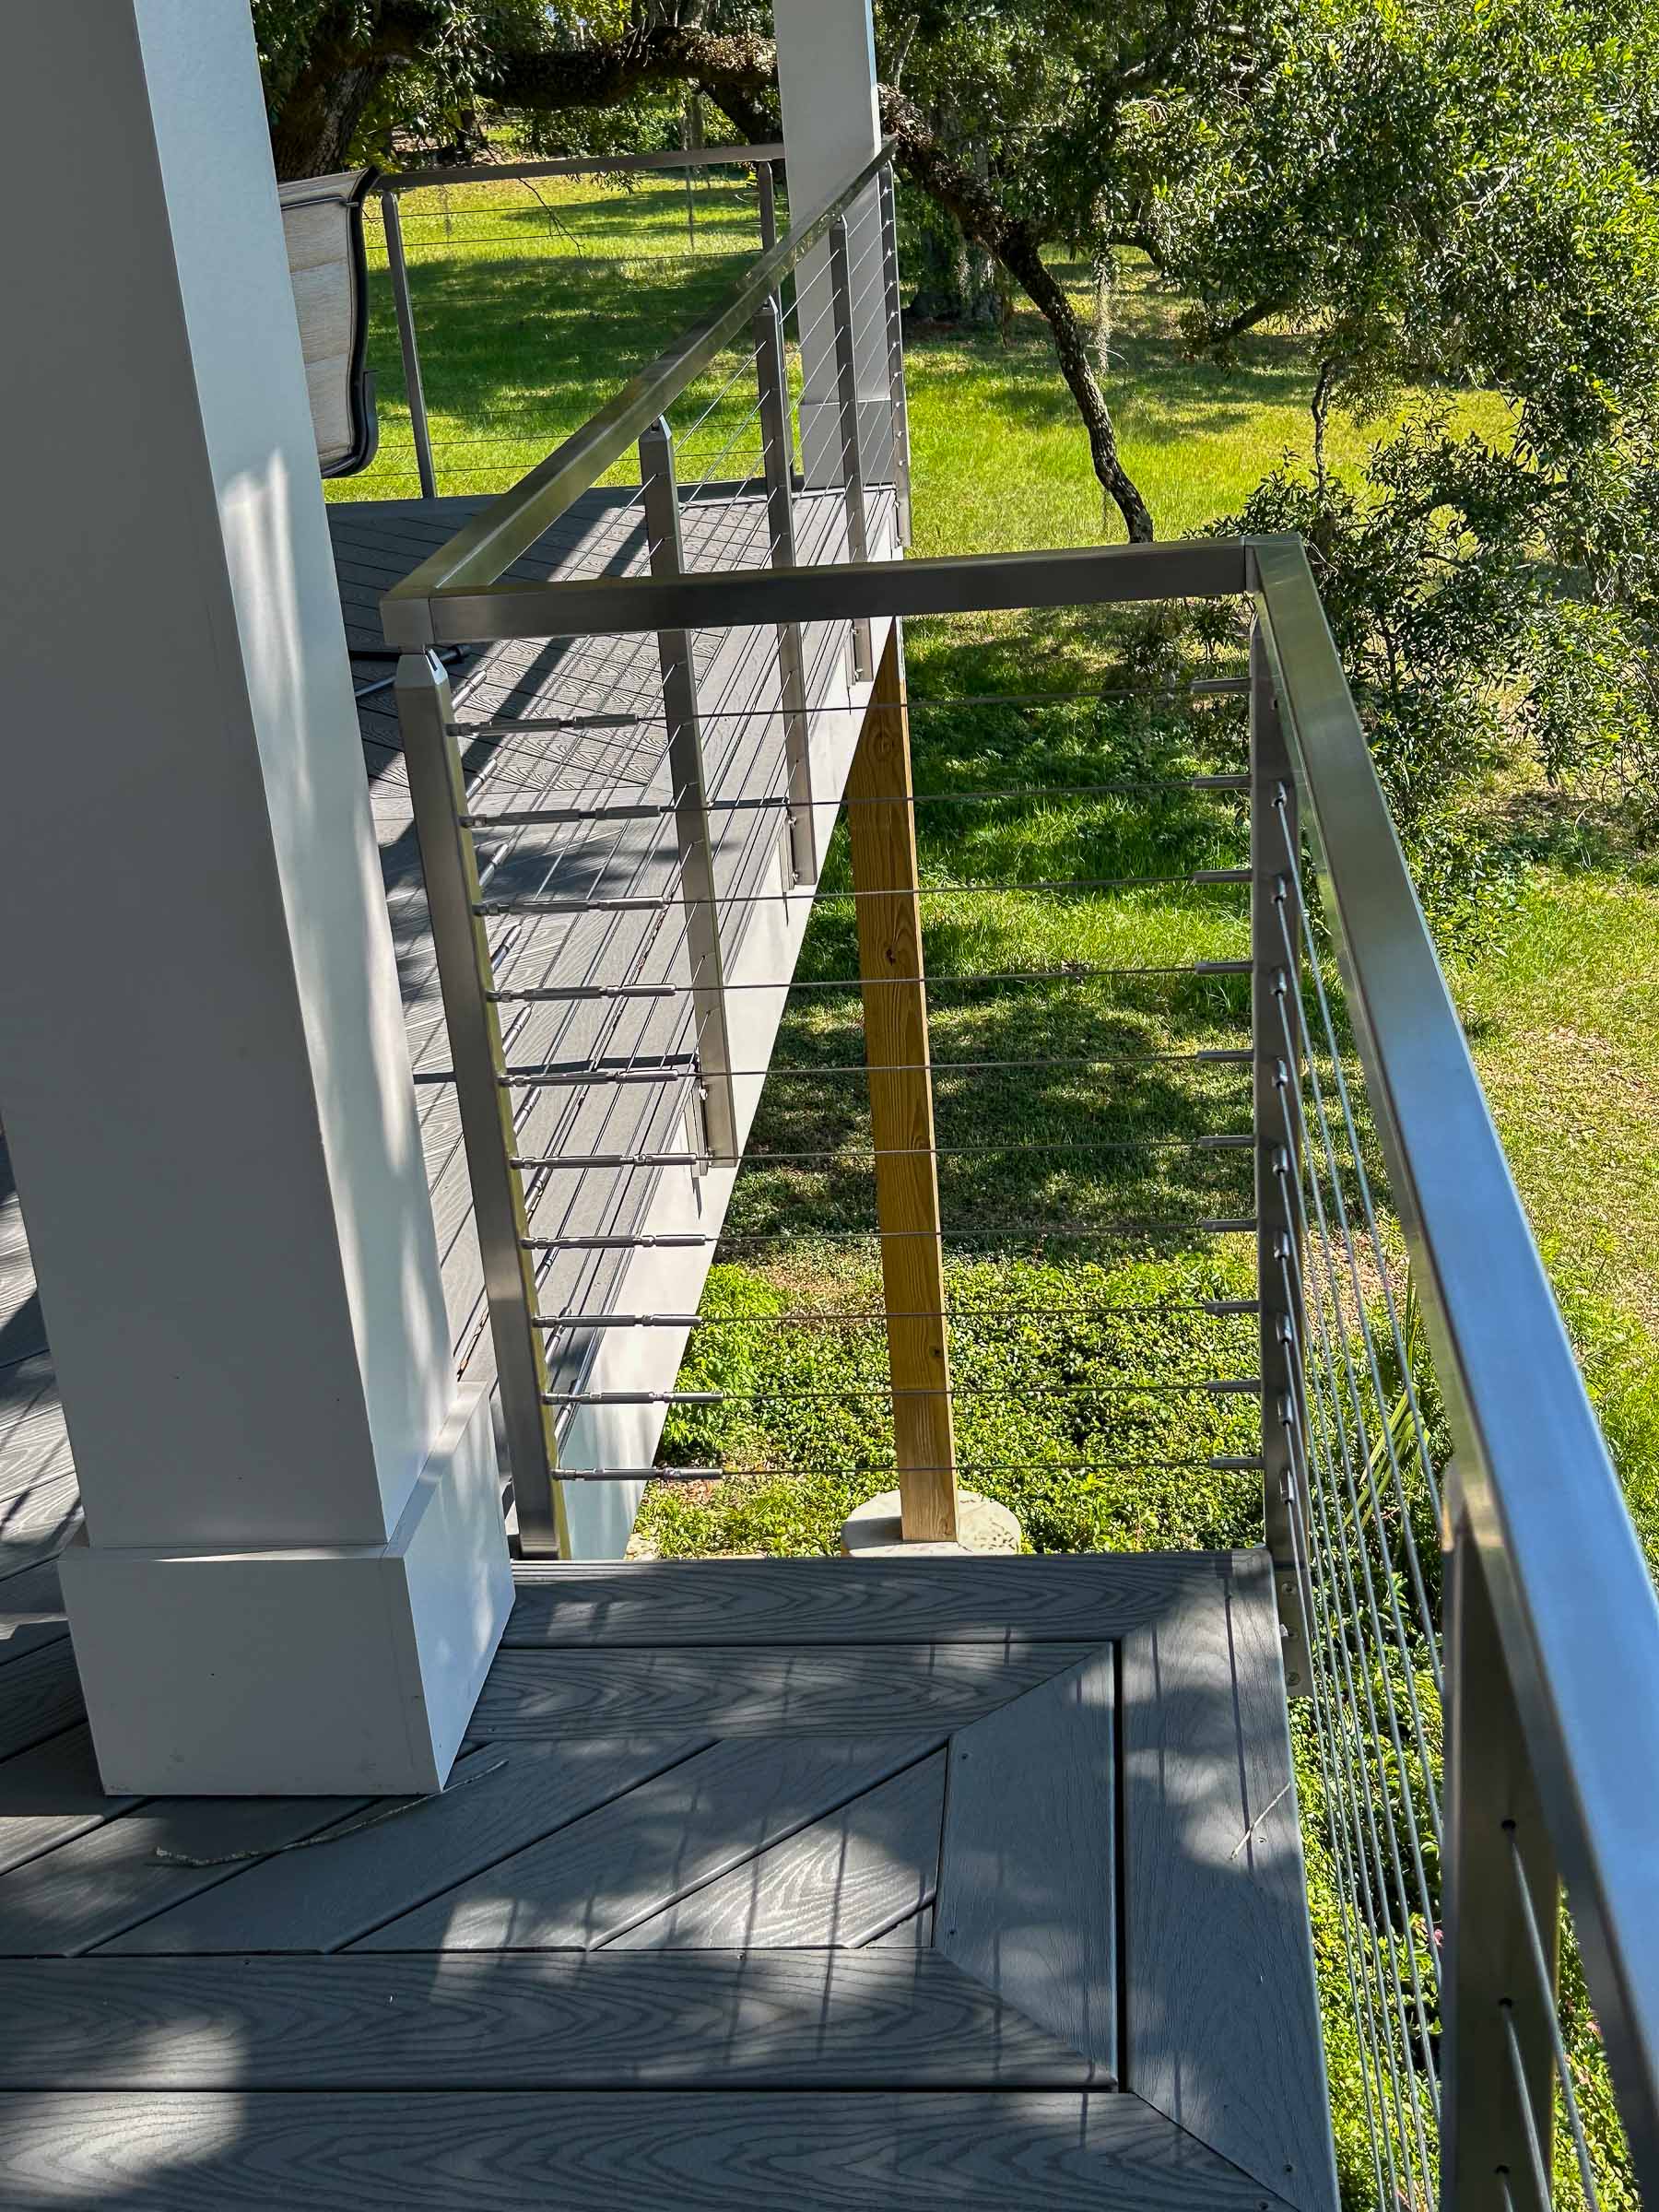
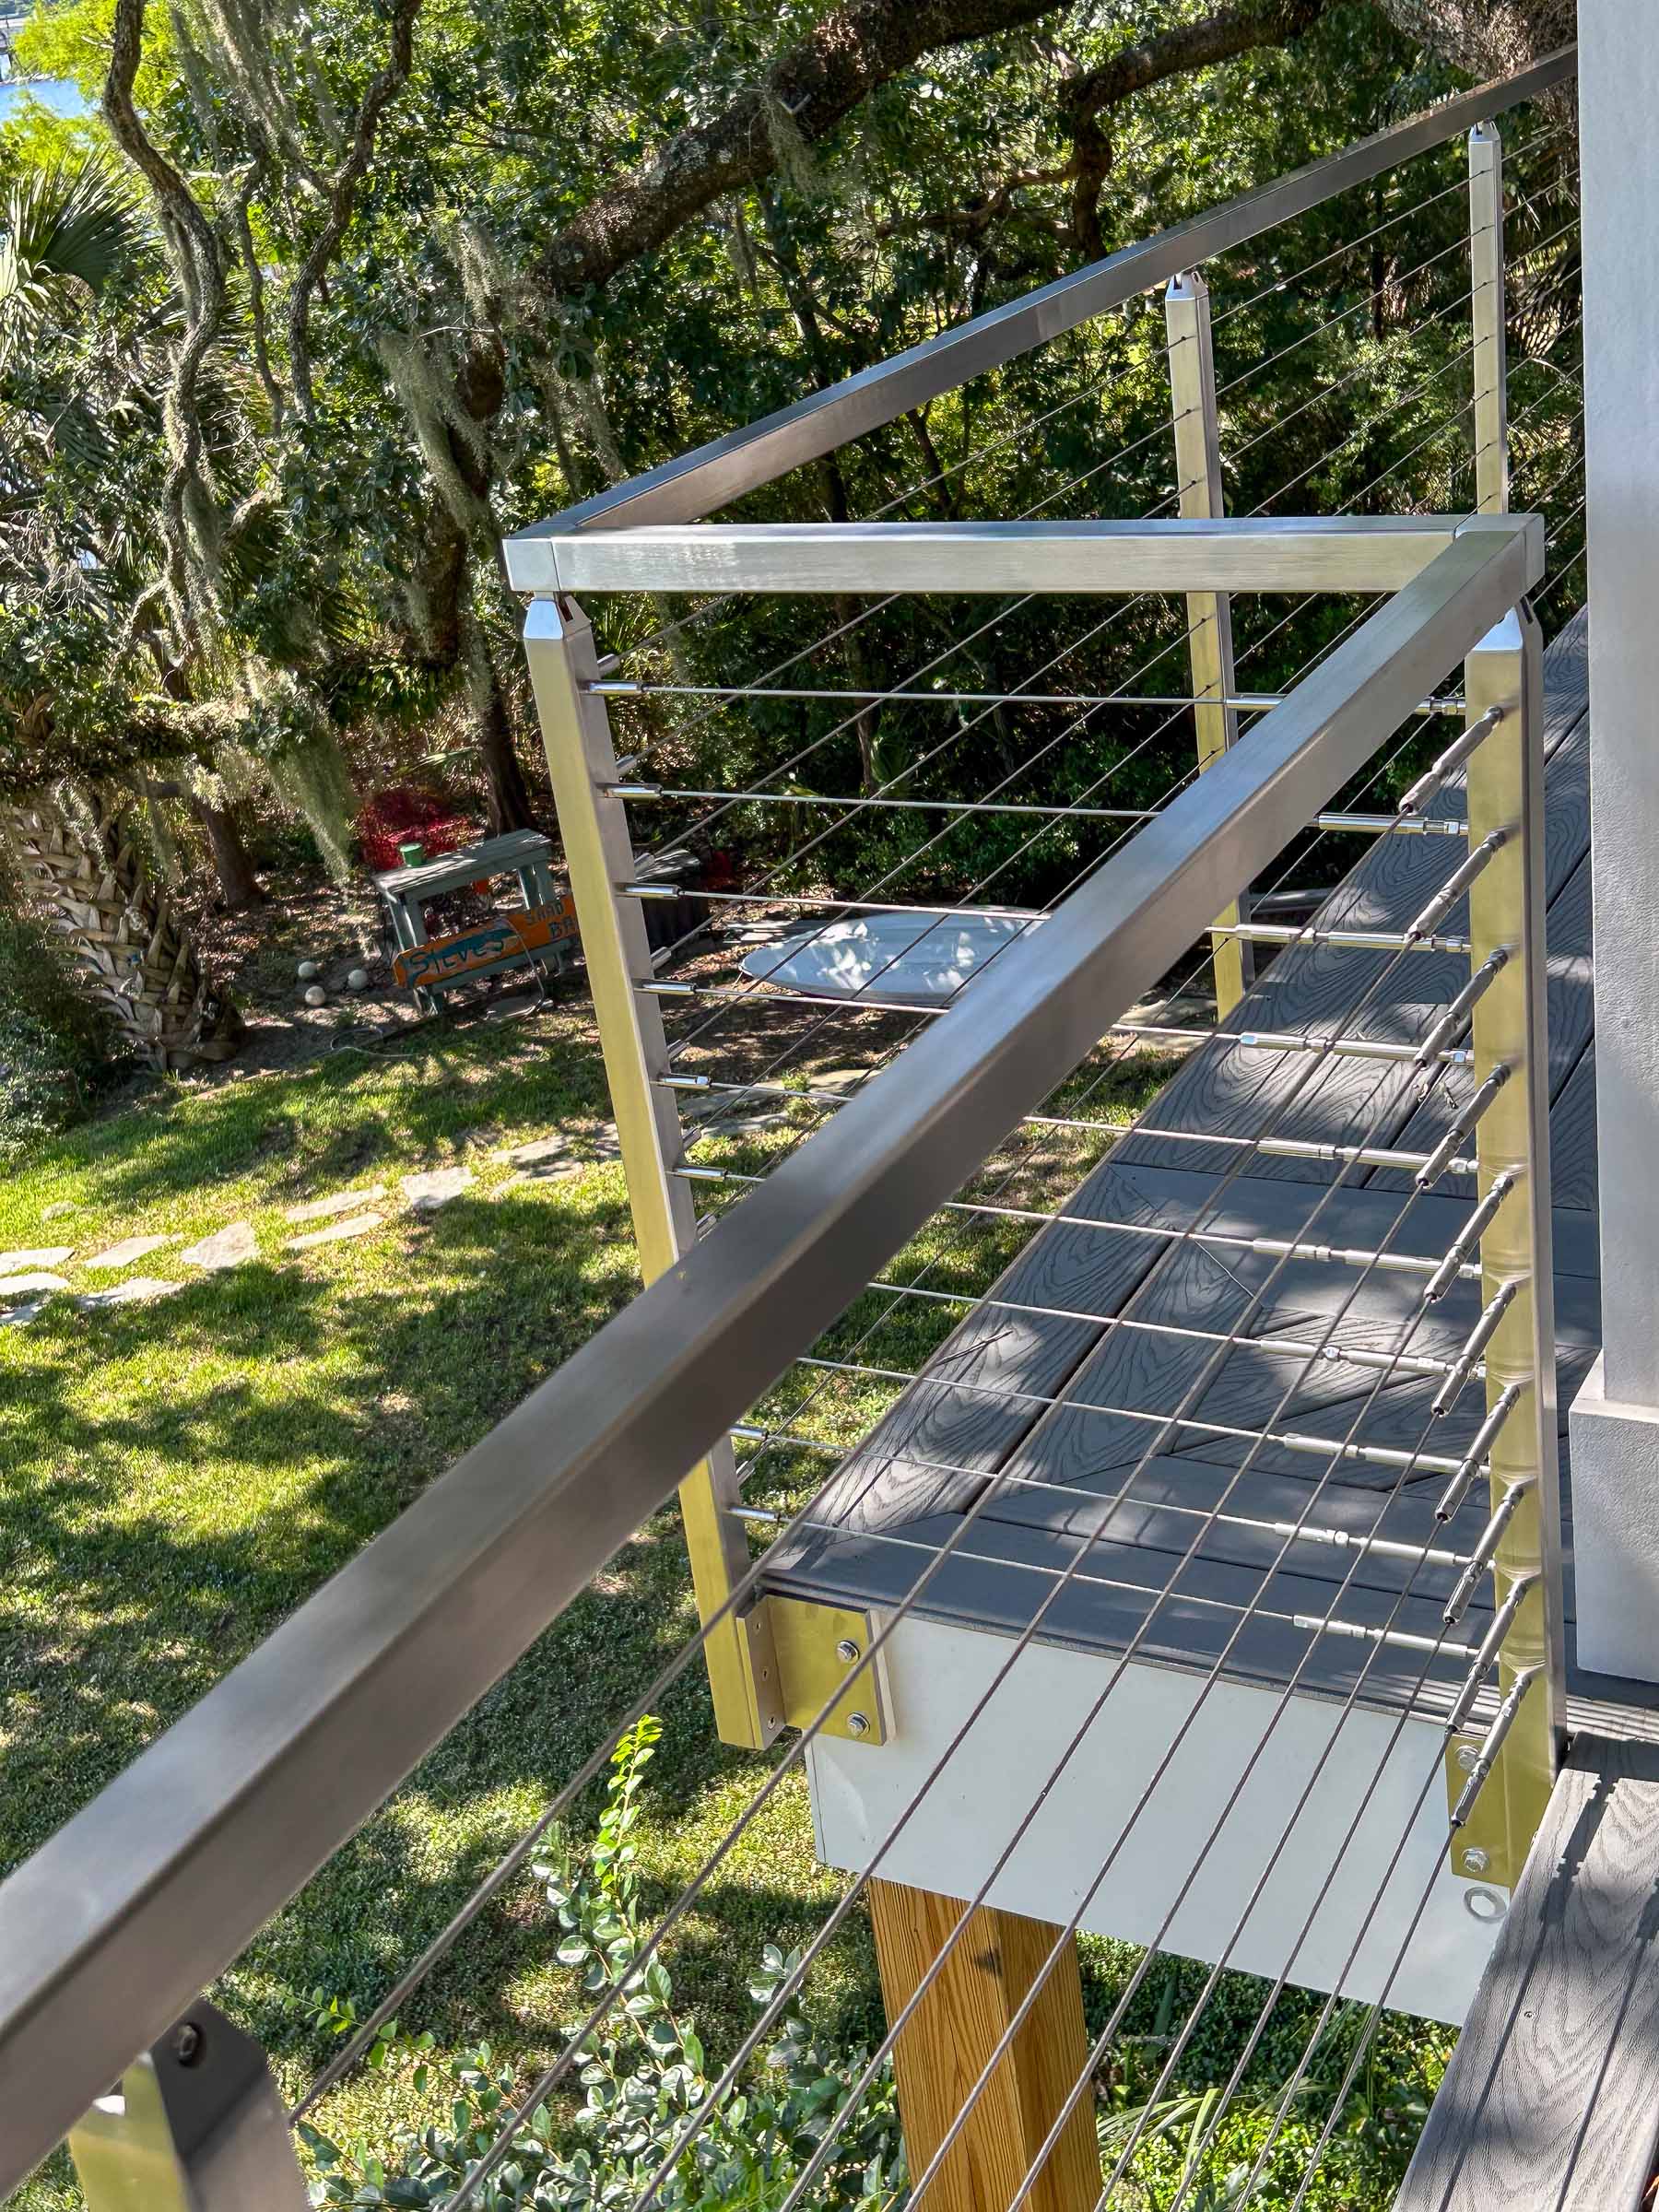
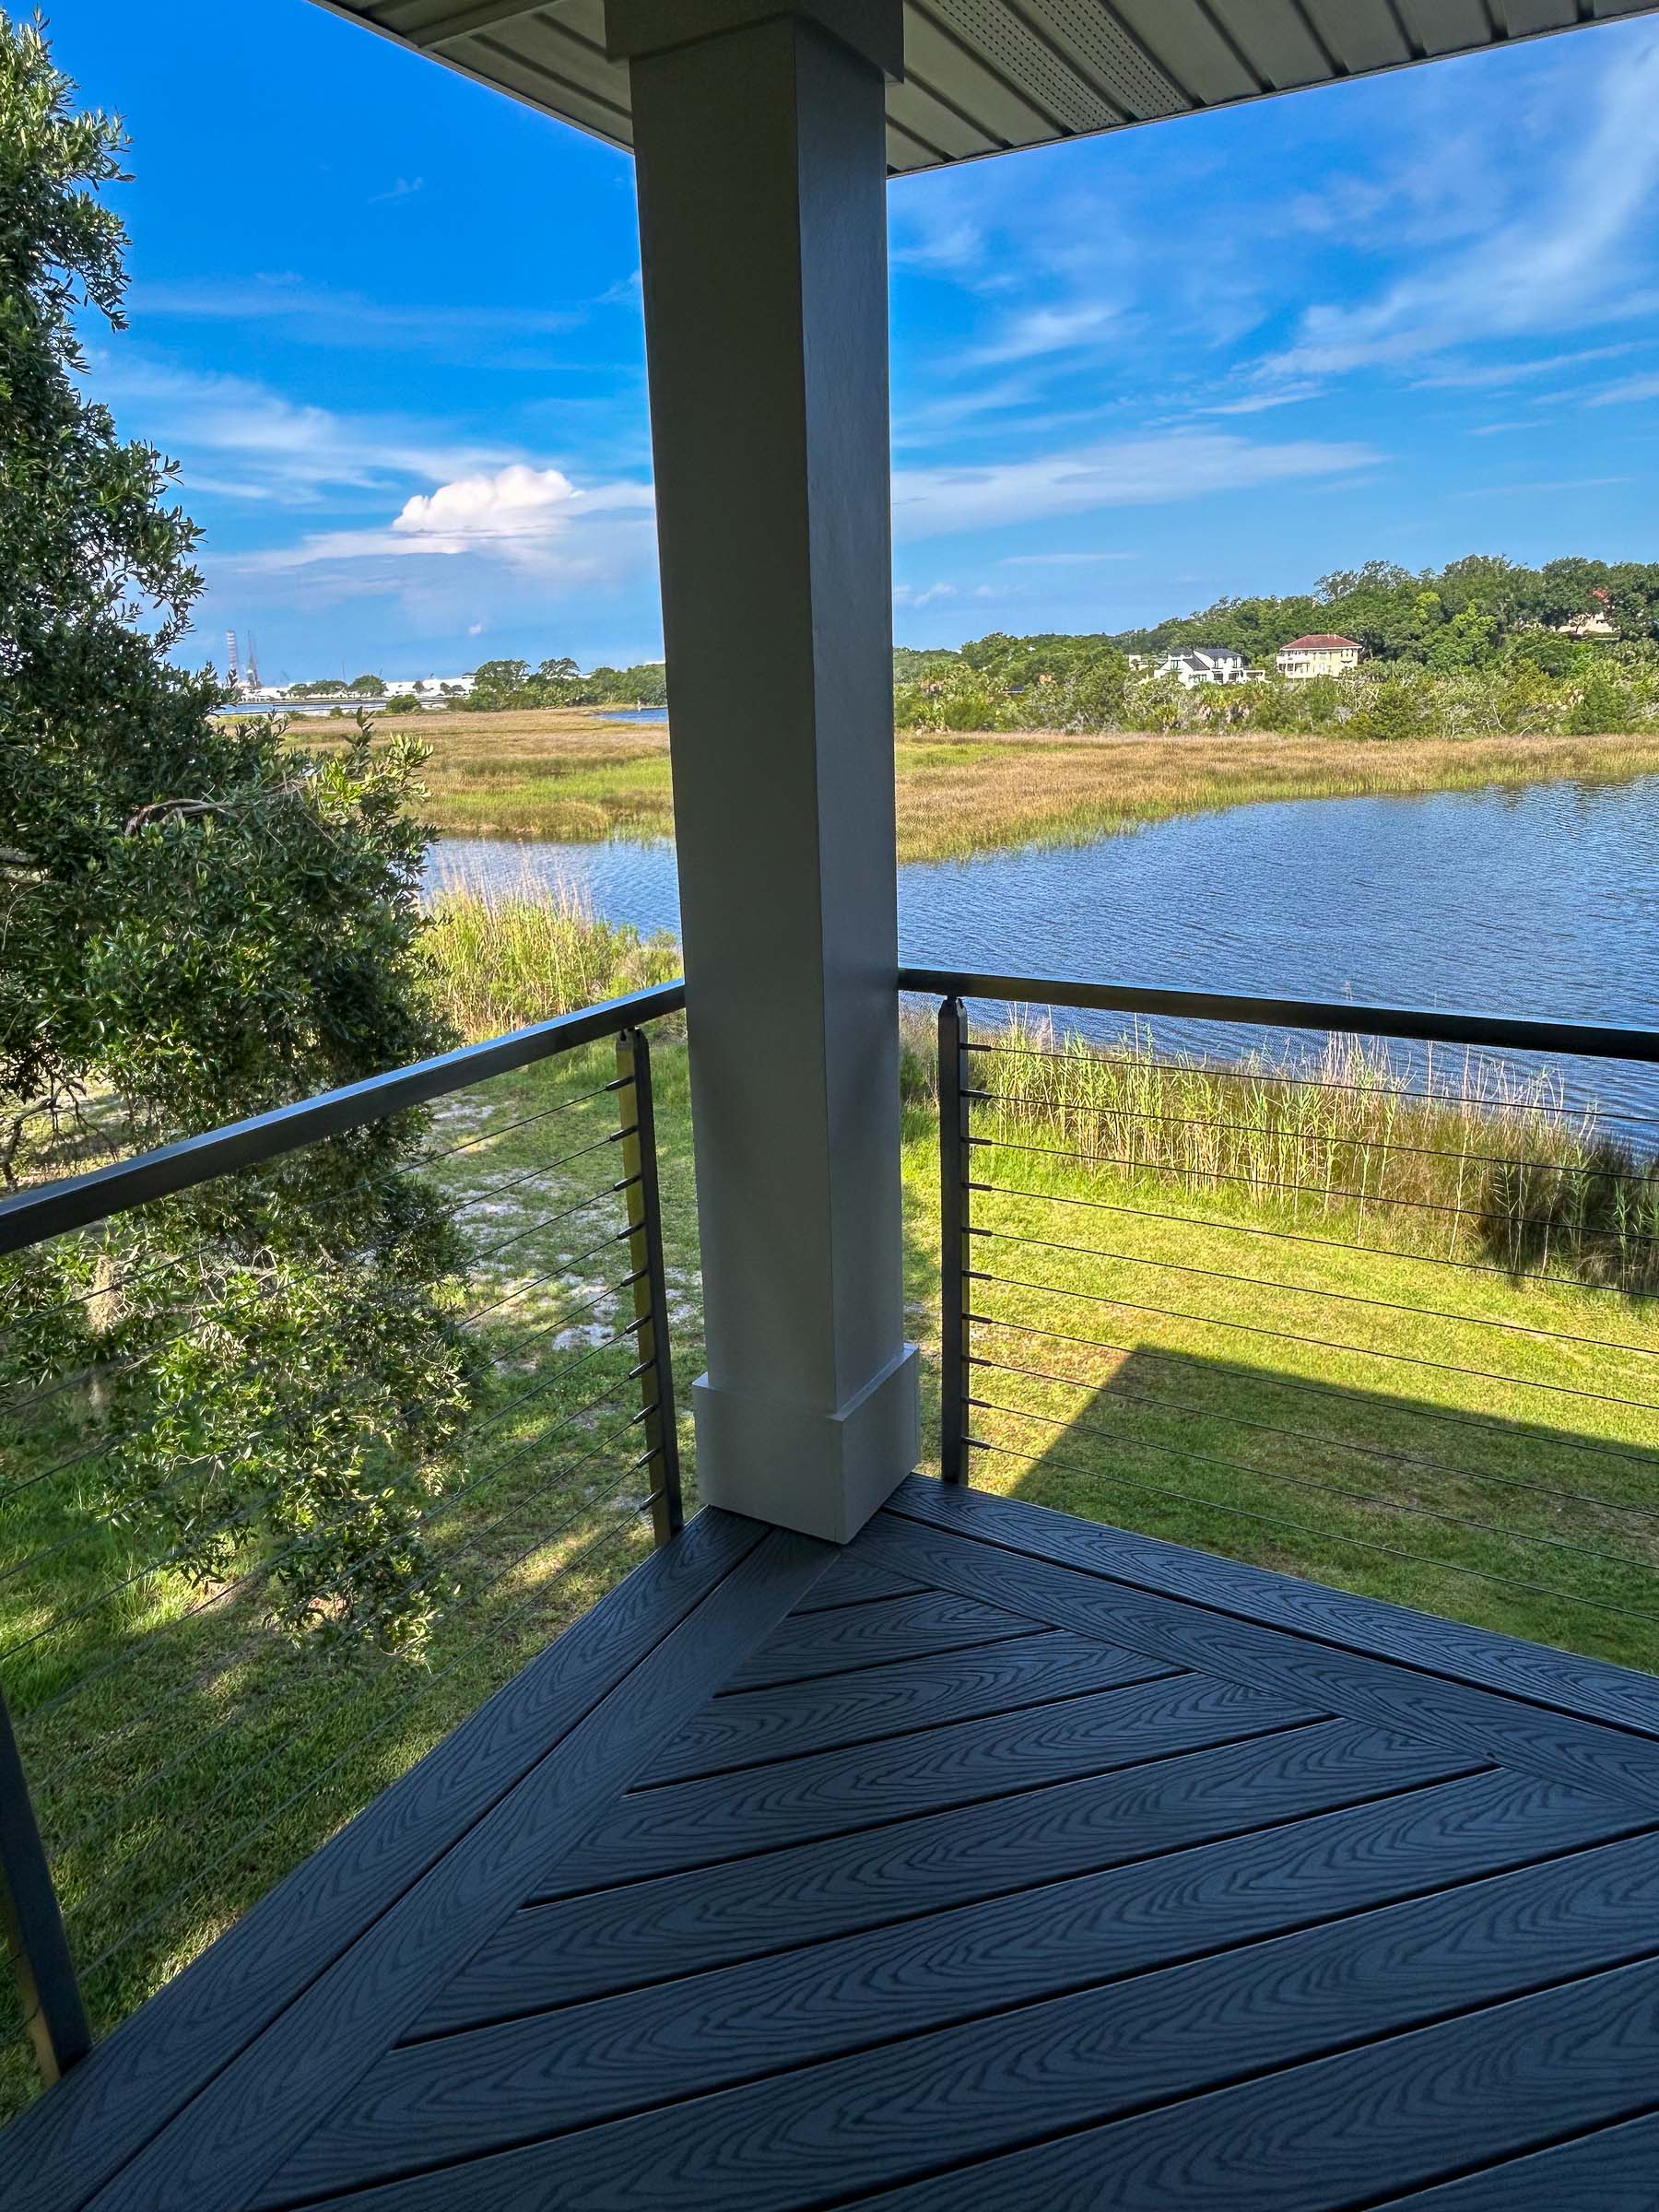
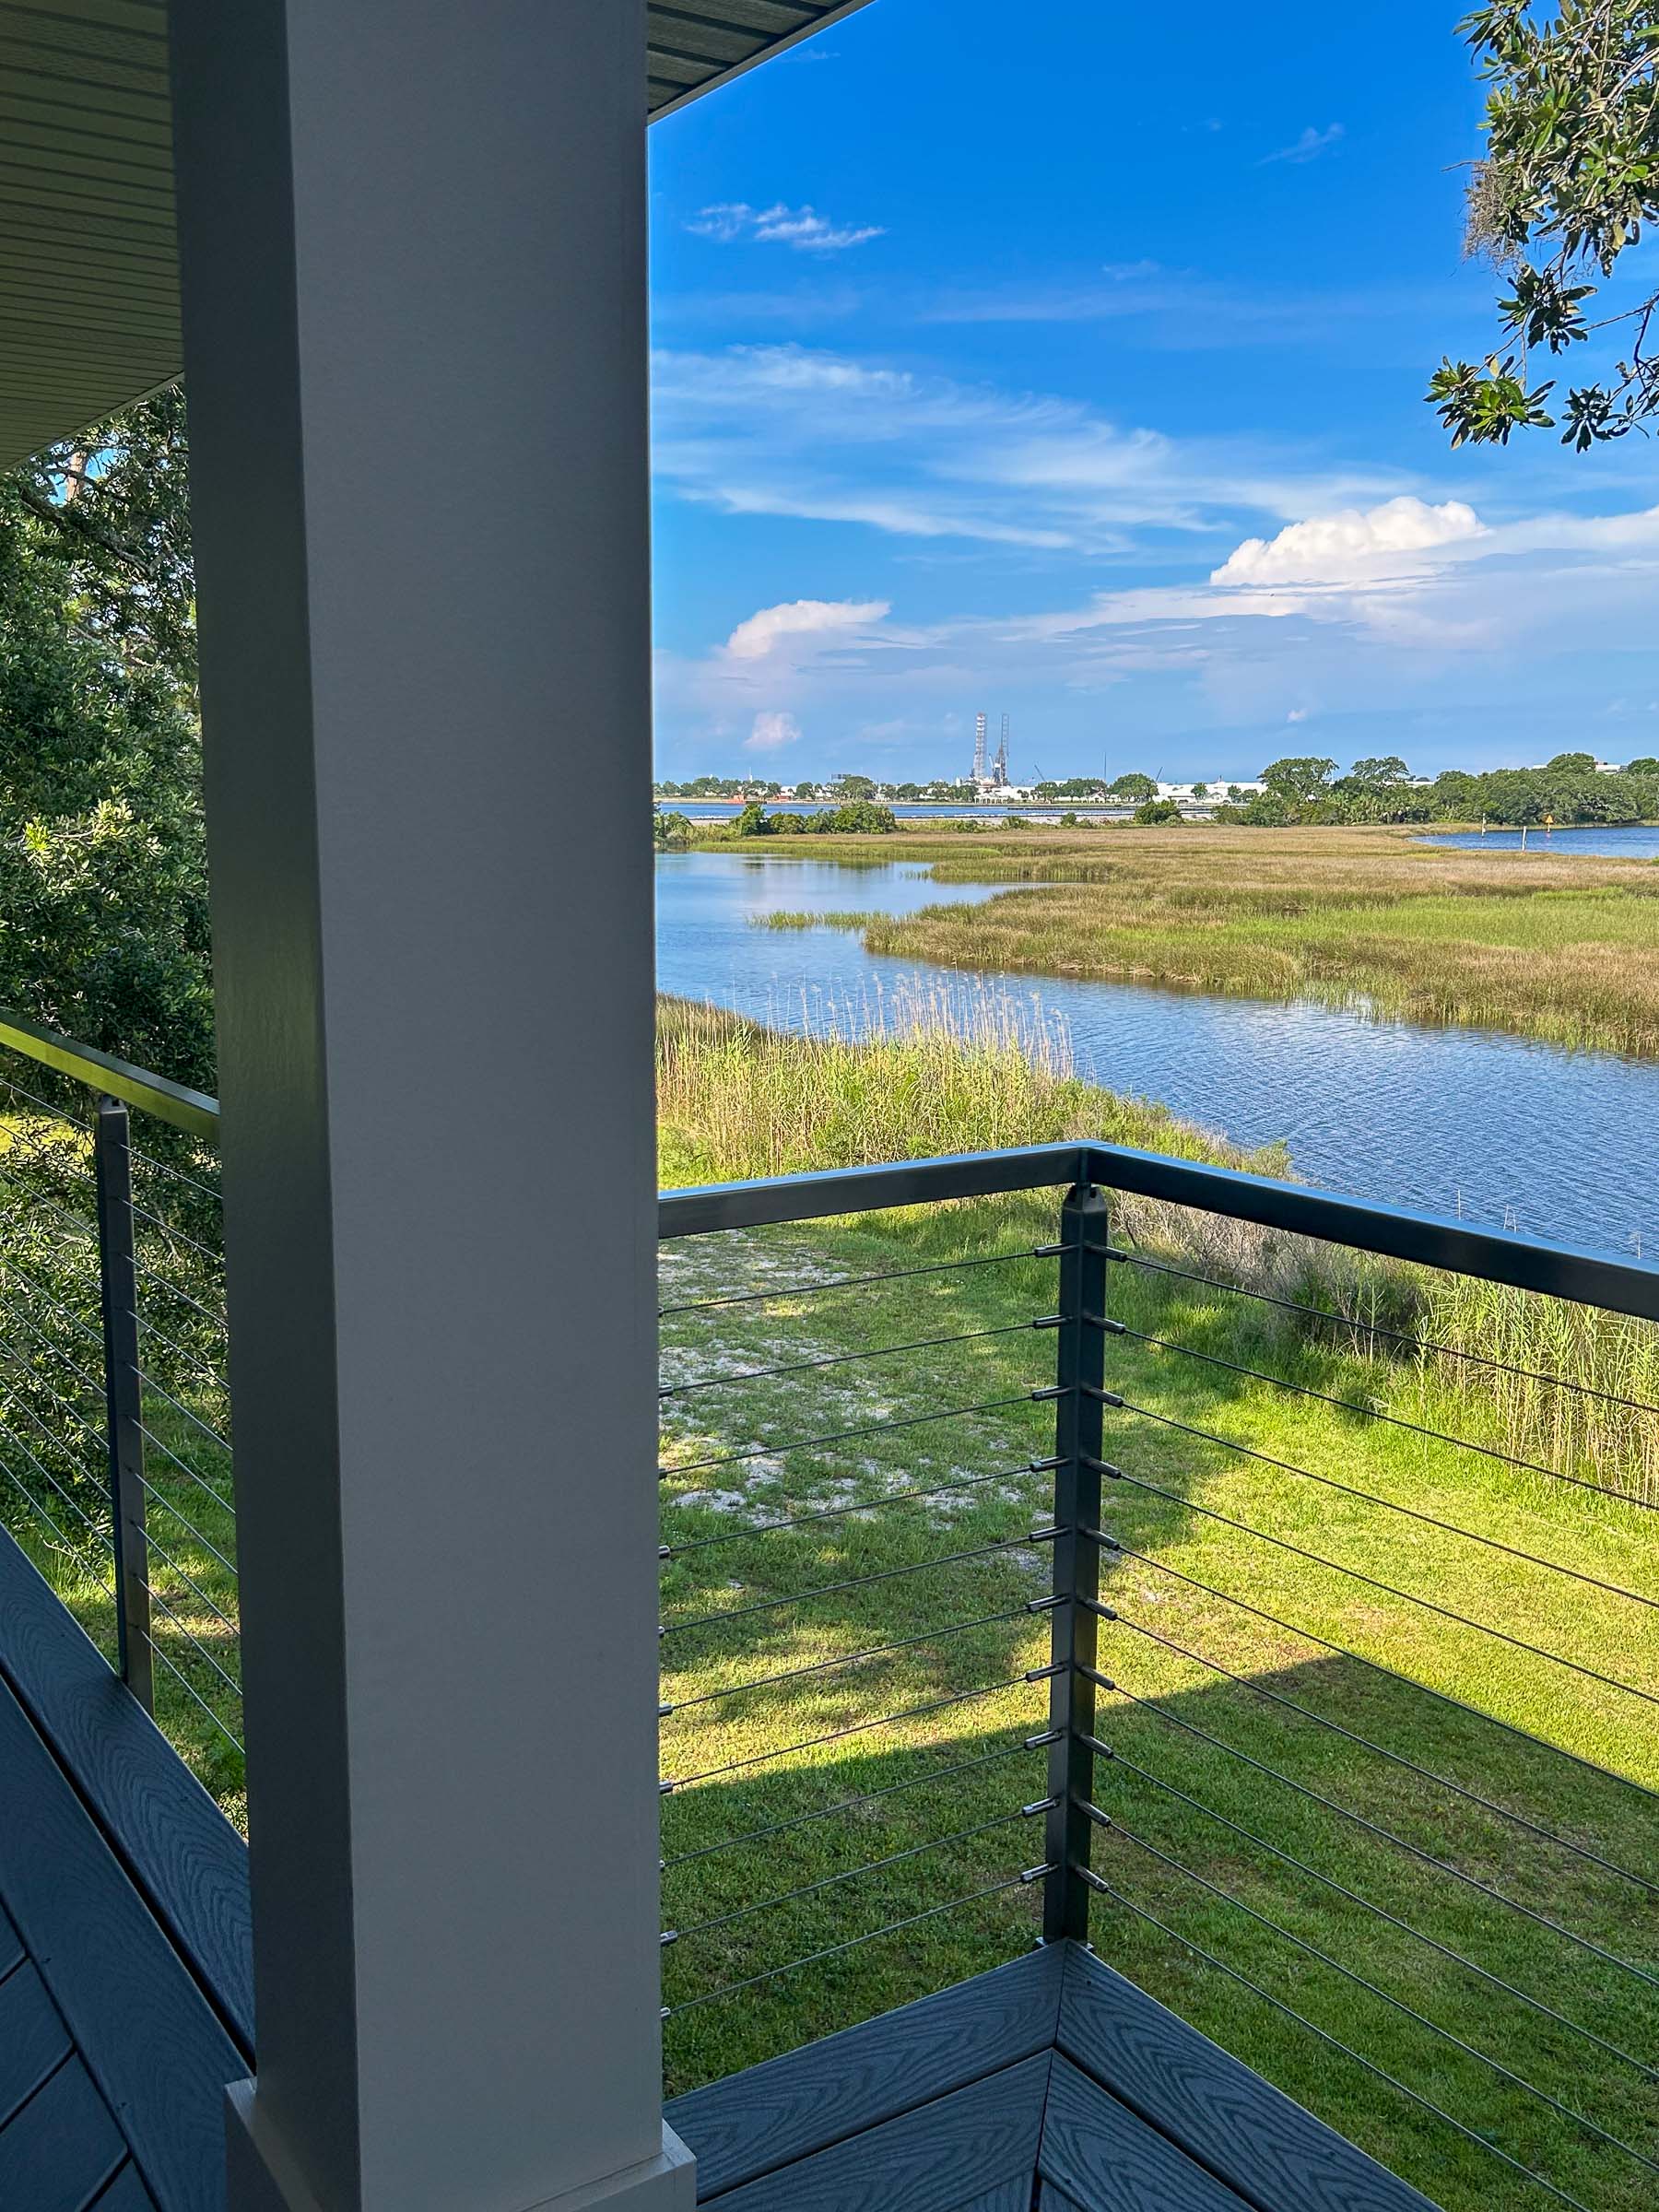
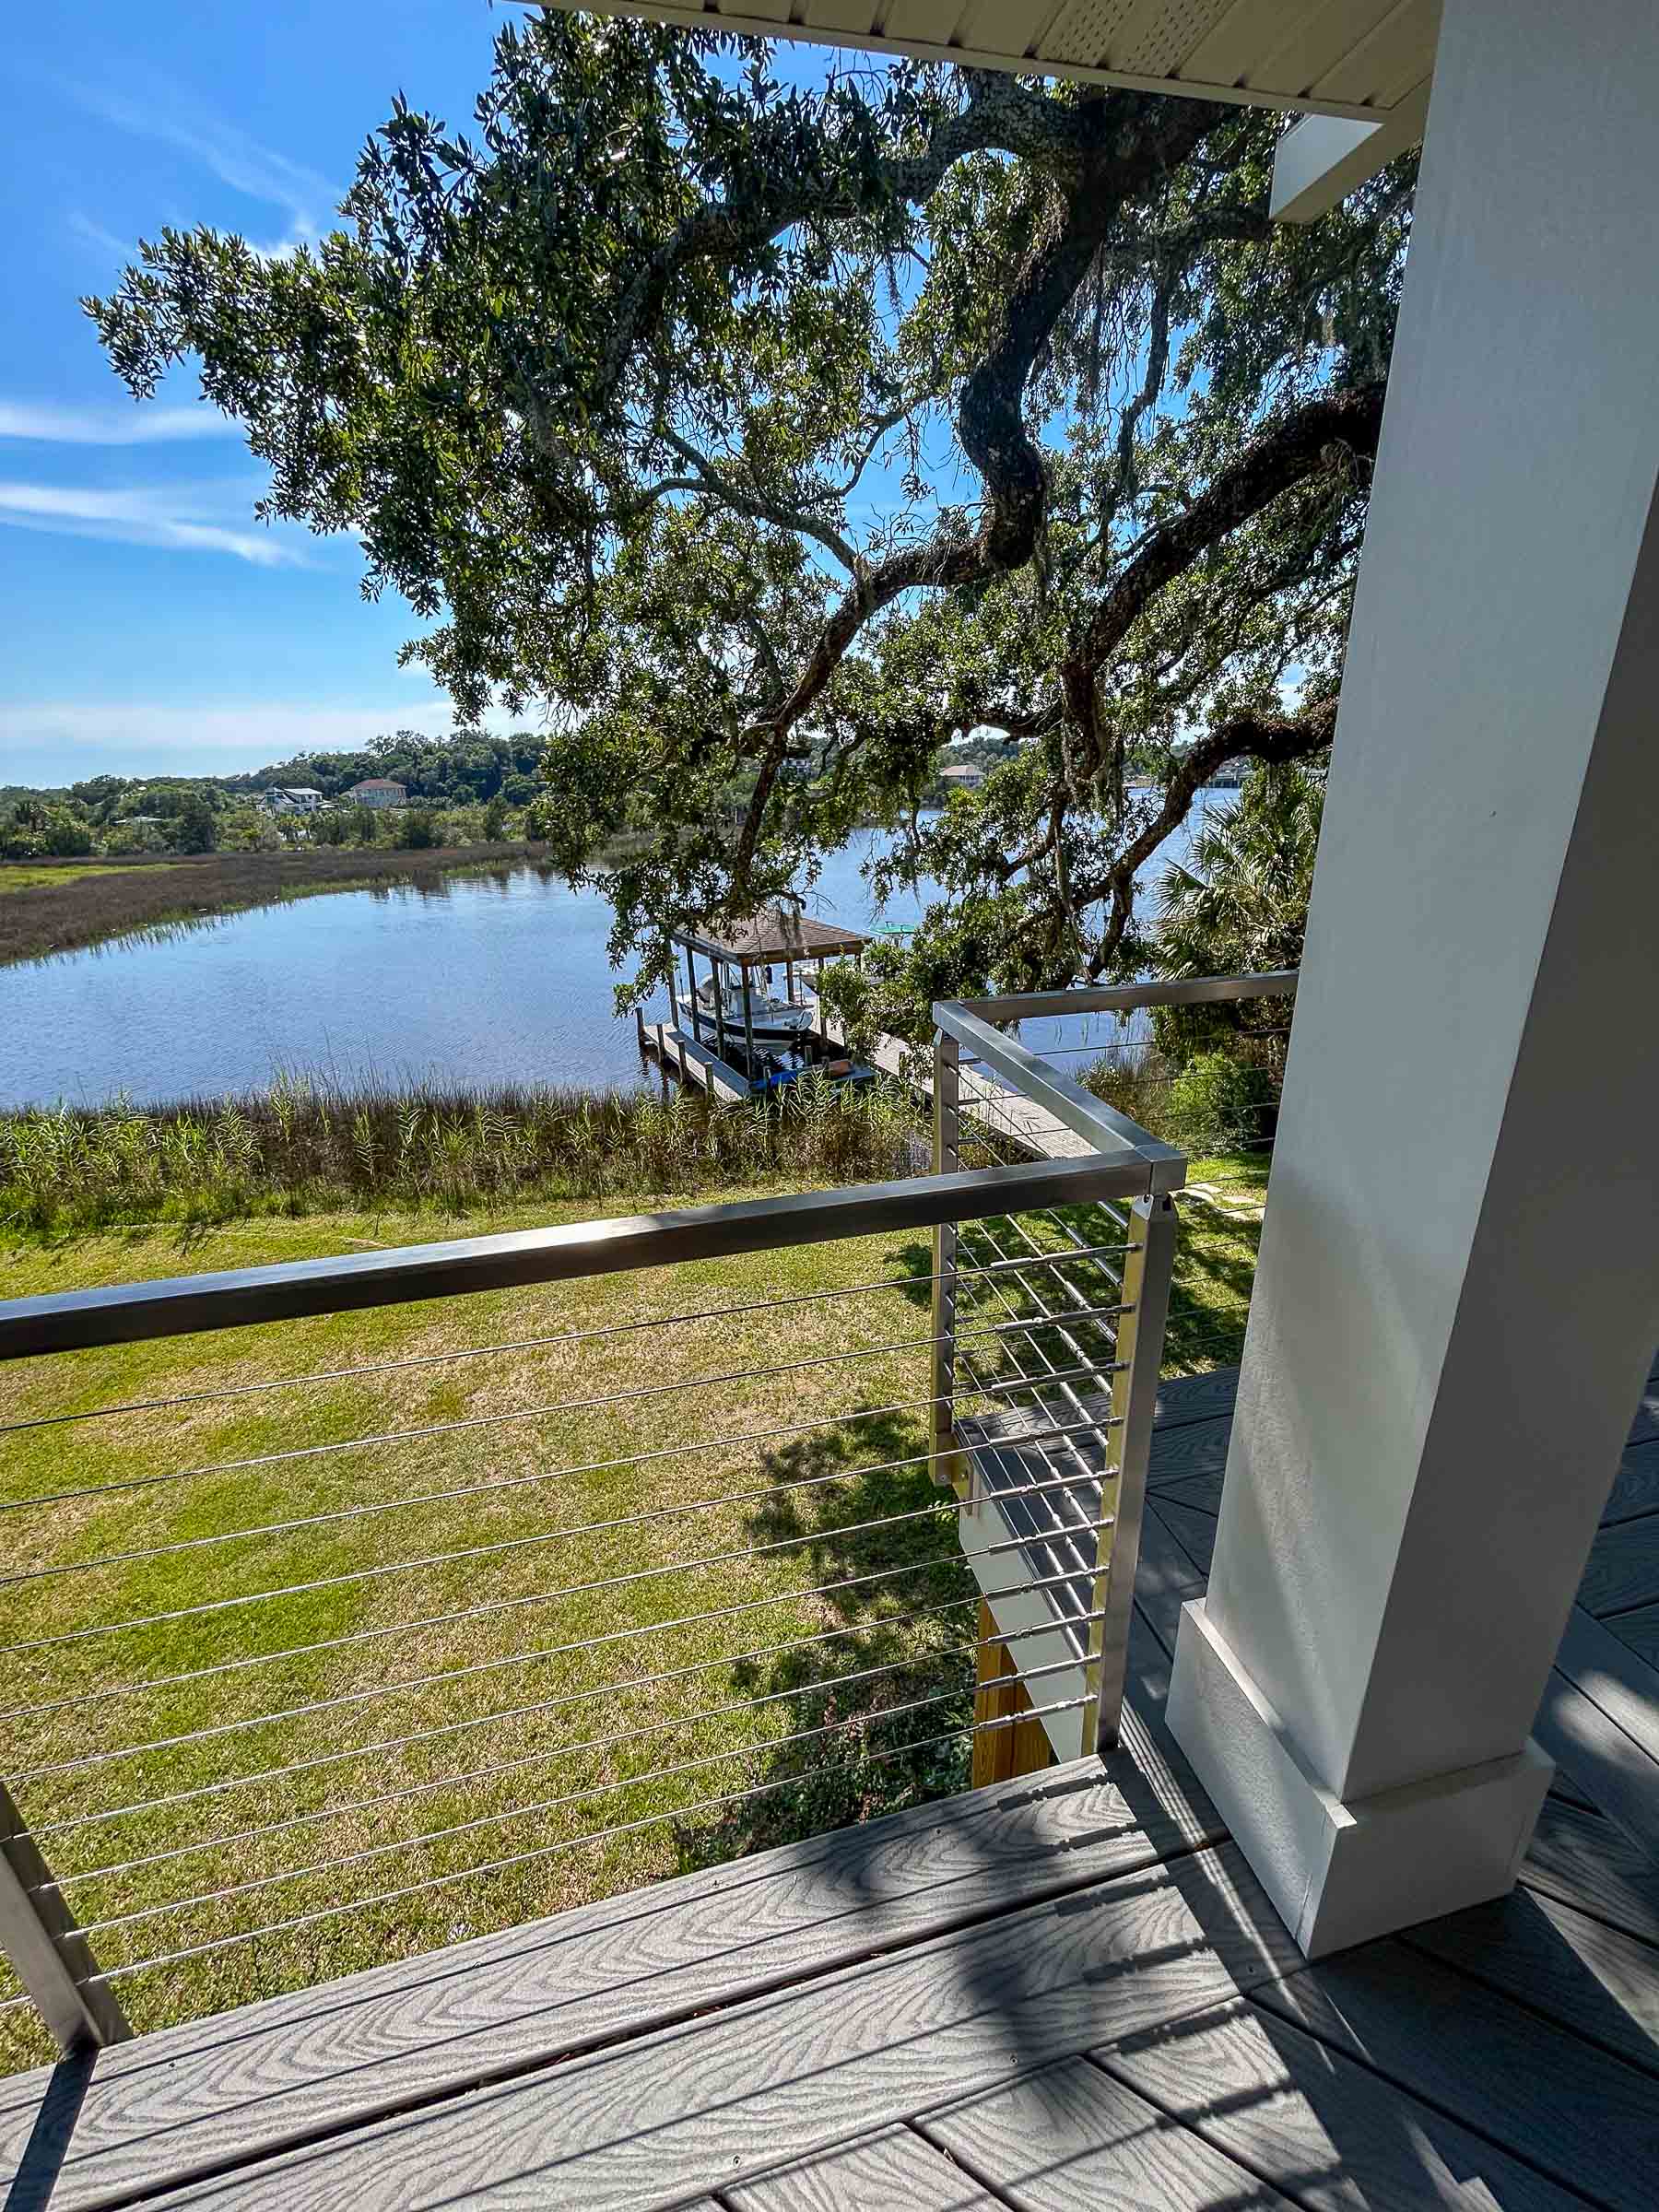
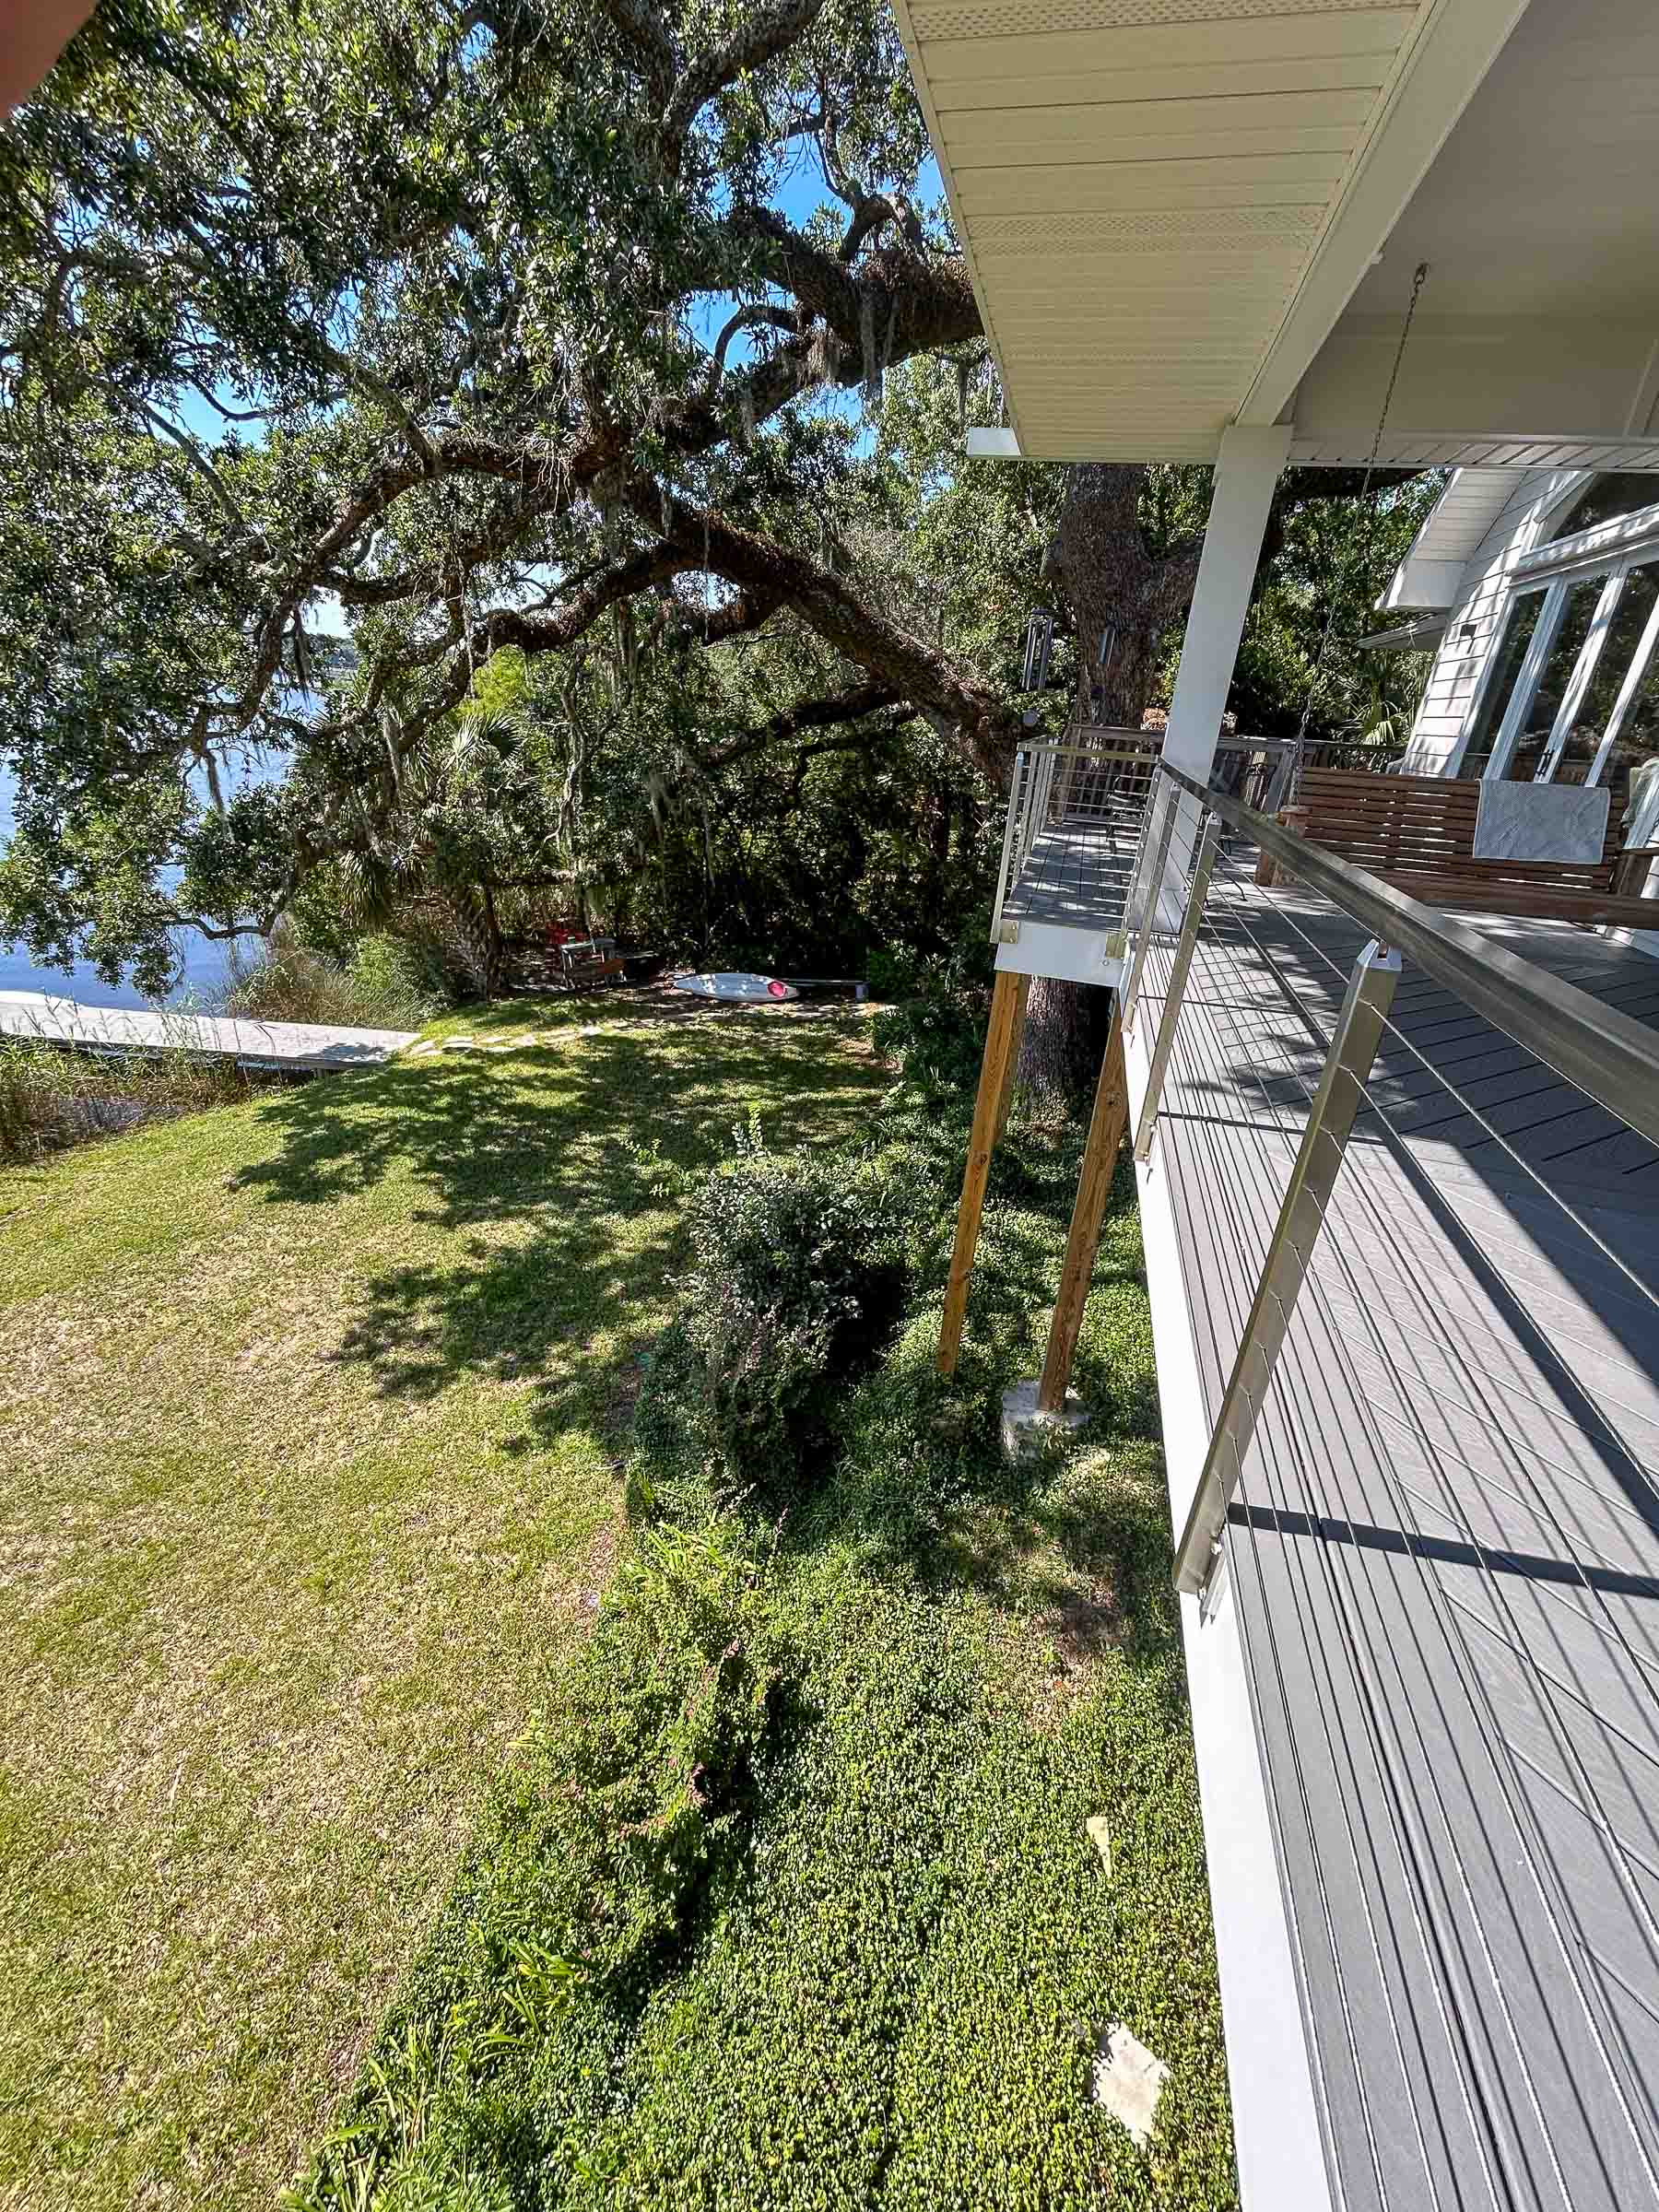
This Pensacola, FL project features a DIY-installed stainless steel modular square post cable railing system by Inline Design, wrapped around an elevated second-story deck overlooking a private bayou.
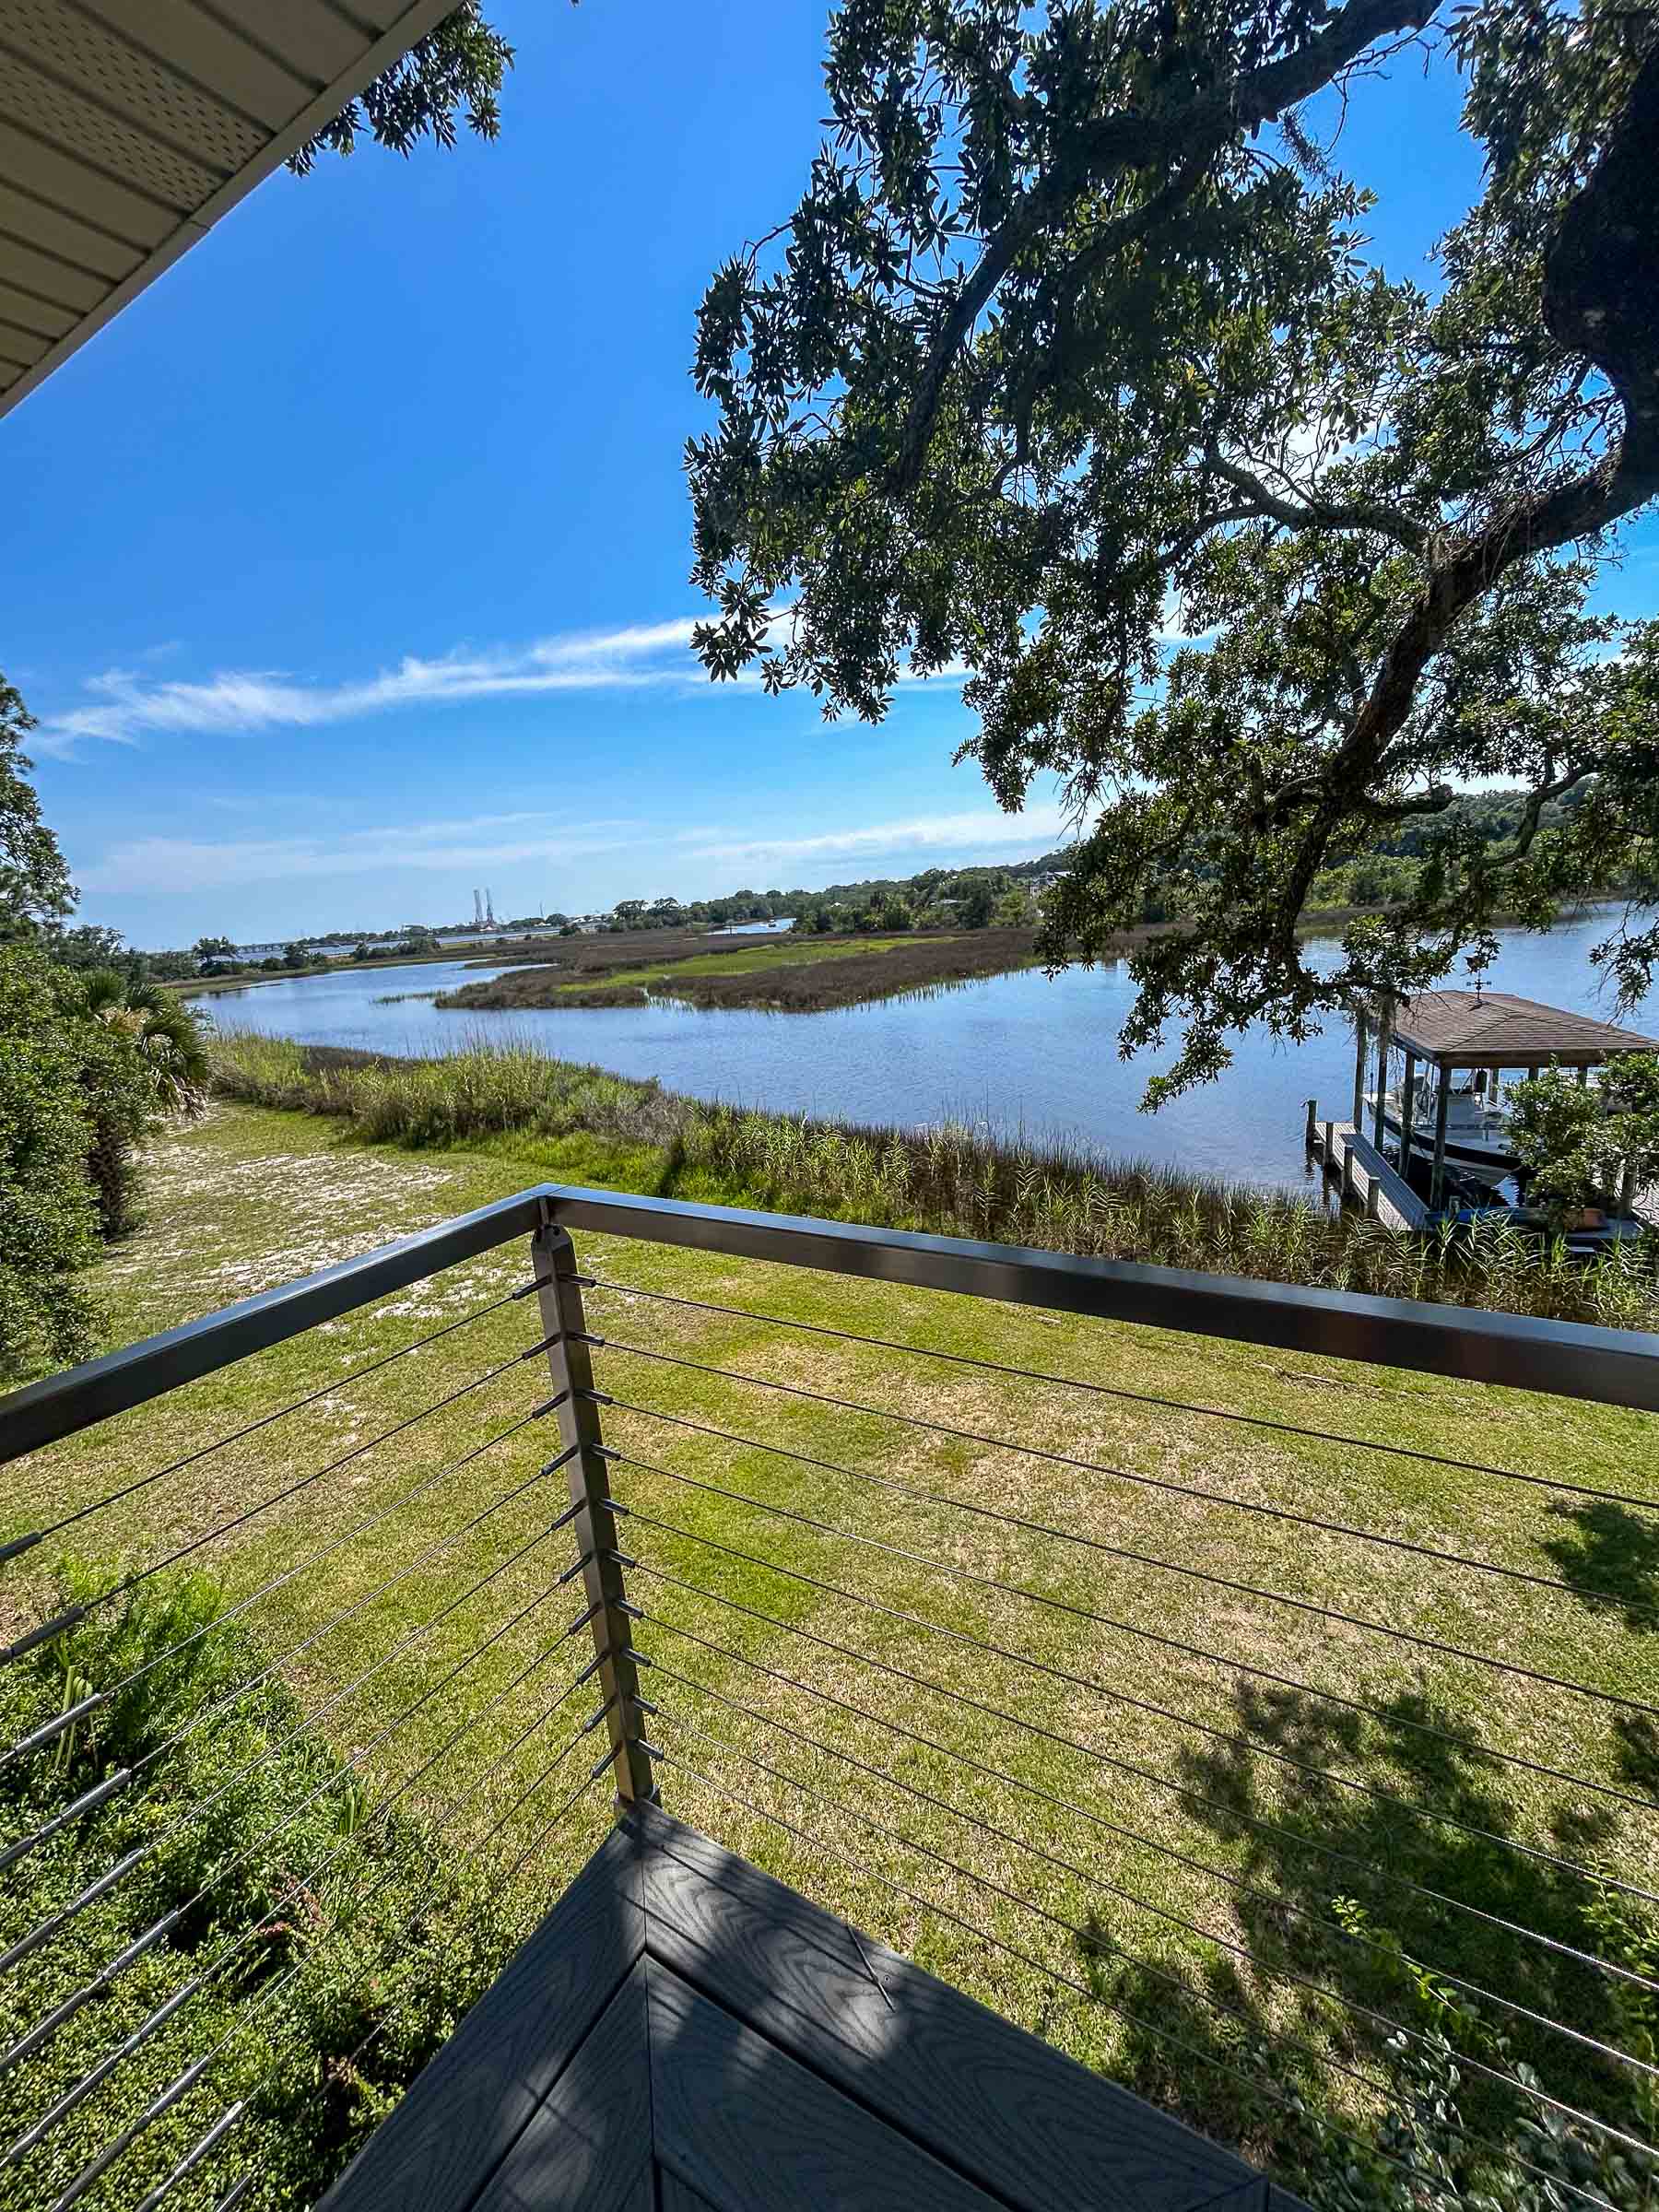
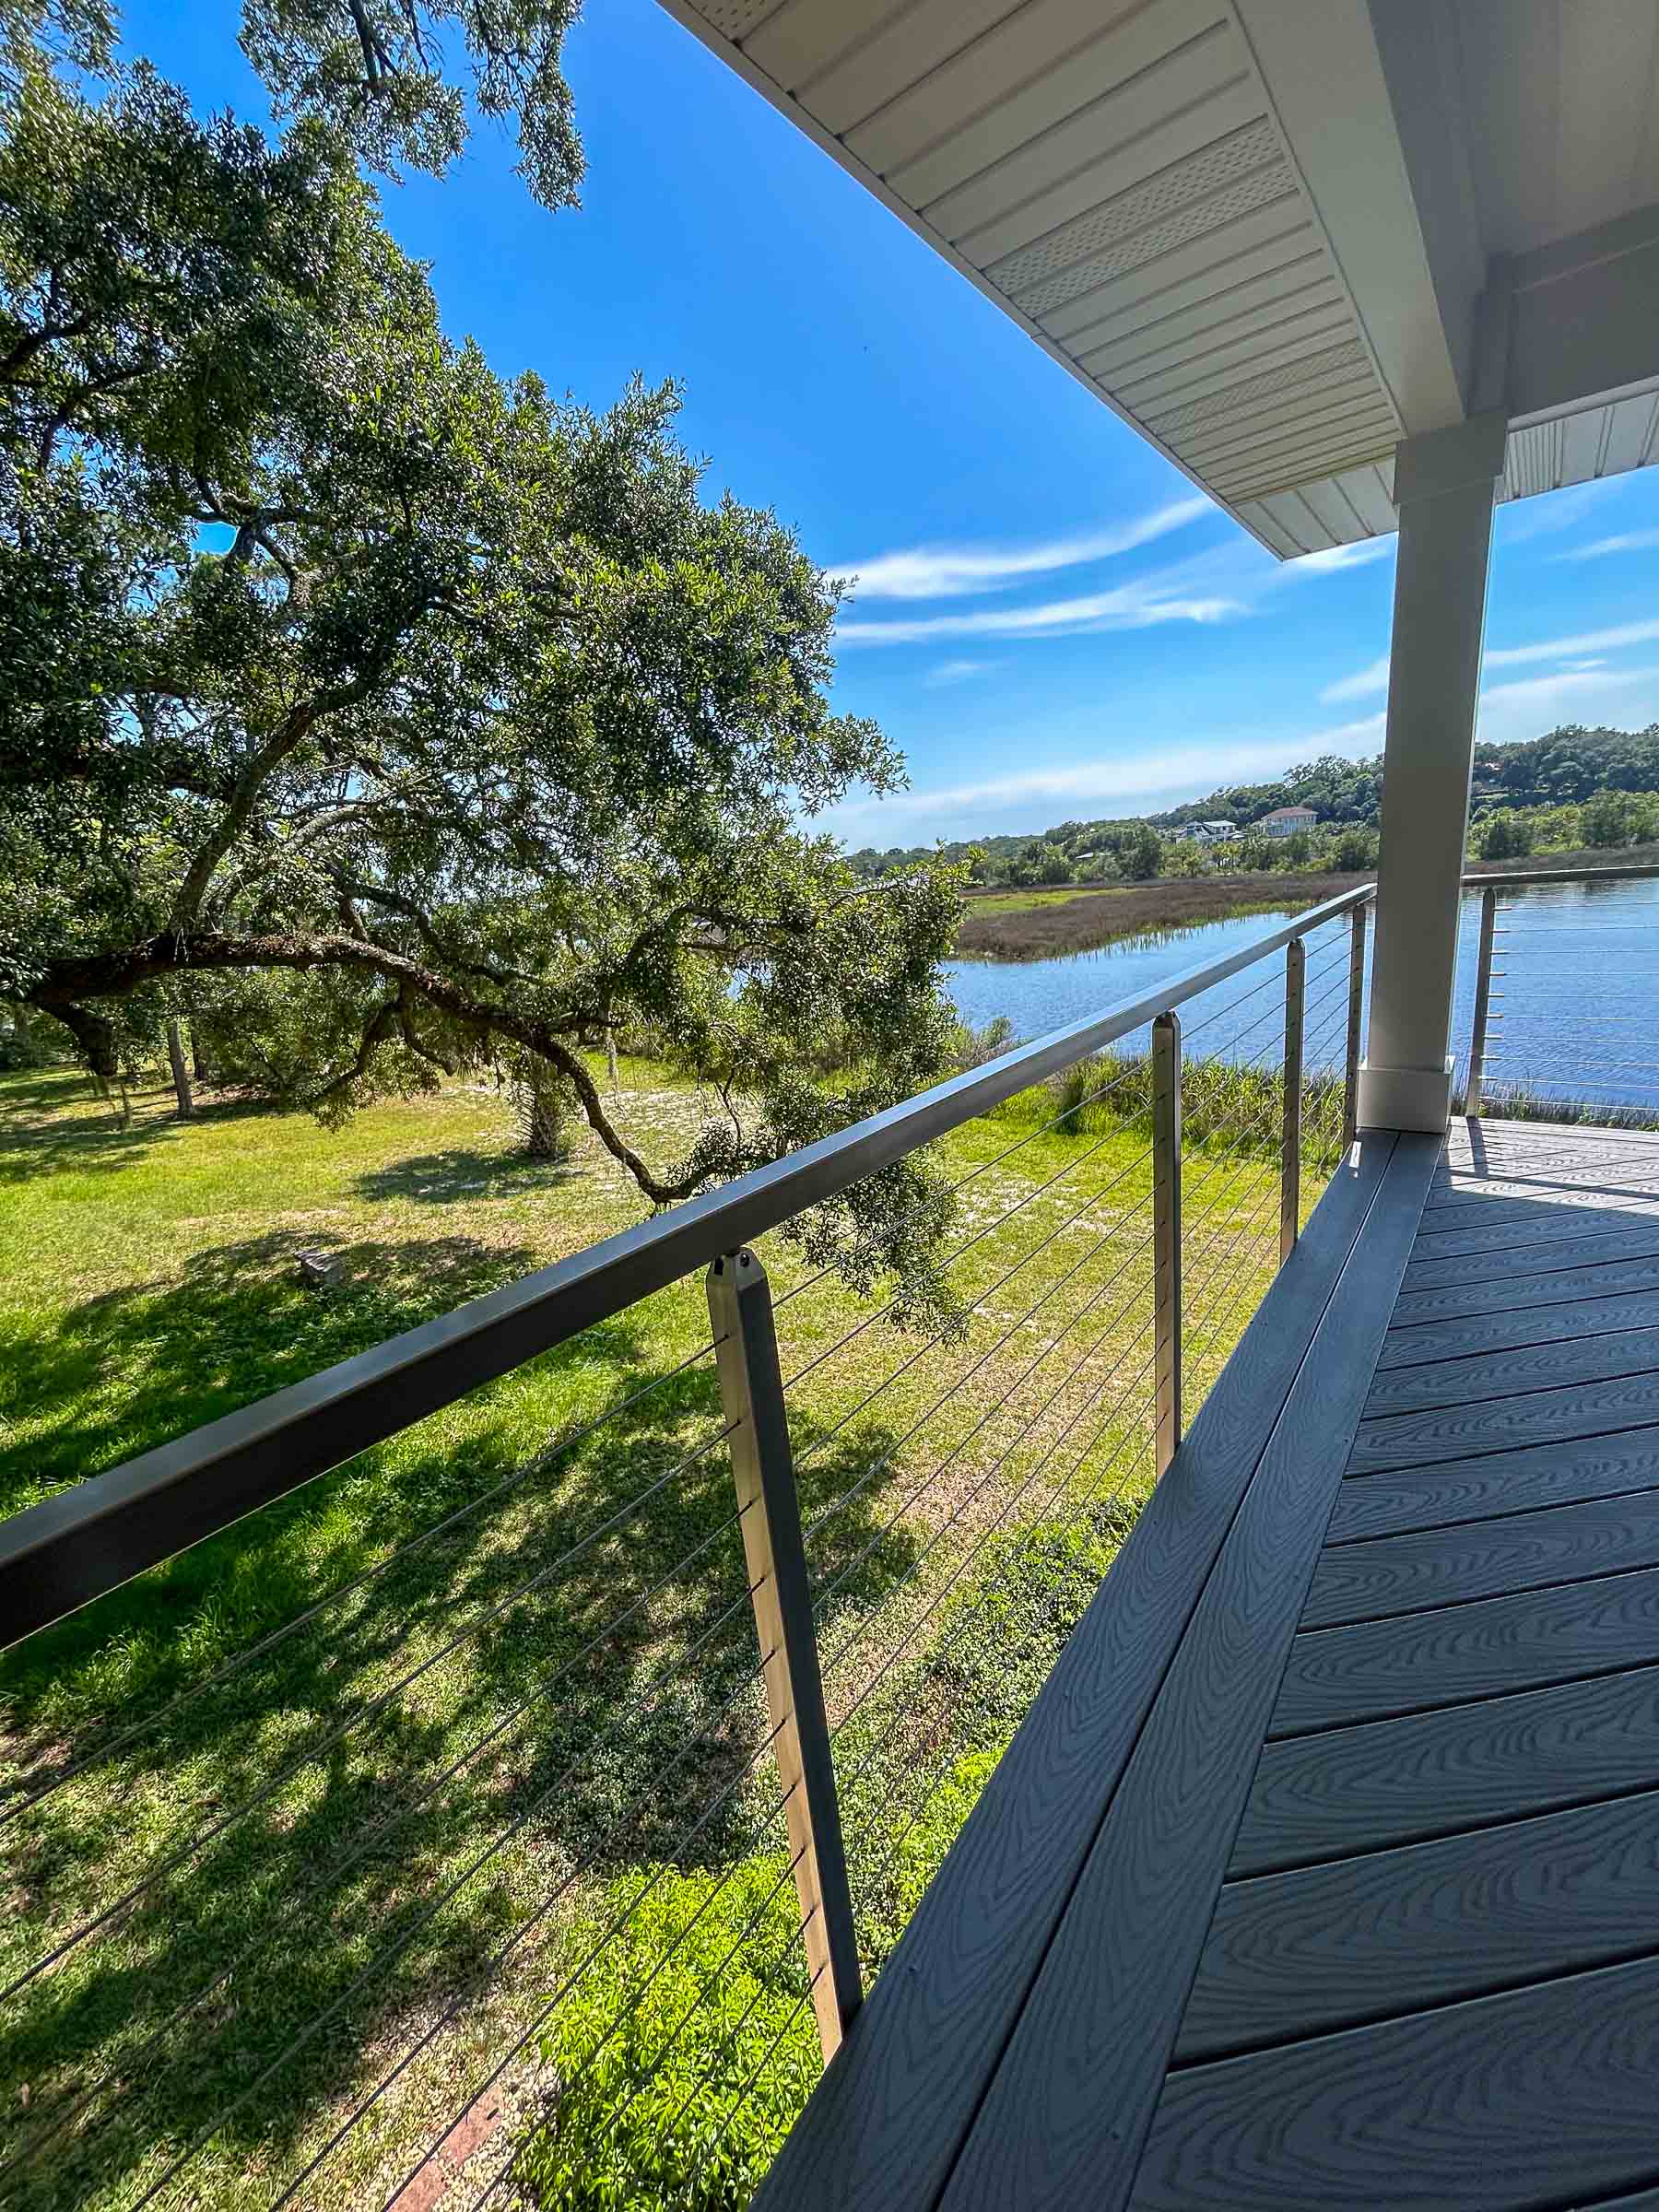
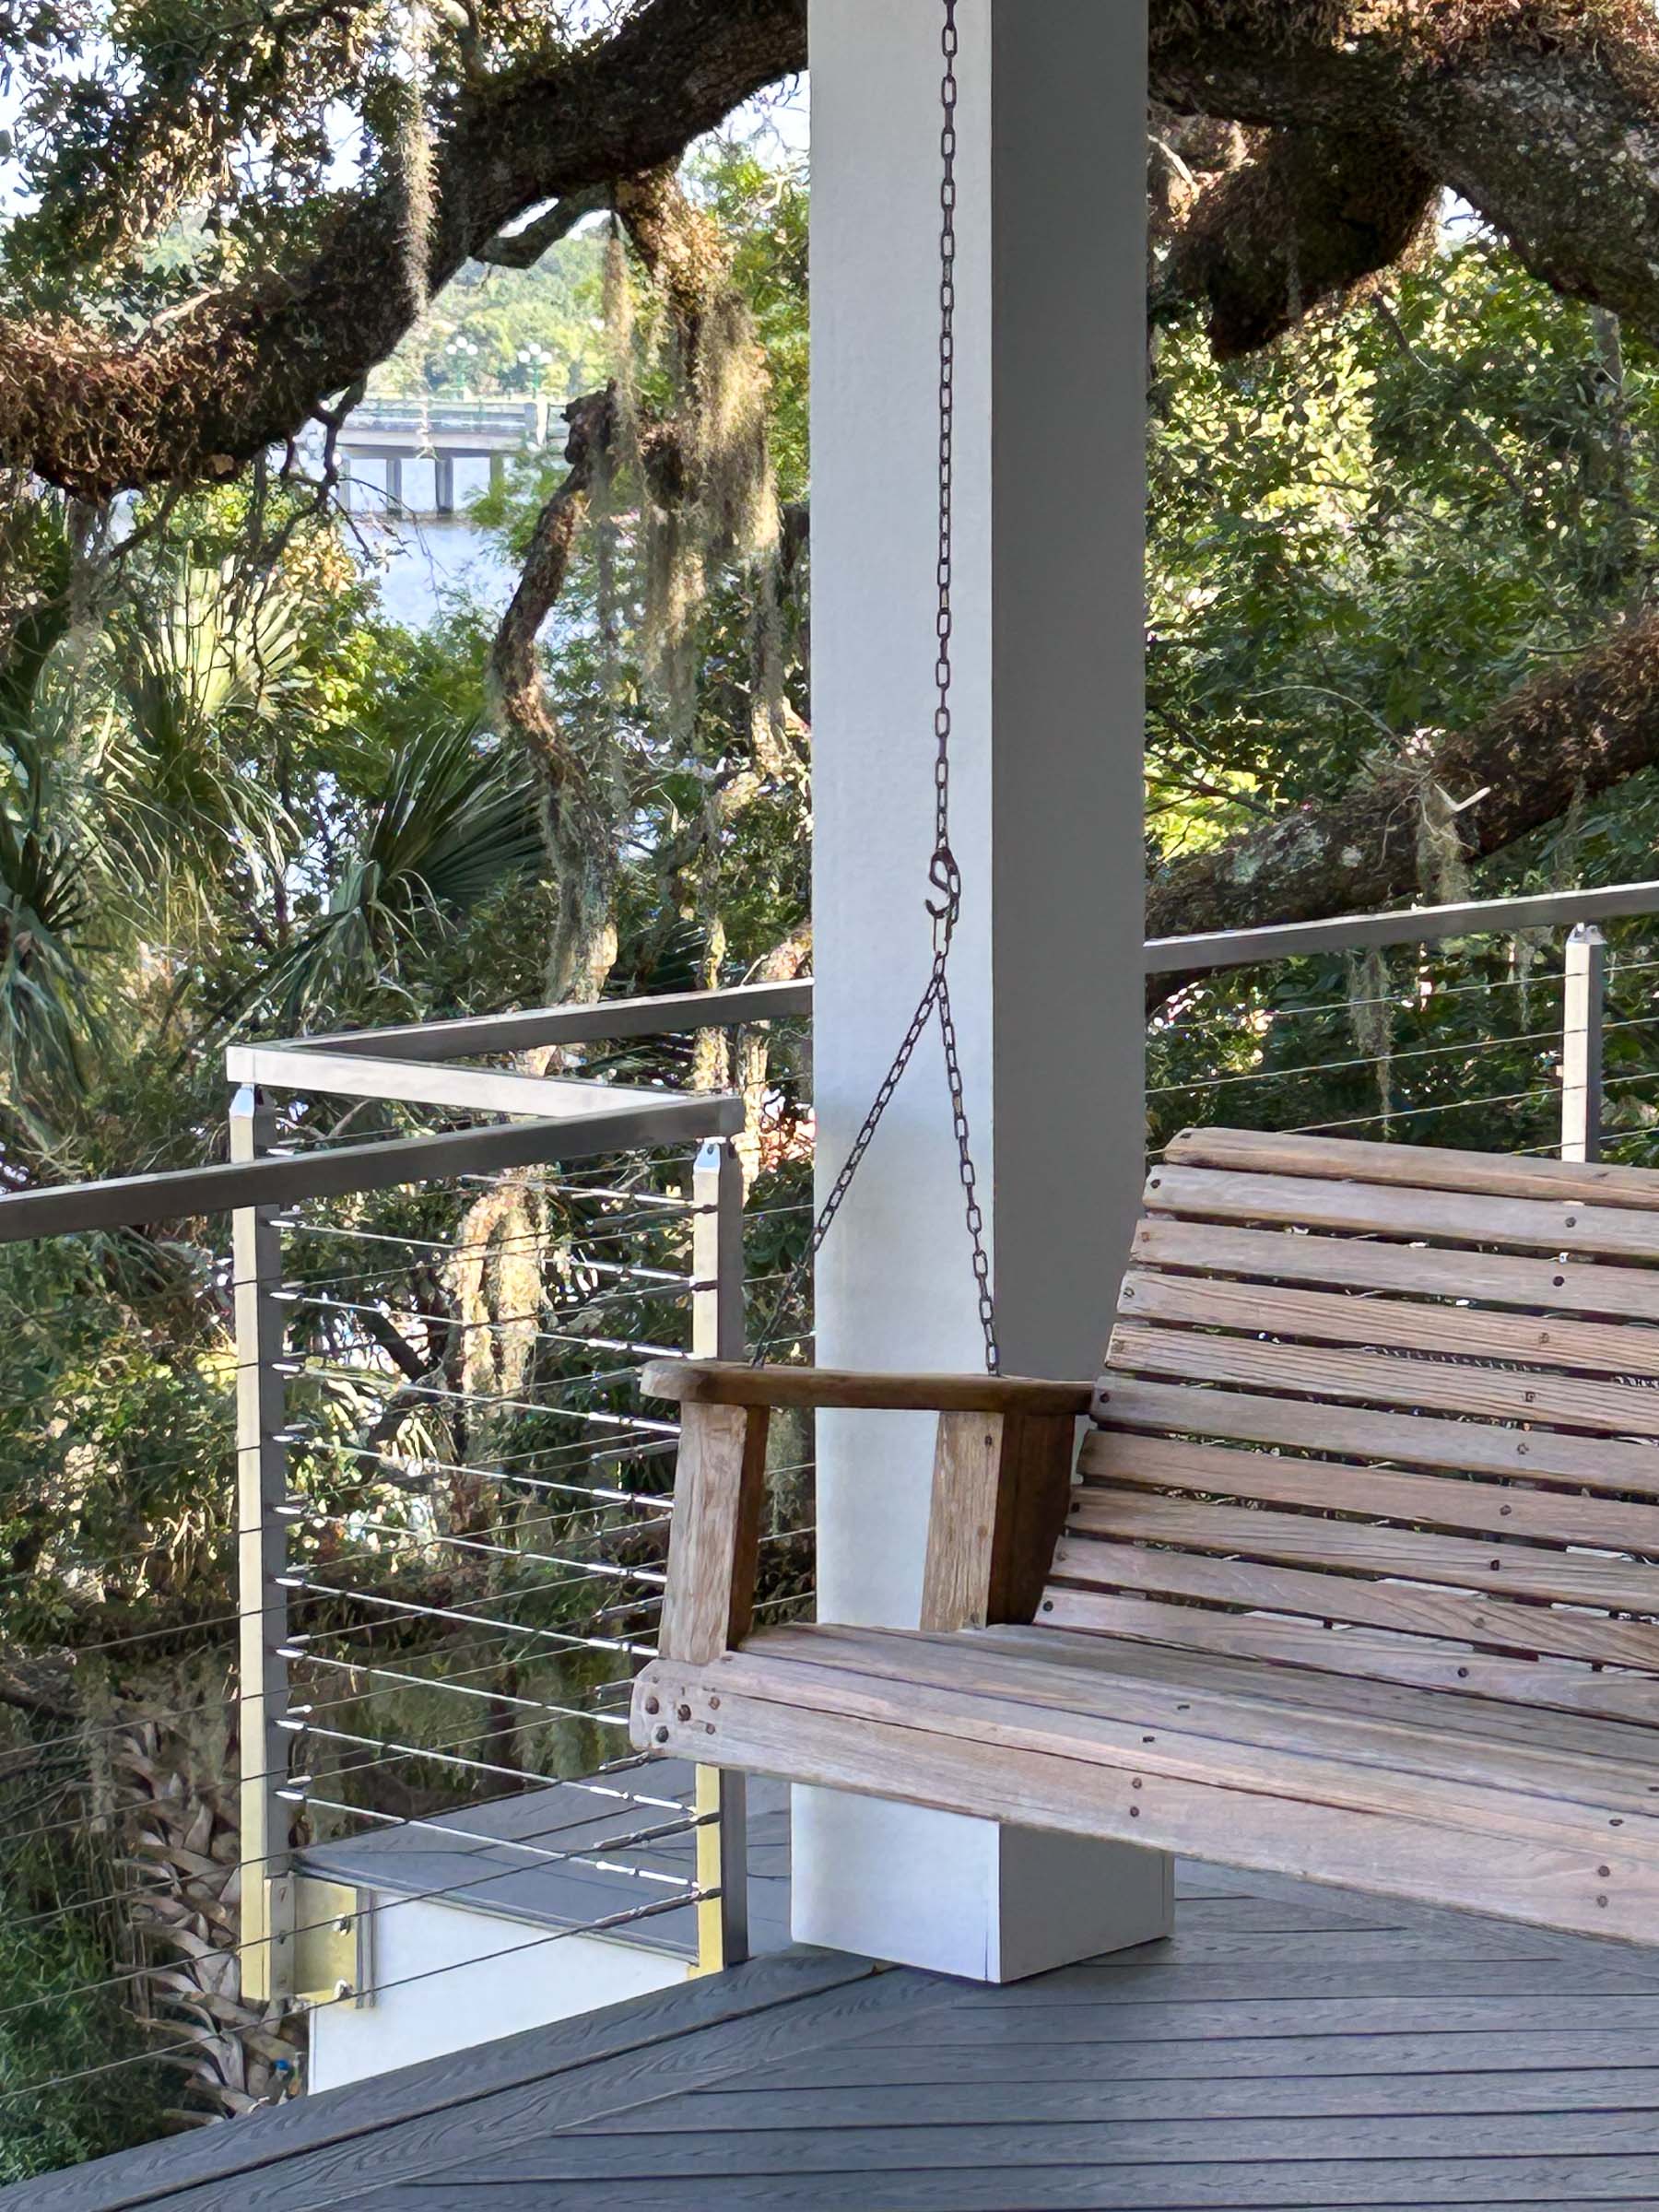
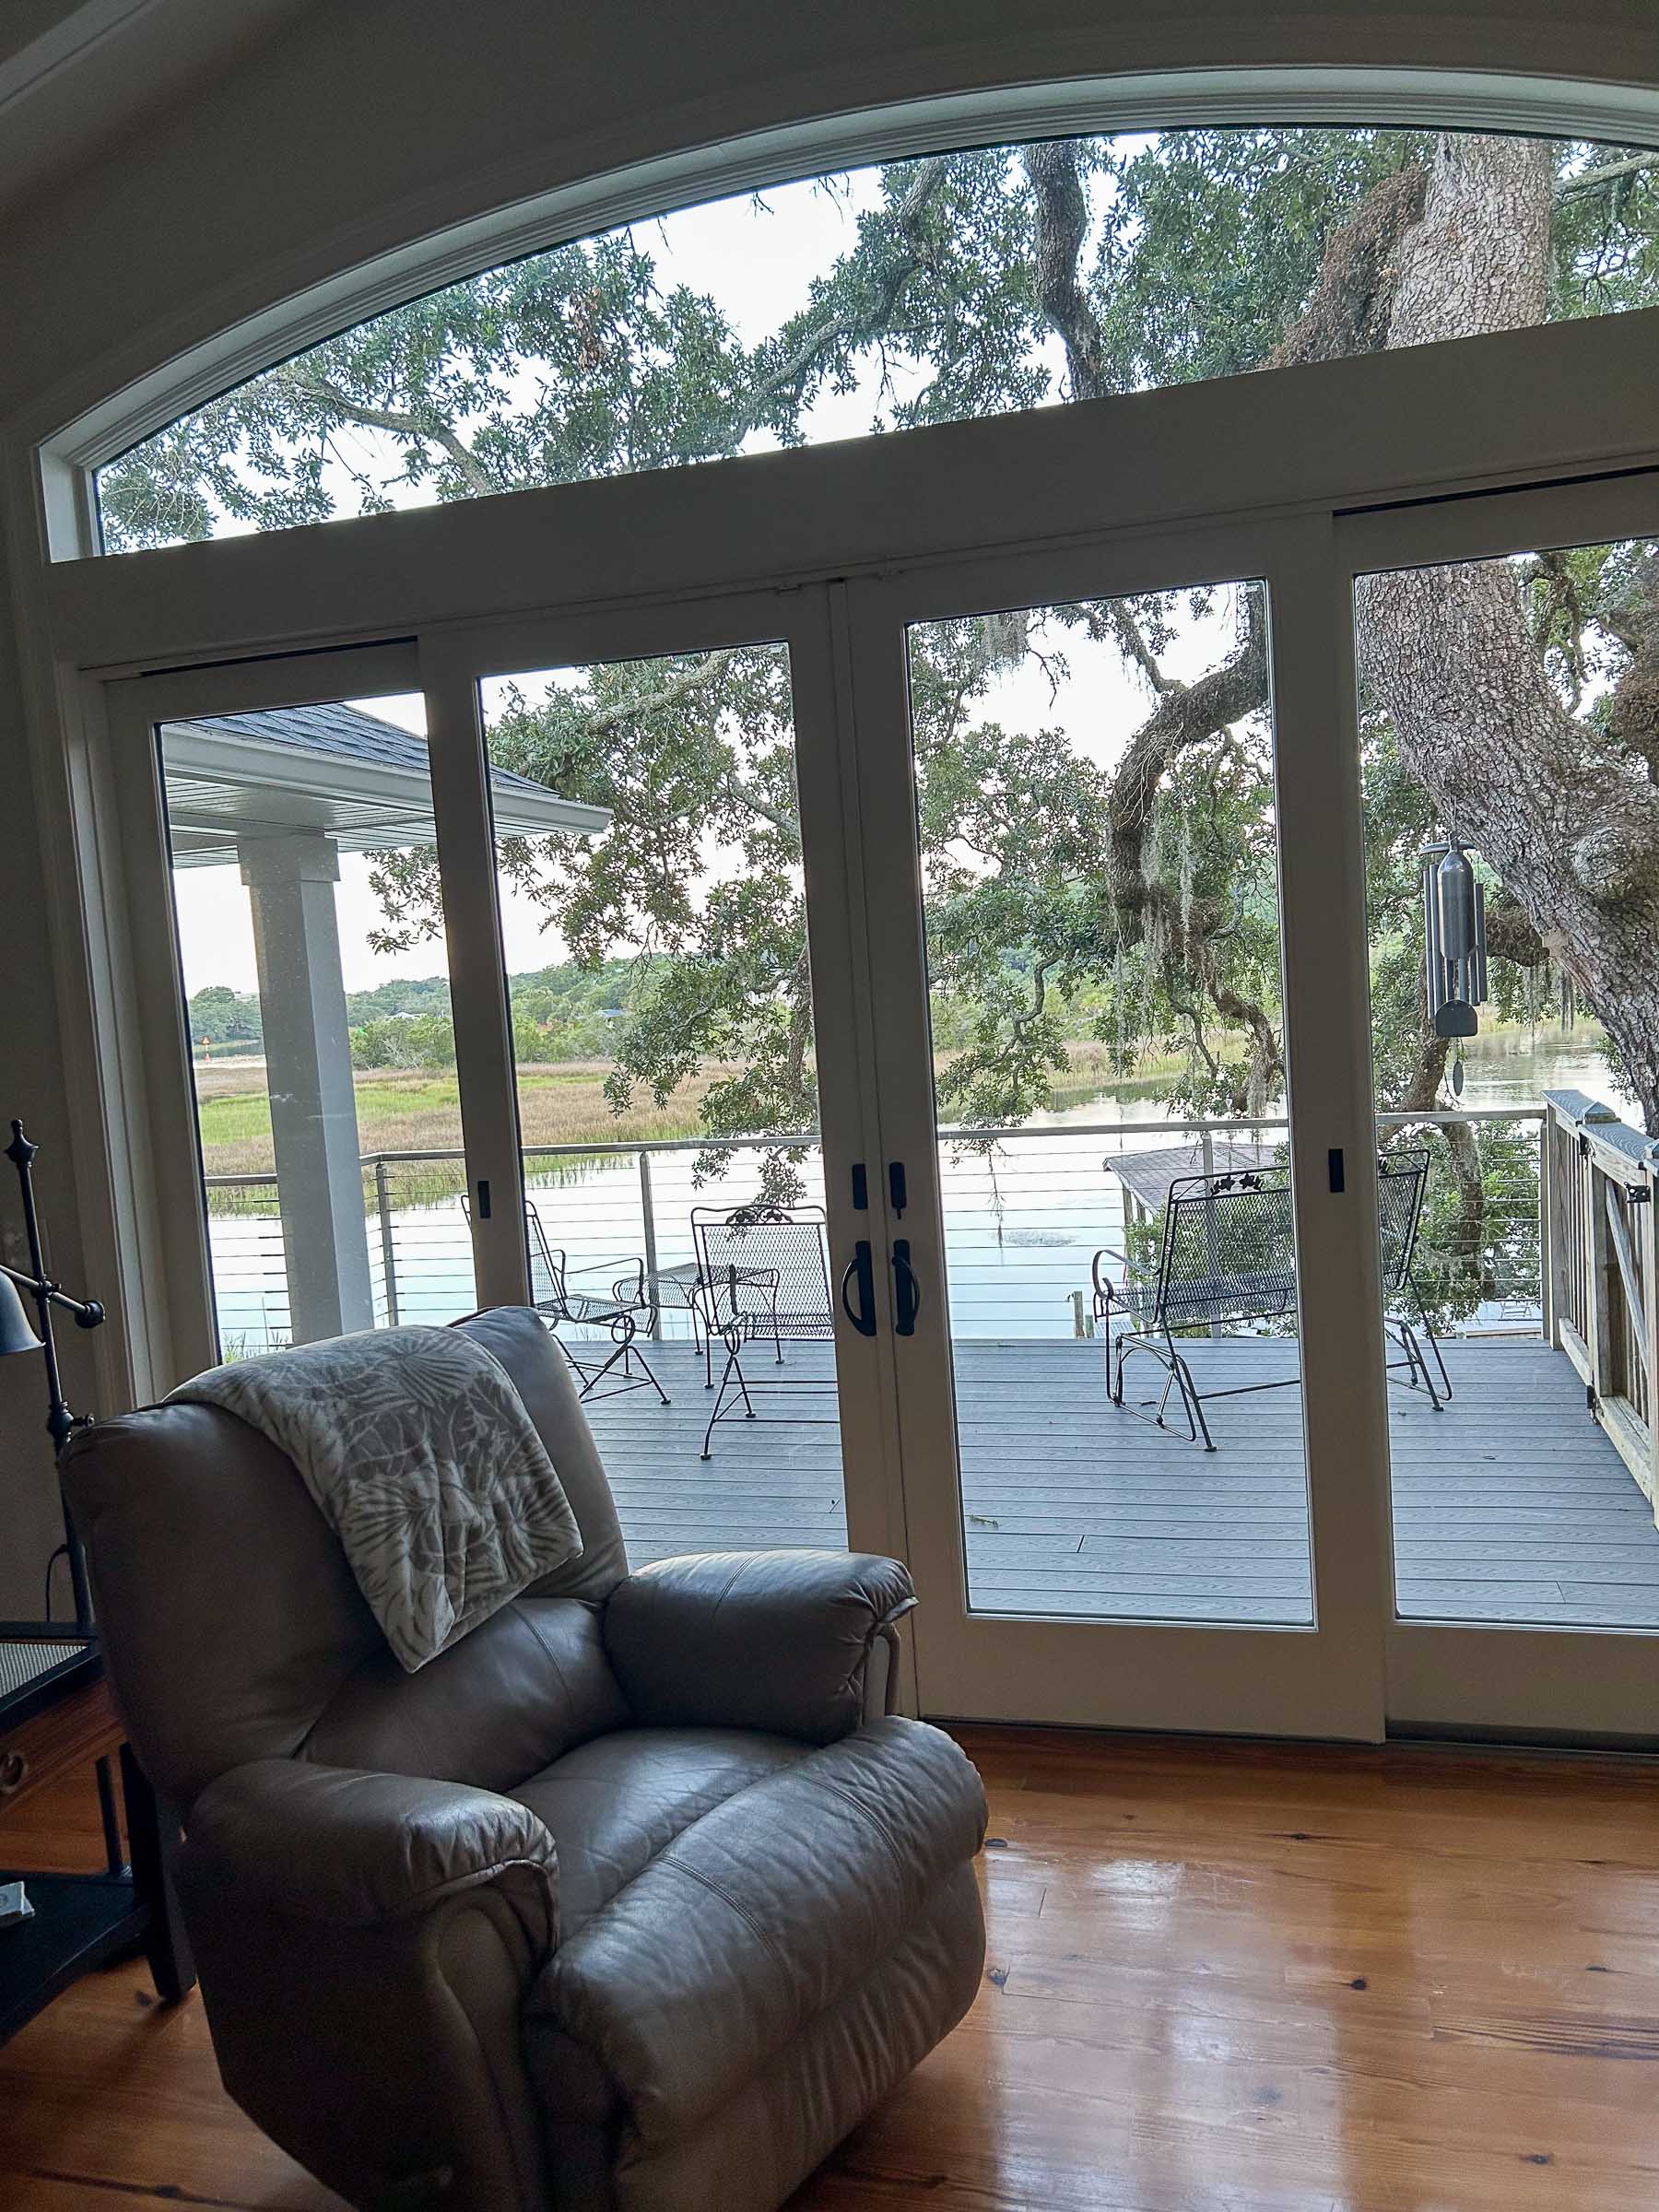
Steve's home sits up on pilings above a wooded lot on a Pensacola bayou, with a covered second-floor deck that looks out over live oaks, marsh grass, and open water to his own private dock. It's the kind of view that deserved a railing that wouldn't get in the way of it — so Steve went with our modular stainless steel cable railing system, using square posts, a square top rail, and horizontal 1x19 cable infill, all in 316 stainless to stand up to the salt air.
Steve installed the entire railing himself, with no on-site welding involved. That was actually the deciding factor: he'd looked at custom welded-saddle systems that would have needed a welder on site, and he wasn't a fan of round railings or flat-bar-stock rail for this application either. A modular, clamp-and-fitting square system meant he could dry-fit everything, drill once, and put it together with hand tools — no welding shop required.
Project Highlights
- Location: Pensacola, FL (bayou waterfront)
- Application: Elevated second-story deck railing
- Style: Modular square post stainless steel cable railing
- Material: 316 stainless steel, surface-mount square posts, square top rail
- Infill: Horizontal 1x19 stainless cable
- Installation: Owner-installed, no welding required
- Best for: Waterfront decks, coastal homes, and DIY installers
Bayou Deck Gallery
Browse the project photos below to see the cable railing wrapped around Steve's deck, framing the marsh, the dock, and the water beyond.
Notes From a DIY Installer, for the Next DIY Installer
Steve installed this system himself and asked us to pass along a few things he learned along the way — the kind of detail that isn't always obvious until you're the one holding the crimper.
- Dry-fit before you drill. Set posts, rail, and fittings in place first and confirm spacing and alignment before committing to any holes. It's much easier to adjust a dry-fit layout than to redo drilled holes.
- Passivation takes patience, especially in the heat. After installation, 316 stainless should be passivated to build up its protective oxide layer. The instructions call for a short wetting window, and in Florida sun that window disappears fast — the gel-based passivation products hold up much better than a liquid in direct heat, since they don't flash-dry before they've had time to work.
- Let passivation finish before you polish or seal anything. The protective layer needs time to fully develop after treatment. Sealing or polishing the steel too soon can trap the process partway through, and if that happens, the fix is to strip it back and redo the passivation rather than polish over it.
- 316 stainless still needs occasional rinsing near saltwater. On a bayou or marsh lot, a periodic fresh-water rinse goes a long way toward keeping the railing looking new. For more detail on ongoing care, see our guide on keeping stainless steel railing easy to maintain.
Explore Inline Design's modular stainless steel cable railing systems, square and round posts, and complete DIY-friendly hardware packages for your next deck or waterfront project.