An Installation Story of Custom Cable Railing In Long Island
Explore our range of modern railing systems including cable railing systems, glass railing systems, and stainless steel railings — perfect for indoor and outdoor applications.
Looking among the many homes of our clients, one consistency presents itself. They all seem to appreciate the confluence of functional design, high-end durability, and modern elegance. Scott's home is no exception. However, it can be a standard for DIY installation of cable railing in Long Island.
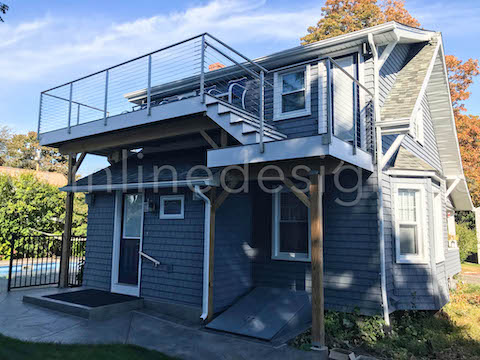
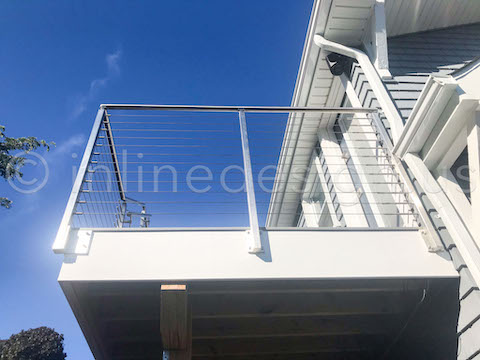
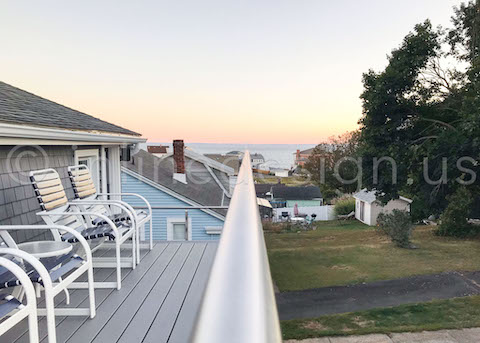
In the cozy shoreline town of East Haven, Connecticut, this contemporary craftsman home rests 800′ feet from the water. Just a block from the Long Island Sound, standing on Scott's brand new balcony, even seated, your head rises tall above the eaves of the homes around you, providing an exceptional view of the nearby Atlantic tidal estuary.
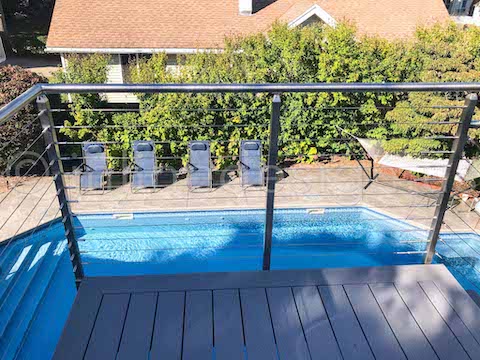
High shade trees surround Scott's yard with a clean, bright blue pool at its center point. Bluestone rock walkways guide your feet to the comfy lounge chairs and other subsections of the yard where guest house, tool shed, and private hot tub await. This level of hidden comfort is impossible to manufacture – it takes an eye for quality, an affinity for cleanliness, a dedication to refinement, and a desire to entertain.
PROBLEM IDENTIFICATION: A deck to be built off the back 2nd floor overlooking the pool steps
Before we start with the story of the DIY cable railing installation in Long Island, the most critical step is to state the problem we had. "The issue is that there's a single story back hall/laundry/bathroom area off the left side back of the house, and its roofline makes it impossible to do a straight deck across the whole 20′ width of the house.
The Two Possibilities:
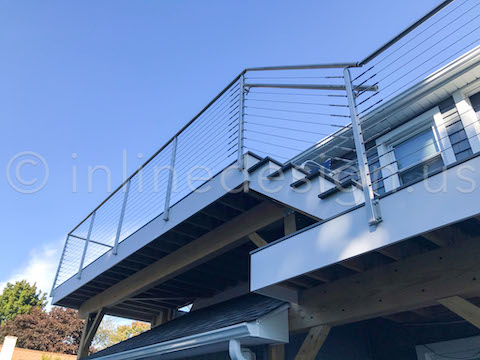
A) 7.5′ wide x 6′ deep (3 sides of the railing are 6×7.5×6) The eave along the right side of the house would need to be cut back to be in line with the back of the house. That frees up the whole right fascia for the end railing post. On the left side, I think we'll cut the 1st-floor roof eave back from 12″ to 6″ to maximize deck size and have room for the end post.
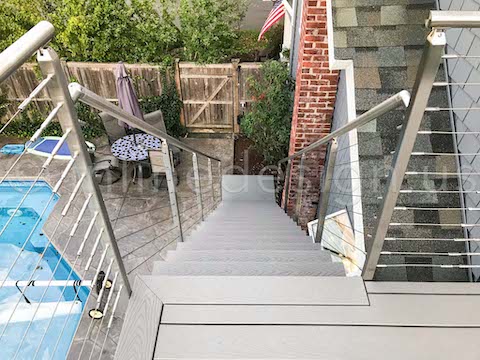
B) Same 7.5′ x 6′ deck as above, except maybe go 7'x6′ to avoid having to cut the 1st-floor eave back 6″, PLUS 3 or 4 steps up to a second 12'x6′ deck that sits over the 1st-floor roof. The nice thing about this, besides larger size, is that the left side overlooks the in-ground pool, making the whole deck tie in better to my back yard."
Customer-Specific Requirements:
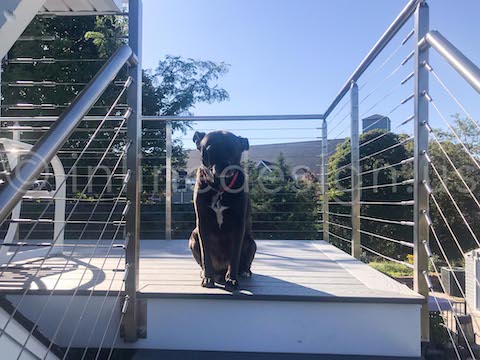
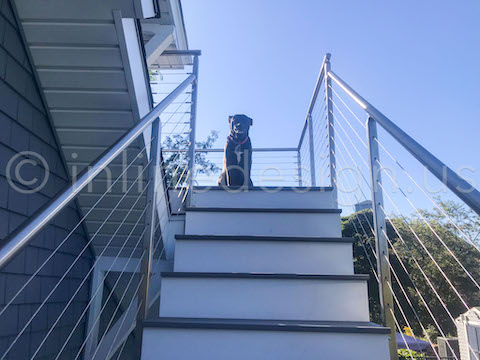
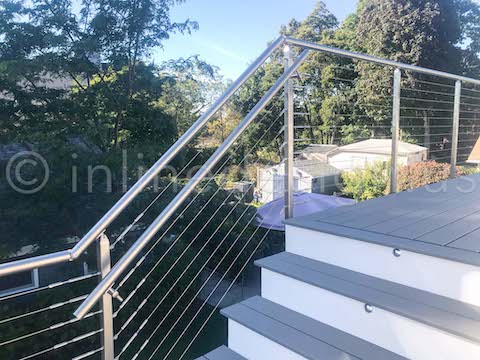
-"There's recessed lighting in the Trex Pebble Grey decking that provides a lovely accent against the Certainteed Cedar Impressions shingles and the five steps from upper to lower deck.
-Also having white vinyl siding replaced with Mastic Cedar Discovery Perfection Shingle Triple 5″ in English Wedgewood color (exclusive grey-blue slate w/ white trim).
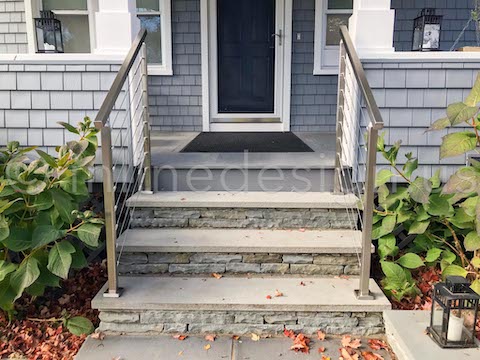
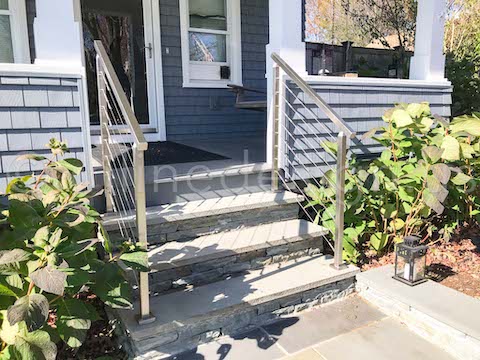
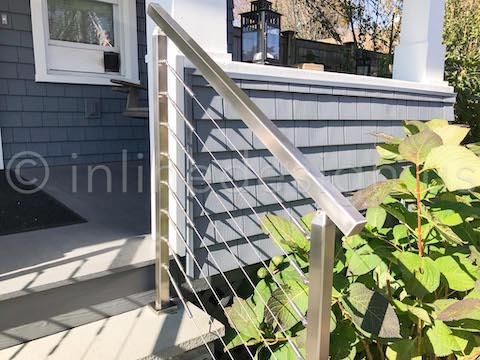
-Also, replacing front porch steps with bluestone and looking to replace the railing there may go for square railing instead of round.
-The dog seen in a couple of shots is Libby. :)"
OUR SOLUTION GENERATING PROCESS: How We Guide The Client In DIY Installation
Searching through our stories, so many of our customers take on and complete the railing install by themselves. And there is one thing we take very seriously at Inline Design. We want our customers to know we are here for them every step of the way.
We have an entire team of professionals working closely to ensure you have the correct answers when you need them, even in the middle of an installation without professional help. From Leadership to Sales to Engineering, Packaging, Production, Accounting, and our CAD department – we're all here for you!
Attending To Scott's Immediate Call For Help:
Our work doesn't end till your cable railing is installed. Even if it is a DIY installation and we have supplied you with the material, we will be there until you are satisfied. This is a perfect example of our guided installation of a cable railing in Long Island.
-At the end of September 2018, Scott let us know he received his initial order of 1 pallet and three bundles. He had a few questions regarding the install and wanted to confirm some of the parts.
Our fabulous Simonne soon responded with a confirmation that all parts received were correct and necessary for installation. We take pictures of your order before it leaves; this enables us to add one more step of due diligence if issues or questions arise. No one likes being in the middle of a project and not having exactly what they need. We won't leave you hanging.
-Scott came back, letting us know he was ready to start the project.
-We responded, letting him know we're ready by phone or email if he has more questions.
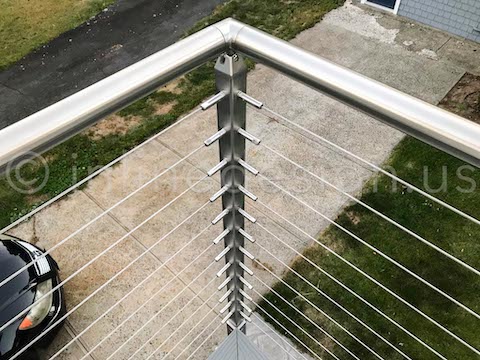
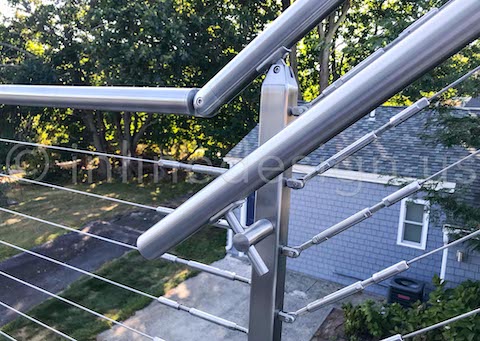
-Over the next year, we stayed with Scott every step of the way as he completed the install for the new deck and cable railing system. "He professionally installed the balcony, but the homeowner installed the cable railing."
POST INSTALLATION PROCESS: CLIENT FEEDBACK ON THE Guided DIY CABLE RAILING Installation
-A bit of installation advice, a few replacements parts, and even another order placed. At the end of it all, Scott said to us:
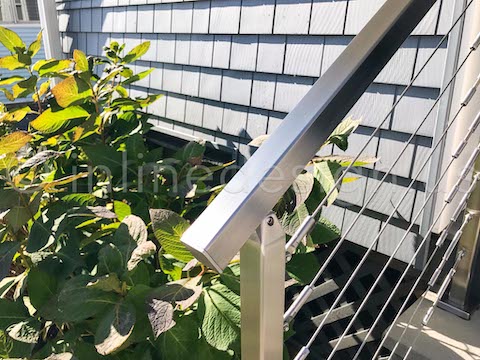
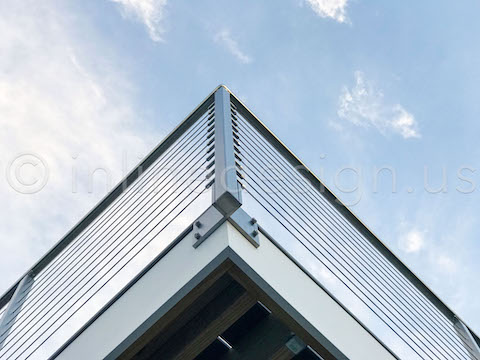
"You and Inline Design are fantastic to work with, and your products are A1 top-notch! Everyone who's seen the balcony railing has nothing but praise for the design, heavy-duty materials, and quality of craftsmanship." This is why our products and services have become a barometer for cable railing in Long Island.
OUR GRATITUDE: OUR EXPERIENCE OF Guiding DIY CABLE RAILING Installation
Well, Scott… we're getting a little teary-eyed here. With such a fine home perched upon a hill overlooking the ocean, we're just happy to be some small part of the comfort you've made there. Thank you for your business!
We look forward to serving you again anytime.
With our expertise and professionalism, you will have to go nowhere else for a perfect installation of cable railing in Long Island.
See the Gallery:


